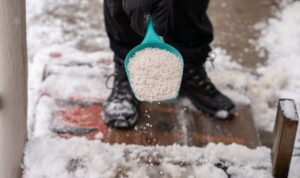
It’s important to store your ice melt properly in the summer so it’s still in good condition come wintertime when you need it.
All ice melt is made from salts that are hydrophilic – which means that they can be affected by moisture from the air around them. If you don't store them properly then they can get really wet, clump together and even grow mold.
Most ice melts come in large bags that aren't ideal for long term storage. So what are some of the best ways to store ice melt over the summer?
Generally, you’ll want to store ice melt in an airtight container in a spot that stays relatively dry throughout the year. Ice melt will only form into clumps if it’s exposed to the moisture in the air. It should also be stored in something that is durable so it won’t be damaged by the corrosive salts.
Steel containers for example are no ideal as they can rust, but plastic works great.
There are multiple options when it comes to ice melt storage and depending on where you live and how much ice melt you use, some are going to be better than others.
1. Keep Your Ice Melt In a Cool Dry Place
As mentioned, ice melt is hydrophilic which means water can make it wet and cause problems like leaking onto the floor. This happens when water for the air gets absorbed into the ice melt and then eventually leaks out.
This can be avoided by storing your ice melt in airtight containers and/or storing your ice melt in a cool dry place.
It’s recommended to store your ice melt in a location that’s dry or has lower humidity. This could be a shed, garage, or perhaps an area in your house that’s out of the way of any children or animals.
A backyard shed that isn't fully closed in, floods and remains damp is NOT an ideal place to store your ice melt – unless it's in a fully sealed container.
Humidity levels are the most important factor in the ice melt storage checklist. A dry area simply has less moisture in it for the salts to absorb and therefore completely minimizes the chances of the salts reacting with the surrounding atmosphere.
This is especially important if your ice melt contains salts like calcium chloride – if this stuff leaks out onto your floor it can cause damage to concrete and it also corrodes metal, which means it could even damage any tools you have nearby.
2. Keep It In The Bag But Seal It Well
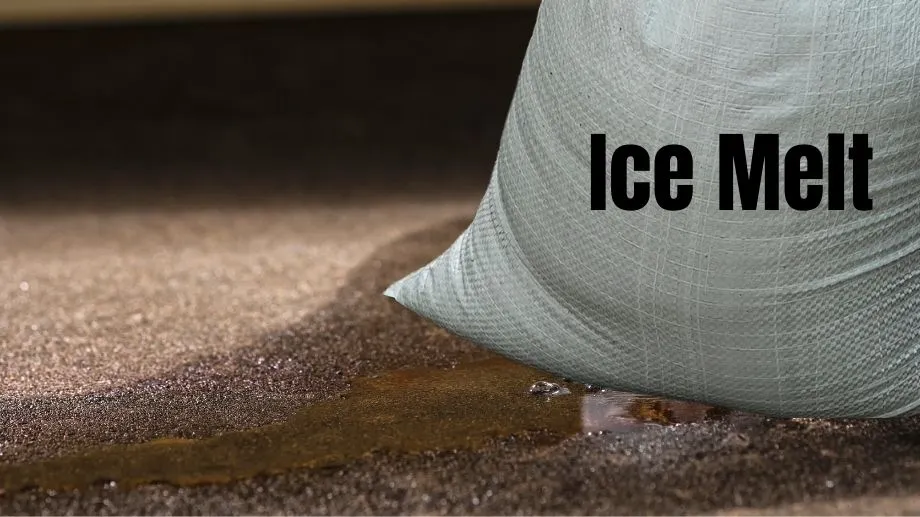
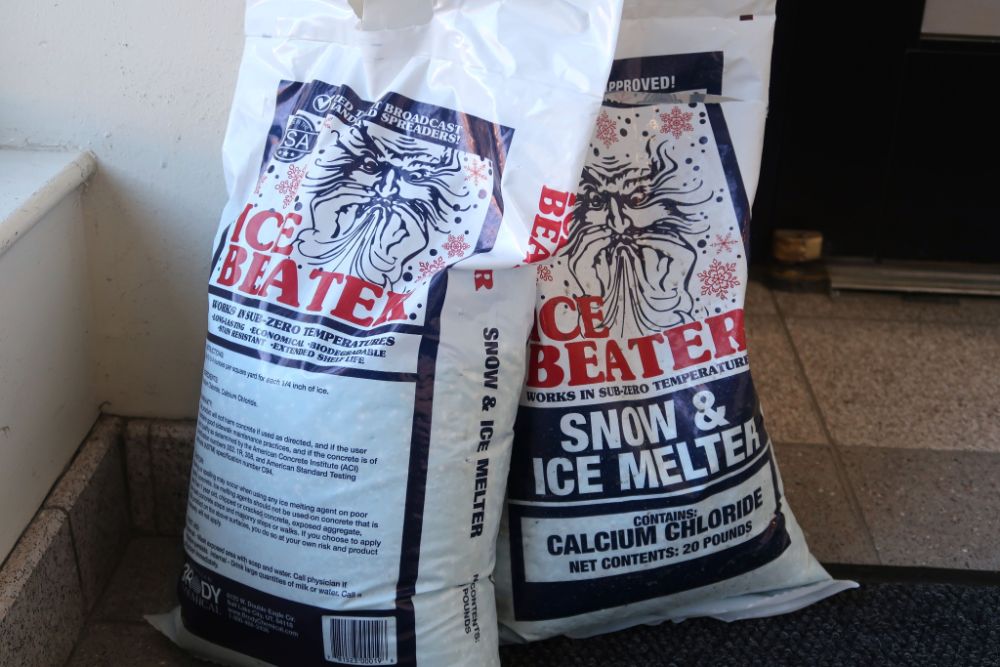
Ice melt often comes in large bags from the local hardware store and these bags are usually completely airtight…until you open them.
If you've used a bunch of your ice melt and the rest is still in the bag you can leave it in there. However, you want to make sure that you seal the bag really well.
To do this you want to only cut a small opening in the top of the bag to access your ice melt.
Then to store your ice melt you want to tightly roll the bag down from the top as many times as you can and use pegs or even staples to seal it and stop it from unravelling.
If you just leave the bag open without sealing it then moisture will get in and chances are your ice melt will clump together or the ice melt will turn liquid and be hard to use when winter rolls around.
3. Use Plastic Containers
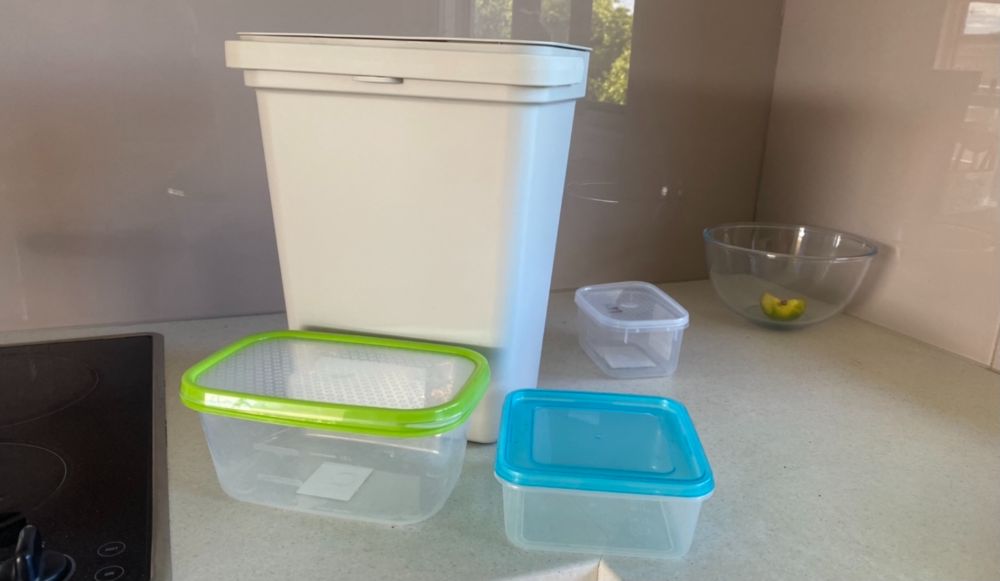
One of the best ways to store your ice melt in the summer is to transfer it into an airtight (or mostly airtight) plastic container.
This could be anything from a large plastic storage tub with a lid that you store in your garage down to an old milk bottle that you washed and dried out and filled up with ice melt.
Plastic doesn't let moisture though, it doesn't rust and it's fairly durable which are all great options for storing ice melt.
Plastic containers are usually pretty cheap too and are a great option for most people.
An ice melt that contains high concentrations of calcium chloride can weaken plastic over time, especially when combined with high summer temperatures. But this degrading will happen over years and won't happen quickly.
There are even plastic containers designed solely for ice melt storage and they’re constructed from stronger plastics that won't warp or crack even in harsher environments.
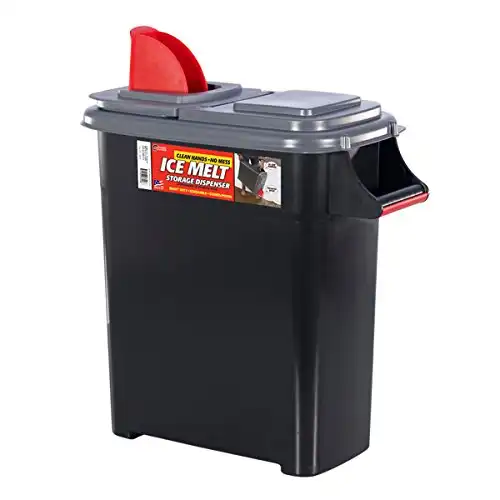
The Buddeez 098 Ice Melt Dispenser (at Amazon) doubles as storage and a dispenser in one.
This rugged design holds up to 50 lbs (or 8 gallons) of ice melt for long term storage. Features a patented flip lid, pour spout and tough EZ grip handles for easy spreading of ice melt.
7. Use Glass Jars
Glass is airtight, relatively durable, and isn’t as prone to degradation as some of the other options. You can get glass jars with all kinds of lids but aluminum and plastic lids are your best options.
Aluminum is one of the only metals that seem to resist the corrosive effects of some ice melt salts.
The main disadvantage of glass storage is that it can fall over and smash. Having glass shards mixed in with your ice melt is not safe for anyone.
However, glass is a great container option for many people – it’s reasonably priced, sturdy, and can handle the many different kinds of salt mixes.
However, glass doesn’t block any UV rays (unless it's brown glass) – which can cause ice melt salts to become brittle and not work properly. So, you’re going to want to cover any glass jars that are exposed to direct sunlight.
6. Use Carbon Steel Tanks
These are great options if you use a lot of liquid ice melt. These tanks need to be coated in a way that makes them resistant to the corroding effects of the salts. In fact, in most cases, metal storage is not usually recommended for ice melt, but these tanks are the exception.
Their main advantage is the security they offer, especially if you use liquid ice melt.
A carbon steel tank is simply not going to get punctured and so the chances of any leaks happening are near zero.
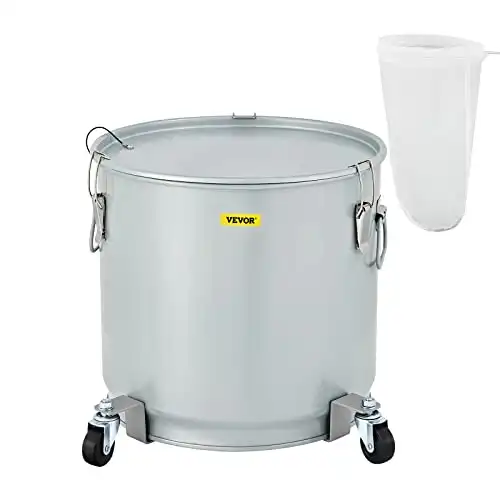
This grease collector (at Amazon) is a prime example.
The premium carbon steel is about 0.03"/0.7mm in thickness and built to last and won't bend under pressure. An outer silver coating protects from rust while an inner food-grade coating is hygienic and can withstand high temperatures.
Convenient to stack and transport this bucket features an enhanced seal with 3 lock clips, ensuring a reliable seal everytime.
The main disadvantage is that these tanks can be costly. The devil is in the details as well, as you’re going to want to make sure it has an epoxy-based interior coating to avoid corrosion.
6. Double Wrap With Sandbag Casings
Sandbag casings on their own aren’t airtight but can be combined with other containers to offer an extra layer of protection.
An empty sandbag can offer protection from UV rays and also acts as another layer, which you could also fill with padding if you’re concerned about damage to your storage container. Sandbag casings are great for extra safety and they’re cheap.
7. Use Fiberglass Containers
Fiberglass containers can be a fantastic option as they are non-metallic (ice melt can contain salts that can corrode metals over time).
Fiberglass containers are light weight, strong and are quite resistant against both hot and cold temperatures.
They’re fantastic for storing unopened bags of ice melt or are great to combine with other methods (like plastic containers) especially if you don’t have much space and have to store everything outside.
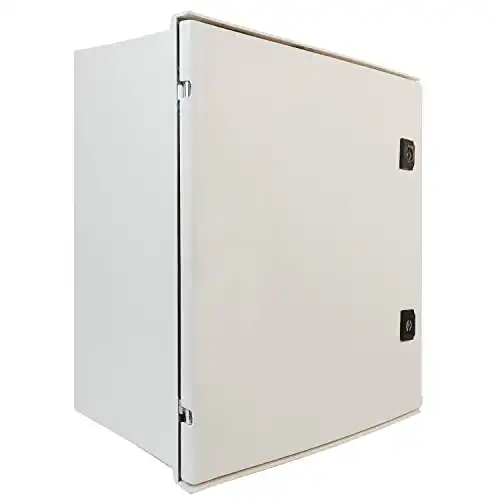
This fiberglass enclosure (at Amazon) is a good example of a storage unit you could use for this purpose.
This strong fiberglass structure is made from high quality glass fiber reinforced polyester which features strong wear resistance and waterproof sealing strip stops water getting in.
Summary
Ice melt can last for a long time when stored under proper conditions and a suitable container will prevent clumping.
The most important thing is to store the ice melt in a dry location – humidity of over 75 percent can start to cause problems with clumping and leaking.

