Ice melt is not too difficult or complicated to use but there are some steps to take to get the most out of it.
You need to make sure you get the right type of ice melt for your situation and climate and use the right amount at the right time for ice melt to work effectively.
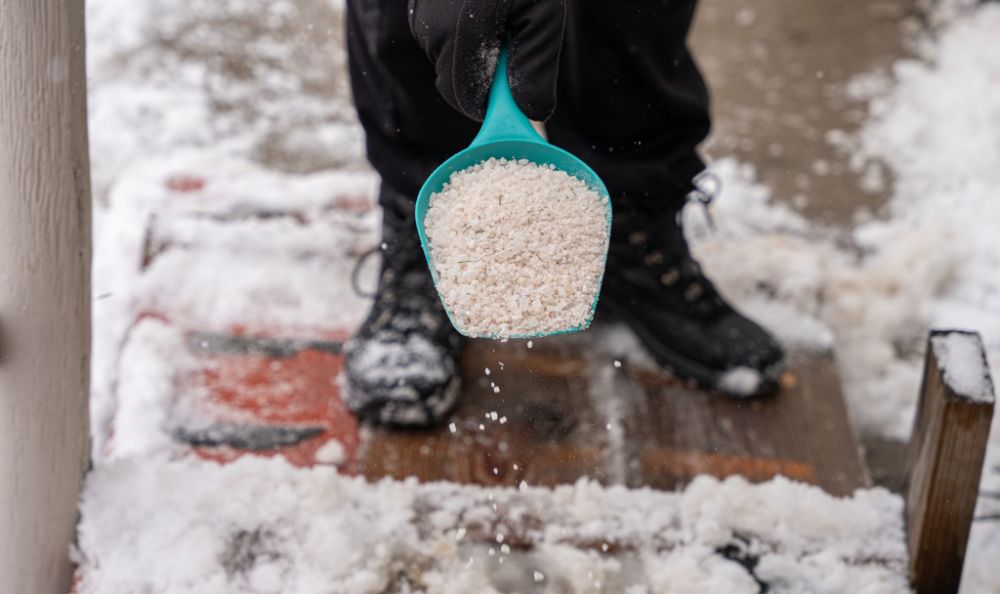
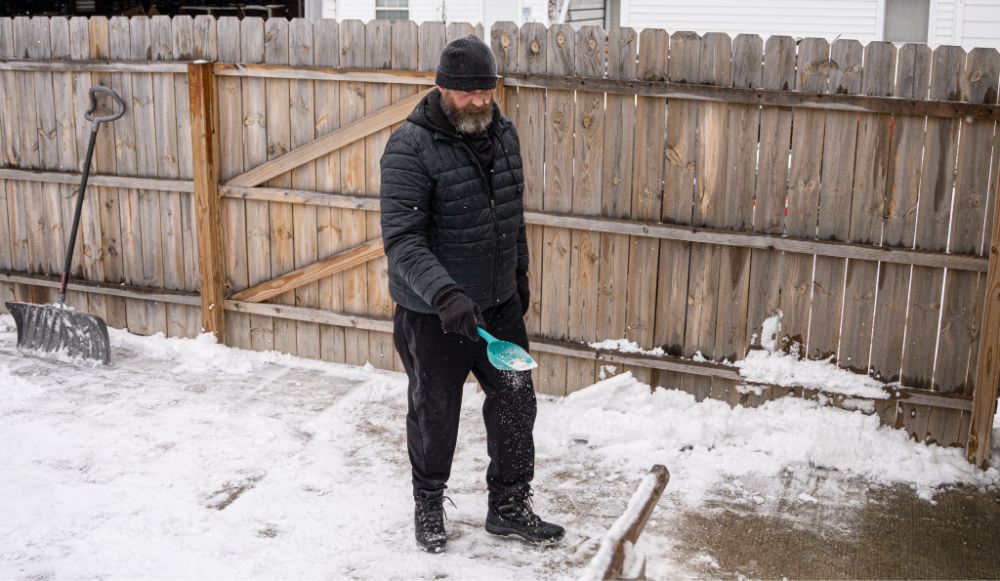
To use ice melt you should clear freshly fallen snow as soon as possible (to prevent it from compacting), you’ll want to use around half a cup of the salt mix per square yard. Once the ice melt starts to work and turns the ice to slush you can shovel it away or let it run off.
Ice melt is very effective but if you don’t take some factors into account first then it can cause you potential problems down the line – or unnecessarily waste your money.
Follow the steps below to use ice melt effectively.
What You’ll Need
Here’s what you’ll need:
- Ice Melt (the right type for your situation)
- A scoop (for spreading ice melt)
- A shovel (for removing snow)
- A pair of good winter boots
- Gloves to protect your hands
Optional:
- You can get ice melt spreaders which take out a lot of the guesswork of evenly covering the ground with your salt mix.
Step 1: Choose The Right Ice Melt
Using the right kind of ice melt is arguably as important as spreading it properly.
The right ice melt will work fast and effectively (usually in as little as 15-20 minutes) and it’ll be cost effective for you.
The wrong ice melt can waste you money or if temperatures are too cold it won’t work at all and will just act like expensive sand – adding friction to the top of the ice but not actually melting the ice.
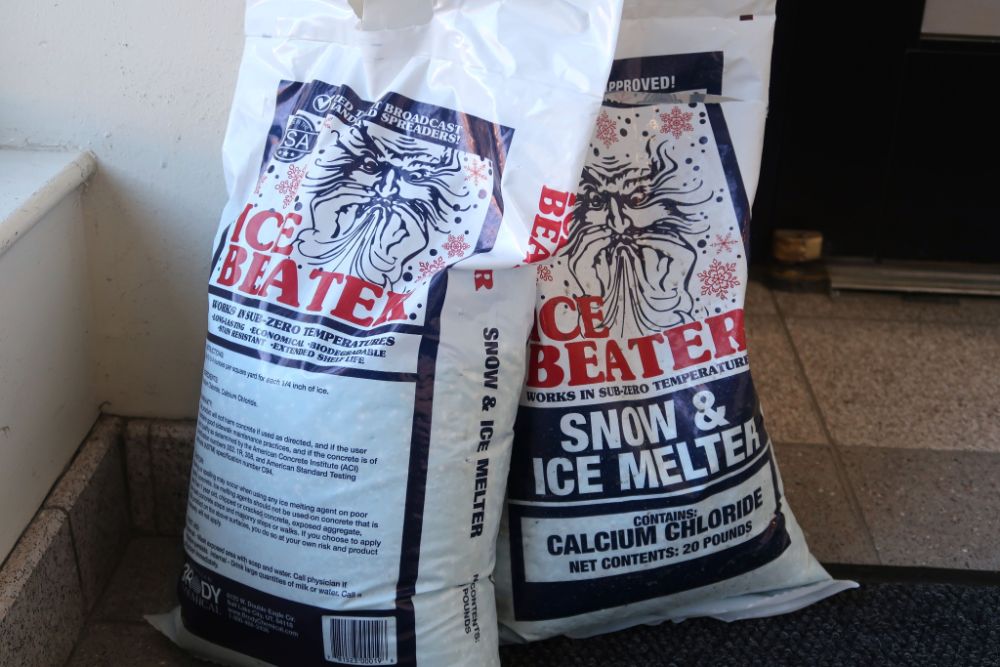
For example, calcium chloride is effective down to temperatures as low as -25ºF (-32ºC) so is great for use in extremely cold environments but is more expensive. Regular rock salt is only effective down to around 20ºF (-7ºC) and is much cheaper so it’s the salt of choice in areas where temperatures aren’t quite as cold.
This is a rundown of the chemicals used in most commercial ice melts and where they work best.
| Chemical | Lowest Working Temperature | Pros | Cons | Pricing |
|---|---|---|---|---|
| Sodium Chloride | 20ºF / -7ºC | – Fairly cheap and reliable – Can reduce slipping | – Corrosive to metal – Is harmful to plants – Harmful to animals/pets | $ |
| Magnesium Chloride | 12ºF / – 11ºC | – Works quickly Lasts longer than most other alternatives – Considered the most environmentally friendly of the options | – Greater quantities have to be used for it to be effective – Is considered safe for plants and animals (but you should still be careful) – Can damage concrete | $$ |
| Pottasium Chloride | 0ºF / -18ºC | – Much less corrosive to asphalt and concrete | – Takes longer to work – Corrosive to metal – Slightly Harmful to plants | $$$ |
| Calcium Chloride | -25ºF / -32ºC | – Works Quickly – Can be used in lower quantities and remain effective – Generally safe for grass and plants – Longer lasting | – Well known to cause skin irritations | $$$$ |
Depending upon your location – you might want to opt for a blended ice melt (that usually combines cheaper and more expensive chemicals).
Step 2: Clear Fallen Snow As Soon As Possible
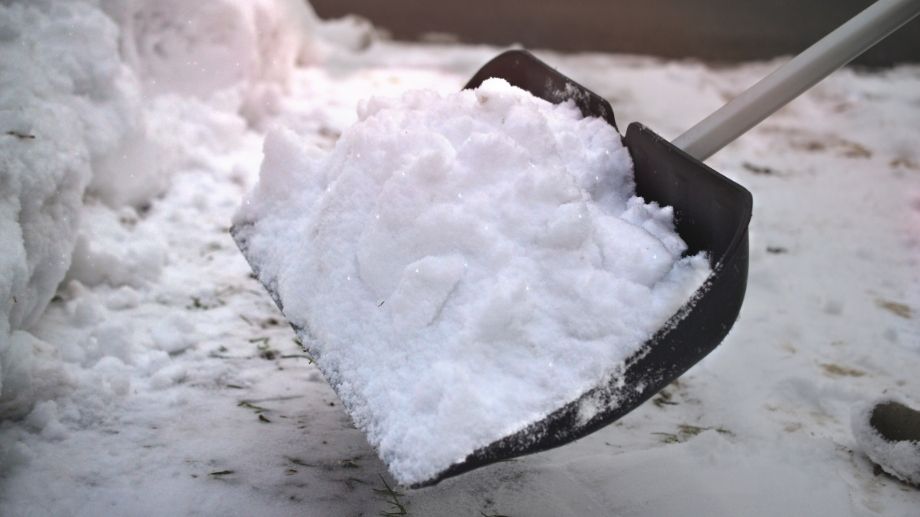
You want to get your shovel and clear snow piles as soon as you can. Leaving the snow for too long can cause it to compact and can also cause the ice layers beneath it to get thicker and harder to melt.
Ice melt can be applied before snowfall but if a lot of snow is expected or temperatures decline rapidly then you’ll want to apply it after the snow has fallen to save money and for the ice melt to be more effective.
Step 3: Follow the Directions
Not all ice melts are created equally. Many ice melts will be a mix of salts or additional chemicals. These products all come with safety information that is vital to know to get the most out of your product.
For example, salts that contain calcium or magnesium chloride can potentially harm the skin on your hands – so you must use protective handwear.
Also different salts require different quantities in different temperature ranges.
Most ice melts will give you instructions of roughly how much ice melt to use for a given area based on the outside temperatures. The colder it is the more ice melt you’ll need to use.
Step 4: Apply At the Right Time
Timing does count when it comes to getting the most out of your ice melt. You should apply it ideally before the ice layers have fully formed or just after you’ve cleared any fresh snowfall.
This allows the ice melt to react with the atmosphere and begin to thaw away any ice surfaces it’s spread on much faster. It can also prevent further ice from forming.
Ice melt only takes 15-20 minutes to work so applying it the next day after snowfall is usually the best option and shouldn’t be too much of an inconvenience.
Step 5: Apply the Right Quantities
The average amount recommended for ice melts is around half a cup per square yard. However, you’re going to want to refer to the directions because it depends on what blend or chemicals are contained in the ice melt.
Applying more ice melt doesn’t actually make it work better and can cause damage to your concrete, and your lawn, and make a big mess that’s harder to clean up.
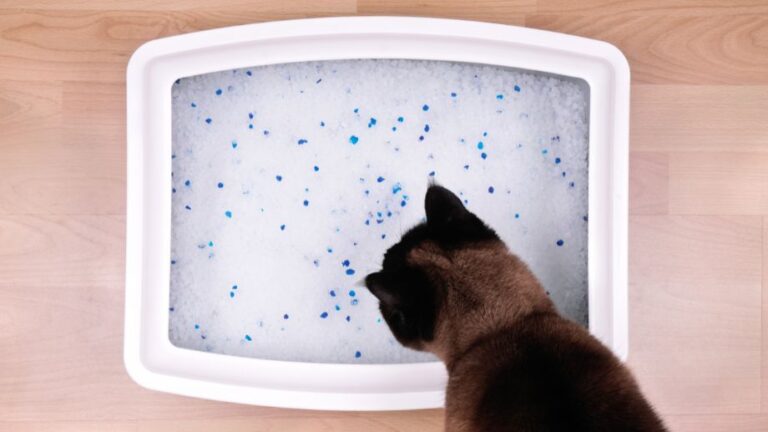
- One handy tip is to use a colored ice melt – this helps you distribute the product more evenly and helps keep track of how much you’re using.
Using the minimal amount of ice melt for the job is the best way to be cost effective but also to protect your paths, driveways, plants and pets. The more you use the more corrosion you’ll experience.
Step 6: Shovel the Newly Formed Slush
After a period of time (usually between 15 – 40 minutes but this does vary) the ice layer will start to turn into slush.
This salty slush will quickly react with remaining ice to melt it completely.
Once you notice that the ice has melted all the way down to the ground underneath and all you have left is slush then you may want to start shoveling this slush mixture away so it doesn’t refreeze again if temperatures drop or the salt content drops too much.
- Don’t shovel the mixture into a drain or onto a landscape or at a location that leads downhill to a body of water like a pond or lake – this can cause huge damage to local plants and wildlife.
- Shovel the slush to an area where it’s out of the way and then let the ice melt naturally dissipate.
- Some people will put the slush into a storm drain but this can also run into waterways untreated.
- You can also throw down sand on your driveway to add a bit of extra traction.
Step 7: Avoid Getting the Ice Melt In Your House
Once you’ve finished applying the ice melt and swept up the slush it’s also important to not get any in your house – the chemical mixes in these products can be problematic to clean up.
- Your best option would be to set up some good-quality scraper or wiper mats inside and outside your entryway. This prevents anyone from tracking the ice melt all over the place.
- It’s a good idea to regularly clean these mats with an extractor or vacuum throughout the day.
- Replace the mats as they get saturated.
Recommended Products
A good ice melt spreader can save you a ton of guesswork. It can be tricky to keep track of how much you’ve applied – applying ice melt in uneven patches reduces how effective it is and can simply mean that you cover the same ground repeatedly.