I own a couple of the Camelbak Eddy bottles, and their bite valve is a great alternative to pressing buttons and twisting lids.
Because my kids use these bottles so often (and chew them to bits) I have found that I need to replace the bite valve every so often as otherwise it begins to leak.
There are two types of bite valves that can be replaced. To replace the older valves, you will need to push down the rubber valve until it pops out from the mouthpiece. Insert the new valve and push it up into the mouthpiece. To replace the new model, simply pop it off the mouthpiece and push the new one on.
Luckily, the entire process of replacing the bite valve is quite easy and super quick to do so that you can continue using your Eddy bottle leak free.
How To Replace The Bite Valves
The bite valves tearing and ripping is not an uncommon issue, and they will break over time whether you wash the Eddy bottles and the valves in the dishwasher or by hand.
On their warranty page, Camelbak states:
“While we choose the very best materials available to make our products as durable as possible, all materials degrade over time with use and exposure to the elements.”
A broken bite valve doesn’t mean you have to buy a completely new lid. You can just replace the valves themselves.
Replacing the bite valves on the Eddy bottles is simple, regardless of what Eddy model you own and if you’re using a new or older valve.
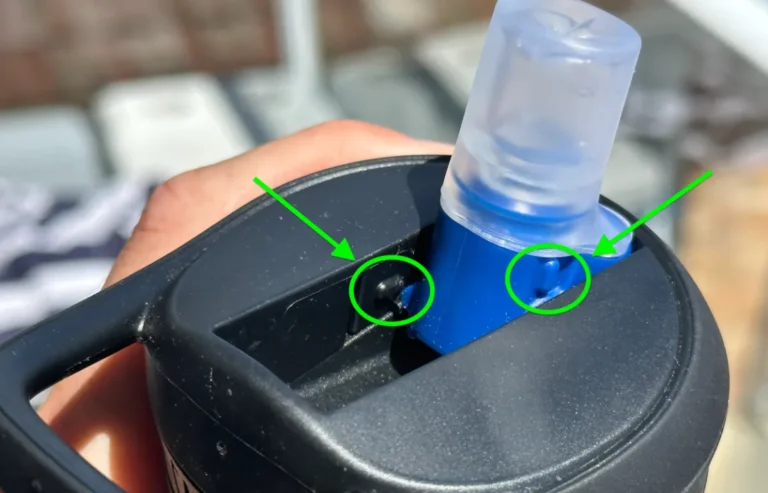
The older bite valve spouts are longer with a flat circular end, while the new bite valves are shorter and are just spouts that clip on.
Where To Buy Replacement Parts From?
Buying new bite valves is super easy, as Camelbak sells bite valve accessories off their website or you can get Camelbak bite valve replacements on Amazon. They sell different valves for different models.
The older bite valve models are used for the kids’ range which is available in packs of four with different colors.
The newer bite valve models are available for the Eddy+ range and the kids’ range.
You can also find the replacement bite valves on Amazom, and they also are sold in an assortment of different colors for you to jazz up your water bottle.
You can get fresh bite valves for the adult bottles:
And you can also get bite valves and straws specifically for the kids bottles:
Depending on the type of damage and if the broken valve may be caused by a manufacturing defect, your replacement may be covered under Camelbak’s lifetime warranty.
I suggest contacting Camelbak to check if they are able to send you a replacement part for free.
Submit a warranty claim or contact them through their customer service.
Step 1: Soak the Valve
If you have one of the older bite valves, Camelbak recommends soaking the lid with the mouthpiece in hot water for 5 – 10 minutes.
This will help soften the bite valve and make it easier to remove. You can repeat this step when you are putting the new valve on as well.
For the newer style adult bottles this step isn’t really required as the bite valve comes off and goes back on fairly easily.
Step 2: Remove Old Valve
Removing the new bite valve model simply involves pulling the bite valve off with your fingers. It’s as easy as that and should take little to no effort.
To remove the older models, you need to do the following:
- Detach the straw from the bottom of the valve by pulling it off. Put the straw somewhere safe.
- Using your fingers, push the top of the bite valve down until it is halfway through the lid.
- Flip the lip upside down, and using your fingers, pull the valve through the bottom of the lid. It should slide out easily, especially if you soaked it beforehand.
Step 3: Put The New Valve On
For the new bite valve model, once you have removed the old or damaged bite valve, all you need to do is push the new bite valve on the mouthpiece.
The replacement valve should just pop on, and it’s ready to be used.
To attach the new older bite valve model, you will need to do the following:
- To push the valve back in, make sure that the flat circle is at the back.
- Push the valve through the lid until it’s just sticking out the top.
- Using your fingers, pull the valve the rest of the way out.
- You’ll be on properly when the circular back slots into place and sits flat.
- Reattach the straw to the bottom of the valve.
Once the new valve is attached, you can use your bottle again. To learn more about how Camelbak bottles of water you should be drinking, check out my helpful article.