My father easiest way to make ice is with the freezer but is it possible to make ice if you don’t have access to a freezer and how can you do it?
There are many tried and tested methods that will work. It all depends on the lengths you are willing to go.
You can make ice without a freezer by using a bell jar and vacuum pump or by using dry ice. Freezing water outside during the winter or using a portable ice maker are also great ways to make ice without a freezer, along with mixing fertilizer and water, using ice packs, or adding salt to ice.
Ice is essential if you need to preserve perishable food or want to enjoy an ice-cold drink on a hot summer’s day. Most of the time you’ll use a freezer to make ice but there are occasions where you don’t have electricity and you need to make do with what you have.
Continue reading with us as we discuss how you can make ice without using a freezer, hassle-free!
1. Use The Bell Jar And Vacuum Pump Method
If you like science, you will enjoy this method! If you have suitable materials, this method will be almost effortless.
Fill A Glass With Water
Fill a glass around ¾ full of drinking water, since the water will expand as it undergoes the freezing process.
It would be wise to use filtered or distilled water if you want to use the ice in a drink. Also filtered and distilled water freezes easier than water with lots of minerals in it so it’ll help with the freezing process.
Put Your Cup Under A Bell Jar
You can use a scientific bell jar with a large opening at the top. If you do not have one, you can find them in any science supply stores and some school supply stores.
Attach Your Vacuum Pump To The Bell Jar And Turn It On
Properly attach your vacuum pump to the opening of the bell jar and turn it on so it begins to depressurize the jar and turn it into a vacuum.
You may be surprised to know that this is the same process that is used to produce dry ice.
However, whereas here we are taking a liquid at normal pressure and reducing pressure with dry ice you have a liquid under intense pressure and then you reduce the pressure by releasing it into the atmosphere. Learn more about exactly how dry ice is made and manufactured.
Observe The Water Boil, And Turn Into Ice
When you have turned the bell jar on, you will notice the water will bubble first.
Then, the warm molecules will rise to the top of the vacuum pump, while the cold molecules will stay behind and eventually freeze the water!
Why Does Water Turn To Ice When In A Vacuum Chamber?
Putting water in a vacuum chamber causes the water to turn from a liquid into a gas.
This process of changing from a liquid into a gas requires energy in order to happen. This energy is taken from the heat energy in the water.
This means the more and the longer the water boils the more energy it draws out of the leftover water making it colder and eventually turning it into ice.
2. Use Dry Ice (Or A Fire Extinguisher)
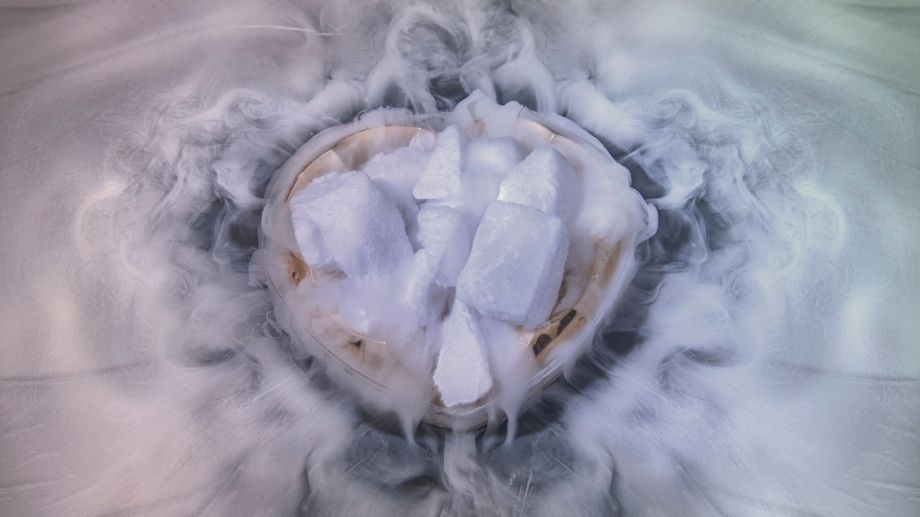
Dry ice is much colder than your electrical freezer. At -109.2ºF/-78.5ºC dry ice can be used to bring water to freezing temperature very quickly and can make ice cubes in as little as 15 minutes!
If you want to use dry ice, place it in a cooler, and put a layer of the dry ice on the bottom, positioning your ice cube trays on top.
You can then place more dry ice on top of your ice cube trays. Close your cooler’s lid for 15 to 20 minutes, and then check on the ice. It should be frozen, but if not, you can check again after another 15 to 20 minutes.
For faster results place the dry ice on top of the ice cubes trays. Because cold air sinks the cold air from the dry ice will quickly cool down and freeze the water underneath it.
If you do not have dry ice you can use a fire extinguisher. All you have to do is release the pressure over the ice. The gas from a fire extinguisher is extremely cold as will almost instantly turn your water into ice.
Dry ice is so cold that you can use them to freeze more water! You can make large quantities with ice utilizing this method.
How To Make Dry Ice Cubes With A Fire Extinguisher

If you want to use a fire extinguisher to form dry ice, you can follow these steps:
You will need a carbon dioxide tank or a CO2 fire extinguisher for this method. Be sure to keep heavy-duty gloves, a cloth bag, as well as duct tape at your disposal. If you need to go out and purchase a fire extinguisher, be sure that it is labeled as “carbon dioxide.”
Keep the nozzle of the fire extinguisher inside the cloth bag
Clamp your gloved hand around the mouth of the cloth bag, and keep it away from the nozzle.
Partially open the valve, and the dry ice will start to form in the cloth bag
Close the bag and remove any dry ice from the extinguisher’s nozzle. Remove the bag, and your dry ice is inside in a powdered form.
Compress the dry ice powder with your hands into larger blocks and it’s now ready to be used!
3. Freeze Water Outside In Winter
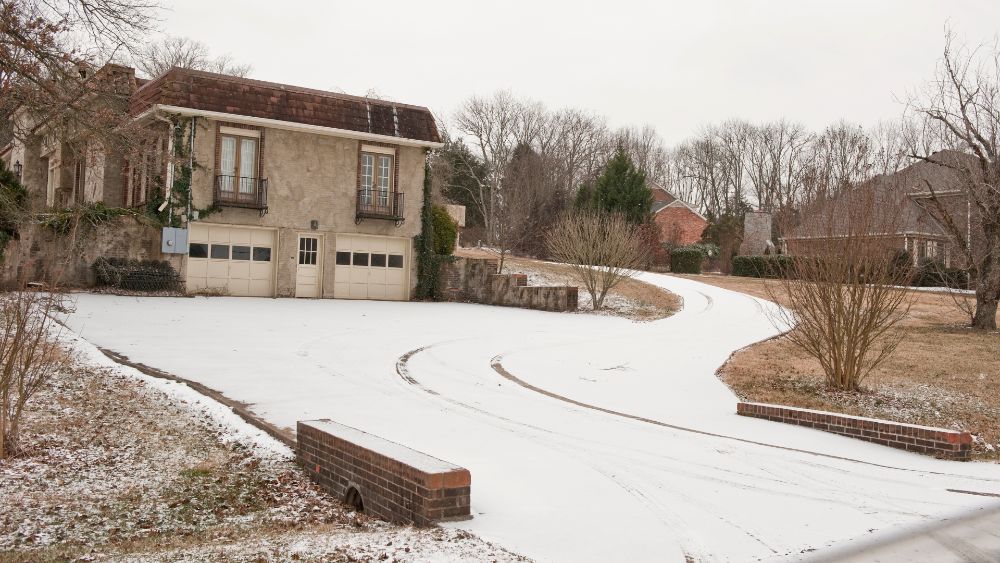
If it’s wintertime, you’re in luck! Using the cold weather to produce ice without a freezer is a great way to reduce your electricity use.
Below are some easy and quick steps on how you can use the weather to your advantage to produce ice:
Wait Until The Temperatures Are Below Freezing
If you are familiar with an electric freezer, you may have noticed that they are always set to 0ºF/-18ºC and items will freeze between three and four hours.
A warmer temperature may take longer to freeze items, which could become a hassle.
Use Boiled Or Filtered Water And Fill Ice Cube Trays
You can use multiple ice cube trays depending on how much ice you want to produce.
However, it will be a good idea to keep in mind that the smaller your ice cube tray holes are, the sooner they will freeze.
If you need more giant ice cubes, you can use a zip lock bag or a clean egg carton.
Place The Ice Cube Trays Inside A Resealable Bag
After you have filled your ice cube trays with water, you should place them inside a bag to protect them from any dirt, dust, or wildlife.
You could also choose to cover it with plastic cling wrap if your ice cube trays are too big.
Place Your Ice Cube Trays Outside
Even on the coldest days, sunlight and plastic materials could create a greenhouse effect. If you have put the ice cube trays in a sunny location, the heat will get trapped and can stop your ice from forming.
Placing them in a shady spot or outside at night is the best options.
Remain Patient
It will take some time for your ice to freeze, depending on how cold the temperature is and the size of your ice cubes.
After several hours, you can check on them and evaluate the process until the water has been frozen entirely.
4. Use A Portable Ice Maker
Using a portable ice maker is a practical and inexpensive way to make ice without a freezer. If you have electricity, you will benefit greatly from a portable ice maker.
These small ice-making machines can produce ice pieces in either bullet or hat forms, and some can create several pounds of ice each day.
A portable ice maker will only cost you around $150 to $250, and it will be both worth your time and money, especially if you have a large family.
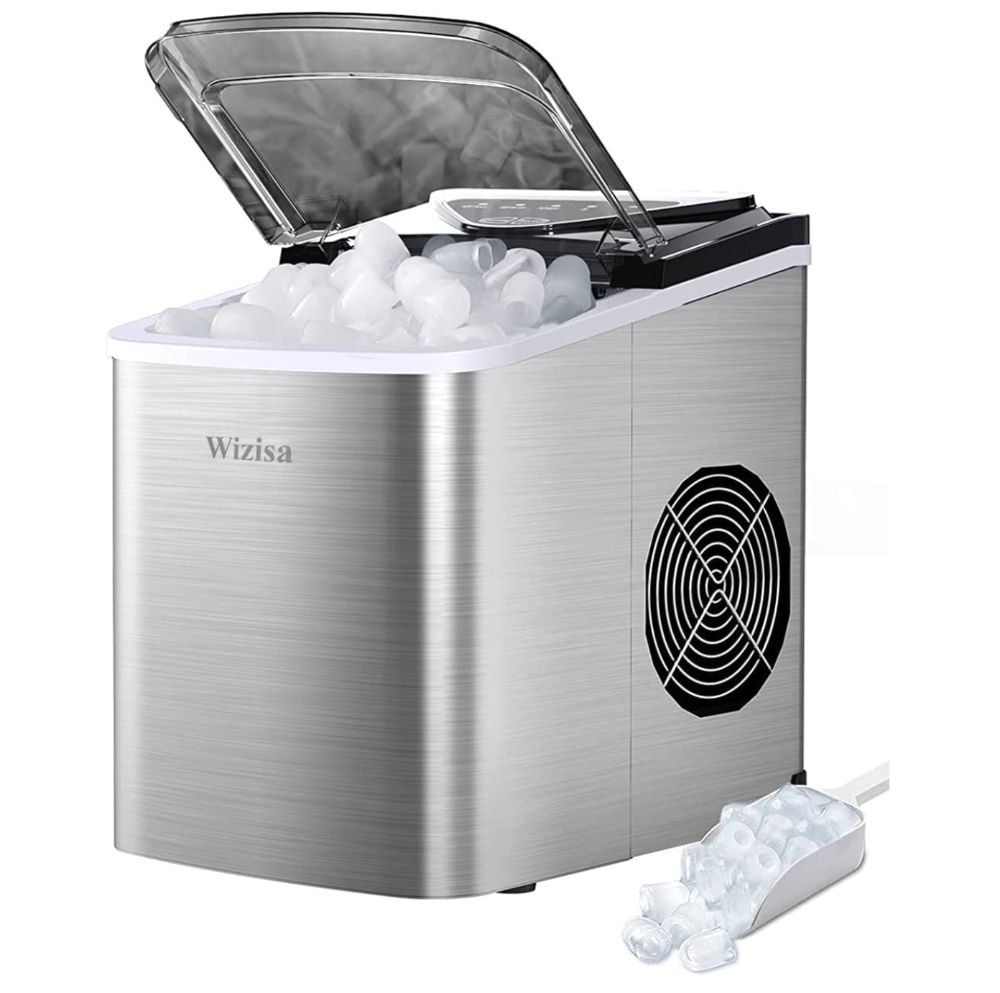
If I had to choose one I’d recommend the Wizisa Countertop Small Ice Maker (at Amazon). It is affordable and won’t break the bank, it has a small profile so doesn’t take up much room and it can make ice in just 6 minutes.
See the latest price of the Wizisa Countertop Ice Maker at Amazon
5. Mix Fertilizer and Water To Make An Ice Pack
Interestingly you can use fertilizer to make a cold pack or ice pack.
Fertilizer is made from ammonium nitrate and when this is dissolved in water it creates an endothermic reaction and absorbs heat from the surroundings.
This reaction will absorb heat from the water the ammonium nitrate is being dissolved in making it very cold. This is how instant ice packs work – learn more.
Easy Steps To Produce An Ice Pack Using Fertilizer:
- Take 100 grams of ammonium nitrate and place it in a resealable bag.
- Measure out 100mL of water and pour the water into the bag of ammonium nitrate, sealing the bag afterward.
- Squeeze the bag gently to mix the water and fertilizer.
- The bag will become cold within seconds and remain cold for up to 20 minutes.
6. Use Instant Cold Packs
Cold packs basically use the same process as the fertilizer ice pack method above, but you can readily purchase them at the supermarket.
Place them in your freezer before you plan on using them, or watch this great clip:
7. Add Salt To Existing Ice To Freeze Other Water
Salt will lower the freezing point of your water. This means by placing salt on top of ice you can cause that ice to melt.
This melting is an endothermic reaction (like the cold packs above) and it absorbs heat energy from the ice in order to happen.
This means putting salt on ice makes the ice colder and can make it as cold as -9ºC/16ºF. This cold salted water can then be used to freeze clean water if you put them next to each other in something like a metal ice cube tray so heat is easily transferred.
This is why they use salt in ice to make ice cream. The salt ice on the outside of the tub of ice cream gets so cold that it freezes the ice cream.
How Did They Make Ice In The Older Days Without Electricity?
In the older days, when electric freezers were not a choice, people were appointed to gather any ice, such as snow, that formed during the winter.
The ice was then stored in underground pits lined with straw and used as needed.
This was a great way to keep ice during the cold months, and even during the summer, the ice didn’t melt due to it being underground.