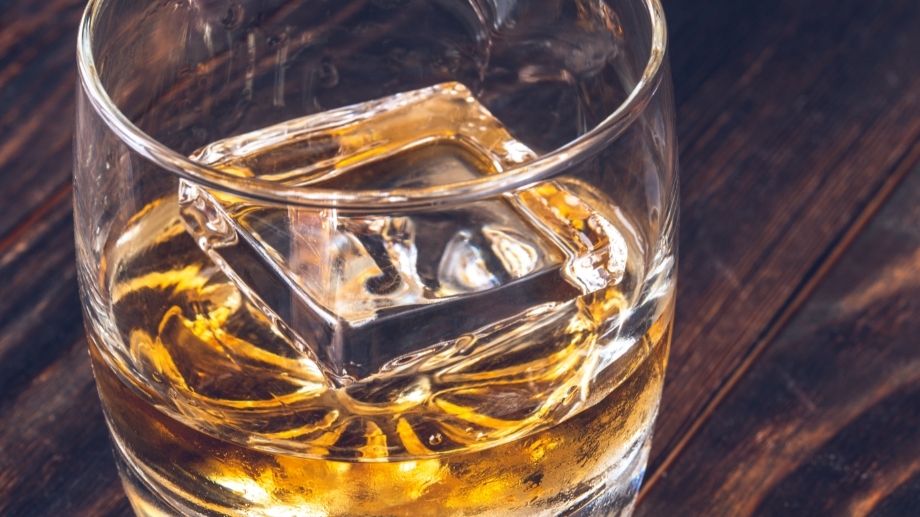
Without a doubt clear ice is better for whiskey than regular ice. It looks better and more sophisticated and it also melts slower – diluting the whiskey less.
You may think that clear ice for whiskey is reserved for high-end bars and restaurants but it isn't. You can simply and easily make high end crystal clear ice for whiskey in your own home…and it doesn't take that much effort.
Let's go through some clear ice-making steps that will take you from whiskey novice to being able to square off with a whiskey sommelier in no time at all!
Why Is Clear Ice Used In Whiskey?
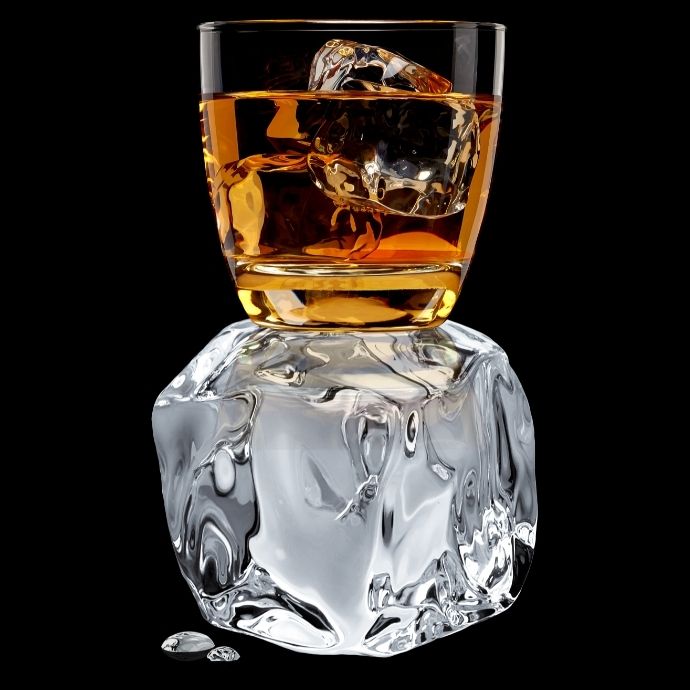
Whiskey drinkers generally have very particular tastes. Some prefer their tipple neat, while others love the clinking of gorgeous large chunks of clear ice in their glass as they savor their drink.
Clear ice is more aesthetically pleasing when compared to white cloudy ice. Allowing the color of your whiskey to stand out without being ruined by opaque white ice cubes throughout it.
While whiskey containing clear ice looks great, there is far more to it than just that. Clear ice melts slower, so it lasts longer in a drink without diluting the taste of the whiskey. Clear ice is also generally larger in size than white ice cubes, which again helps it to laster longer before melting.
Add to this that clear ice is usually made from distilled water and when the ice eventually does melt into your whiskey it is better tasting ice and won't ruin the flavor of your whiskey like other ice cubes might.
So, now that you know WHY we need clear ice for whiskey let's spring into action to make it a reality. The process is pretty simple so long as you have the right equipment. You will be able to make clear ice cubes or spheres that are sure to impress your guests.
Round or square-shaped clear ice cubes are a personal preference, but big is always beautiful when it comes to ice cubes for whiskey. Follow these 8 steps to create chunky, crystal clear ice to serve with whiskey:
1. Get A Clear Ice Cube Maker or A Small Cooler
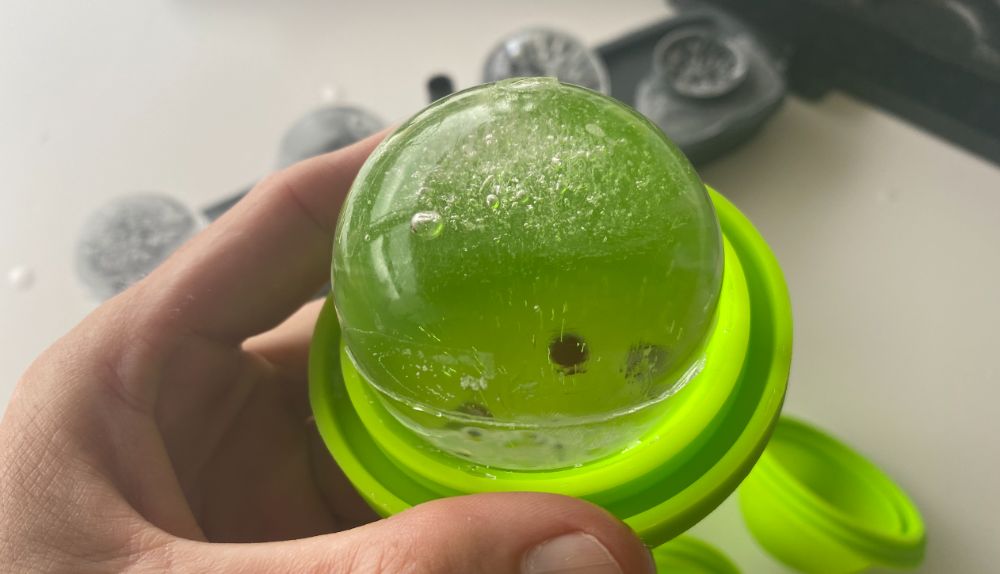
Of course, investing in a clear ice maker machine is the quickest way to create clear ice. If you use a lot of ice, this will be the most hassle-free way to ensure you always have a continuous supply on hand. Click here to see the list of the best clear ice makers on the market.
The downside to these clear ice makers is that they can be quite expensive and it does take longer to make clear ice cubes compared to regular ice cubes.
So for those of us who only need impressive, clear whiskey ice occasionally and don’t want to make a large investment you can use a small cooler inside your freezer to create a block of clear ice. Then cut this block into larger cubes that will fit into your whiskey glasses
Invest in specialty molds that will allow you to create whiskey-perfect clear ice blocks in various sizes and shapes.
If you prefer hassle-free clear cube form ice trays, which are perfect for whiskey or any other fancy cocktail drinks you are making, these are two excellent choices:
- True Cubes Clear Ice Maker – One of the best and most popular clear ice cube makers. Let’s you make 4 large clear ice cubes using regular water.
- Berlinzo Clear Ice Sphere Tray – If you prefer spheres over cubes then this is the best clear ice sphere maker
2. Distill or Filter Your Water
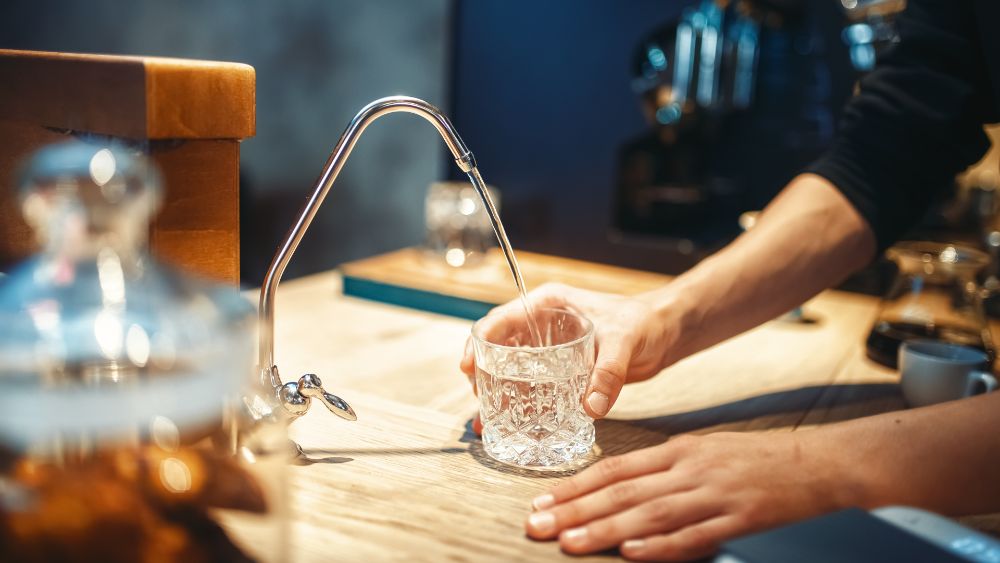
While distilled water alone will not result in clear ice, it does help quite a lot. Eliminating excess minerals and impurities is a critical factor to making clear ice. Using distilled water is a great starting point when creating clear ice.
If you don’t have distilled water available, you can make distilled water yourself at home using an affordable . Just be sure to cool the water completely before you heat it a second time.
Besides providing a significantly better outcome of success, distilled water will also taste better when used to cool whiskey. The purer taste blends better as it melts and is less likely to detract from the subtle flavor nuances of the whiskey.
You can purchase a countertop water distiller to easily make distilled water on demand. I recommend the CO-Z CounterTop Water Distiller at Amazon because it's affordable, stainless steel and has one of the highest ratings.
If you can't distill your ice then boiling your water can help to make clearer ice as it removes some of the dissolved gases from the water. However, it won't make clear ice on its own. You'll still need to freeze the ice omni-directionally with a clear ice maker.
3. Fill Up Your Clear Ice Cube Maker
Once you have prepared the water you will be using, and it has completely cooled down, fill the cooler with 2/3 to ¾ full.
Do not add warm water to a plastic cooler or ice cube tray as it may create a plasticy flavor in the ice. Also, if you are using a mini cooler to make your ice, don’t put a lid on it.
If you are using a clear ice maker then you'll actually want to fill this up completely otherwise you'll end up with smaller ice cubes or ice spheres that are partially cut off.
Most of these ice makers will have a fill line so you'll know exactly how much water to put in and it's easy.
4. Place In Middle Of Freezer
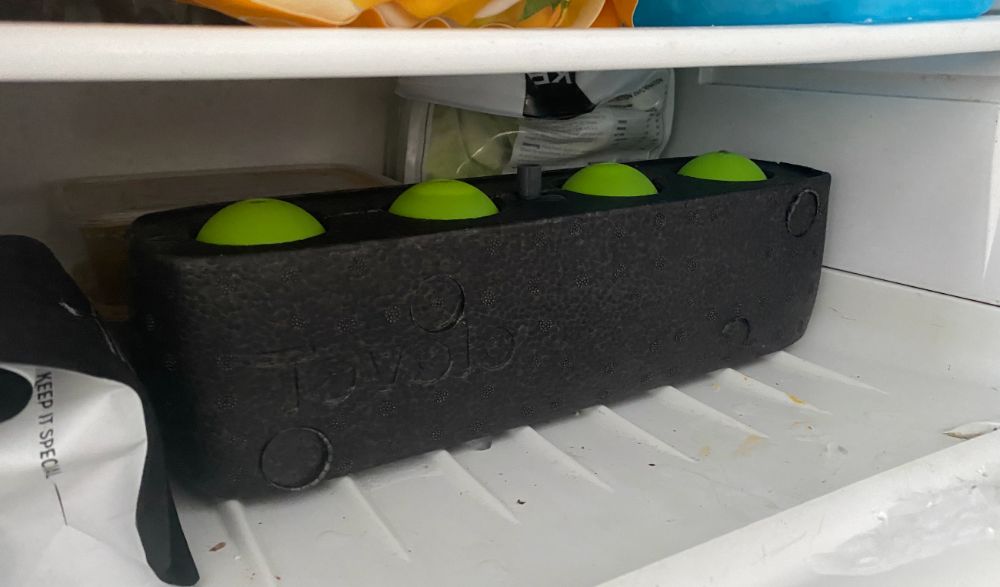
Using a mini cooler or clear ice maker inside your freezer to create clear ice ensures that the ice freezes from the top down. Placing it in the middle of the freezer will ensure it freezes evenly.
Think of your clear ice experiment as a lake freezing in winter. The sides of the cooler are insulated, so freezing temperatures will affect the top layer first.
The surface layer creates a thick sheet of clear ice while there may still be liquid below. As the ice freezes downwards it pushes the impurities and air bubbles down.
Once it's all frozen you'll have clear ice at the top and really cloudy ice down the bottom full of impurities and air bubbles.
Discard the cloudy section (in ice makers this is in a reservoir that is easily separated from the clear ice) and keep the clear ice.
5. Keep Freezer At a Warmer Temperature
The faster you freeze ice the more likely are bubbles are going to get trapped in your ice making it cloudy and non clear. One of the mistakes people make when making clear ice is they want to make it as quickly as possible.
So by keeping your freezer at a warmer temperature the ice will freeze slower and freeze clearer.
This isn't always needed if you have a good clear ice maker that insulated the sides and bottoms well. But if you aren't getting good results then turning your freezer up to a warmer temperature can help you to get clearer ice.
6. Leave for 24-48 Hours
Creating perfect, clear ice that will be ideal for whiskey takes a bit of time and planning to get solid, crystal blocks that you can be proud of.
This will usually take 24-48 hours, which is a lot longer than regular ice which only takes 3-4 hours to freeze solid. I tried to take out my clear ice spheres at the 24 hour mark and they JUST weren't completely frozen, this led to the calls being cut off at the bottom.
If you are planning an event, it may take a bit of trial and error to know how long your freezer takes to create a rock-solid transparent surface layer in your cooler.
The aim is to separate and harvest the crystal-clear layer off any cloudy bottom section. You want to get the ice out just in time to whip the clear top layer off before it freezes onto the bottom bit.
This makes it easier to remove from the cooler, and you won’t have to spend much time chipping the cloudy layer off the clear section.
If you have used the cooler box method to create a chunk of clear ice, you can make blocks using an ice pick or cut them with a serrated knife. Just be sure to use an oven mitt or dish towel to hold onto the ice while working with it.
7. Remove Ice and Store In Airtight Container
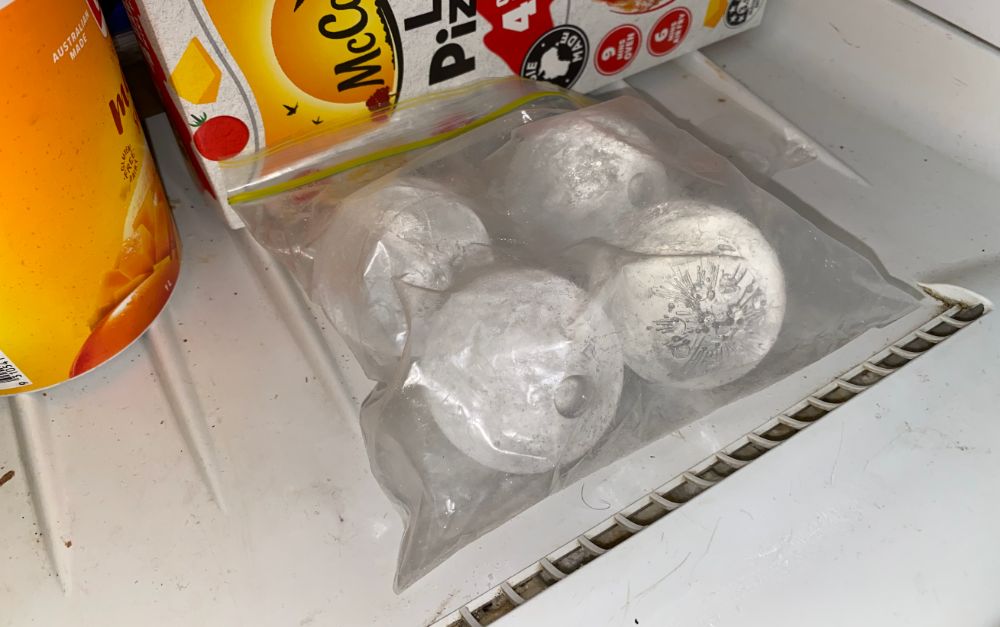
Most whiskey-sized ice cube molds and trays aren’t very big and will only make 1-4 ice cubes at a time, which isn't much. You may want to build up some stock but if you want to stop your ice from tasting like garlic then you need to store your ice properly in the freezer after making it.
Fortunately, once you have created gorgeous, crystal-clear ice blocks, storing them is pretty simple.
The trick to keeping your perfectly formed ice shapes from sticking together or forming an outside, cloudy film is to keep them in a sealed container and the freezer as cold as possible. Also keep them towards the very back of the freezer and don't stack items on top of them.
You want to prevent your ice blocks from melting even just a tiny bit which can happen each time the freezer door is opened, so keep your ice blocks stowed as far back in the freezer as possible.
8. Serve With Metal Tongs
Complete your perfect clear ice presentation by serving the ice using metal tongs. Not only will they look sophisticated, but they are more likely to grip the ice better. Imagine after all your effort to create magnificent whiskey ice cubes, and they go slip-sliding away because you can't hang onto them!
UWYSTON Stainless Steel Ice Tongs – The sawtooth structure of the grip will give you a firm grip on ice blocks of any size.
MASSJOY Claw Shape Ice Serving Tongs – This is a creative choice and perfect for getting a grip on large sphere shape ice cubes.
Conclusion
Creating elegant clear ice cubes for whiskey can be done at home. The two main issues affecting the clarity of ice are the presence of air trapped inside and minerals present in the water.
Fortunately, with a bit of know-how, these challenges can be overcome, and you will be able to serve beautiful, stylish ice cubes with your whiskey.
How to make clear ice cubes for whiskey:
- Use A Clear Ice Cube Maker or A Small Cooler
- Distill or Filter Your Water
- Fill Up Your Clear Ice Cube Maker
- Place In Middle Of Freezer
- Keep Freezer At Low Temperature
- Leave for 24-48 Hours
- Store In Airtight Container
- Serve With Metal Tongs

