Ice makers in your freezer are great when they work, giving you ice on demand. However, sometimes they get stuck and stop working.
If you don’t know why it can be extremely confusing, but luckily there are a few common reasons ice gets stuck in your ice maker and they are simple to fix.
In this article we’ll look through the most common reasons ice is stuck in your ice maker, how to fix them and how to make sure they don’t happen again.
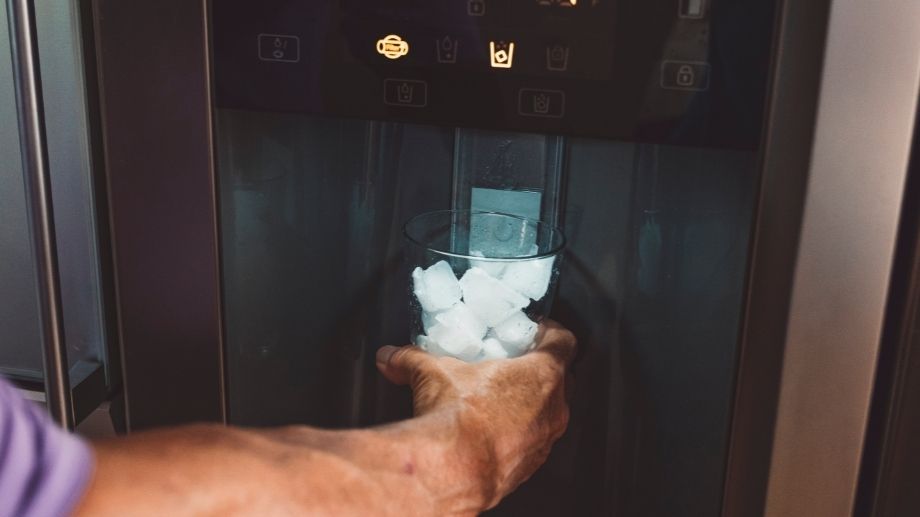
1. Remove Any Obstruction From the Dispenser Chute
An overloaded ice bucket can clog the dispenser chute. The ice pieces inside the bucket also tend to clump together due to mild thawing and refreezing.
If your ice ends up sticking together in a big clump then the individual pieces can’t go down the chute and they’ll become stuck.
The easy solution is taking out the ice bucket and clearing any obstructions in the dispenser unit. Also, check if all the parts are aligned accurately for the dispenser to function normally.
You can also follow these tips to keep ice from sticking together in your ice maker so it doesn’t happen in future. The key takeaways here are to keep your freezer at the right temperature, break up the ice semi-regularly if you aren’t using it or completely replace it if it’s been a while.
Ice that has been in your ice maker too long can taste funky even if the water is fine because odors and flavors from the food in your fridge/freezer get imparted into the ice. So replacing it if you’re not using it is generally a good idea.
If you clear up your dispenser from obstructions and the problem persists then check the tips below for why ice may be stuck in your ice maker.
2. Replace a Worn Out Dispenser Flapper or the Unit
Check if the dispenser flapper is opening and closing flawlessly. An old or worn-out flapper may adversely affect the dispensing mechanism, and a flapper that does not close completely will compromise the seal.
Thus, warm air may seep in and cause condensation in the ice bucket.
This condensation could be the actual problem of ice getting stuck inside the maker as the pieces form a large clump and block the dispenser chute. This is why you need to replace the old flapper unless the culprit is the dispenser solenoid.
3. Replace a Malfunctioning Dispenser Flapper Solenoid
The dispenser solenoid regulates the flapper or door. A corroded or broken solenoid will malfunction and not close the flapper completely, so you’ll need a new dispenser flapper solenoid.
Here’s how you can replace a dispenser flapper solenoid:
You should be able to replace the dispenser solenoid or flapper in many models, such as GE. However, some brands like Whirlpool may require you to replace the entire dispenser unit. Also, you may need to replace the whole unit if you have defective dispenser switches, faulty wires, and other broken parts.
Always match the part or unit before you purchase it.
4. Defrost the Ice Maker if Unit Is Frozen
You will have ice stuck in your ice maker if the entire unit or its critical components are frozen.
You may have clumpy ice, icicle buildup, and frozen lines affecting normal functions. This is why you should defrost the ice maker so that you can inspect the different parts.
Some people use a hairdryer, warm water, or steam to defrost only the ice maker, so the frozen foods inside the freezer don’t thaw. Exercise caution if you use a hairdryer, as ice makers have plastic parts.
Also, defrost the entire unit, including the fill tube hooked to the water hose as sometimes the fill tube can freeze over meaning no water can get out.
5. Check the Ice Maker Mold for Damaged Coating and Replace
Some molds have a coating so that ice can easily slide out when the raking mechanism comes into play. New ice may get stuck in the mold if the coating is worn out or damaged. Such an issue is usually more common in homes that have hard water.
Hard water has dissolved salts in it which can build up on your ice maker over time. This is the white sediment you see on silicone ice cube trays over time, but the same buildup can happen on ice makers and if it gets too much they get less smooth and the ice gets stuck to the mold.
Check the ice maker mold and clean it or replace it. Don’t use a damaged mold as the coating may blend with your ice, which is not healthy for consumption.
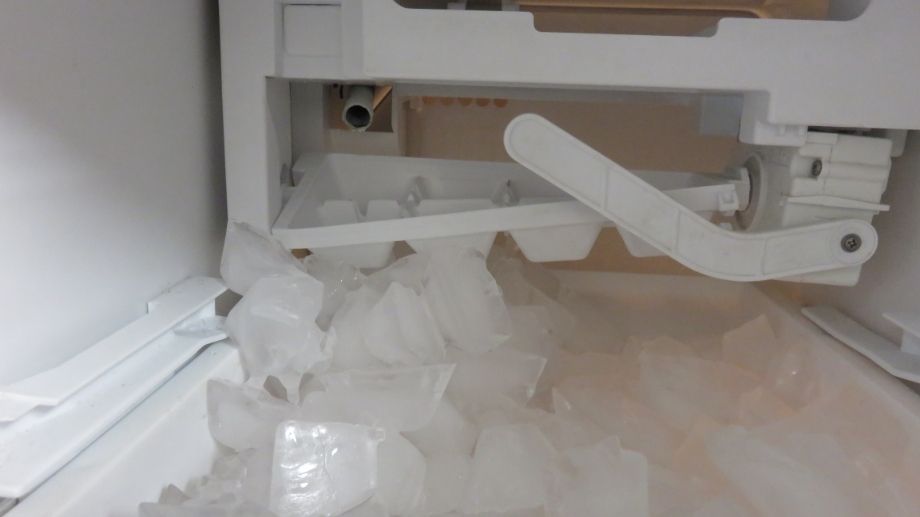
6. Inspect the Raking Mechanism and Fix the Failing Component
Just as ice may get stuck due to a worn-out mold coating, the pieces will not slide out to the bucket if the raking mechanism fails, which might get jammed due to ice buildup. If you defrost the freezer and ice maker in the fourth step, the raking bar should no longer be stuck.
The raking part has a mechanical function, so you can simply replace the bar if it is broken or deformed. However, the problem could also be in the control module. This control module is in the ice maker’s enclosure, housing the motor and gear.
Check the manual and inspect the motor, gear, thermostat, and other components. You may have to replace the entire control module if individual parts are irreplaceable.
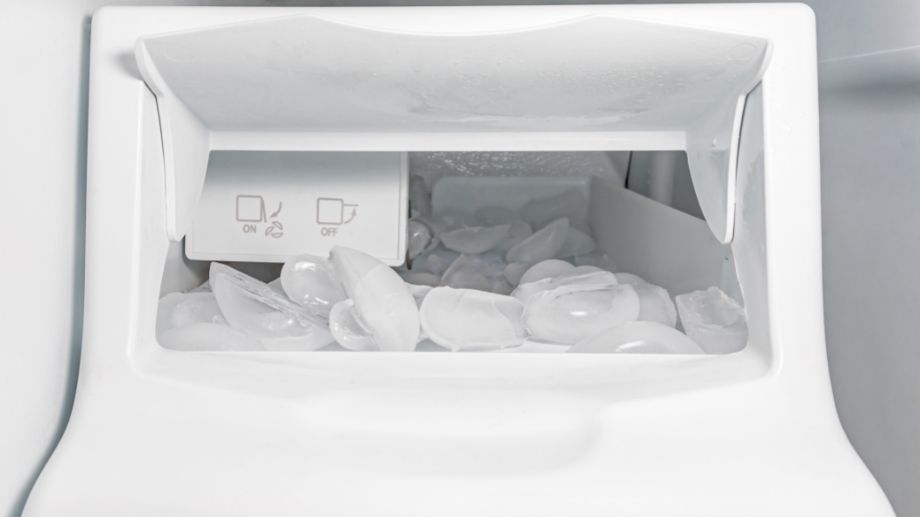
7. Replace the Shut-Off Arm or Its Spring if Either Is Broken
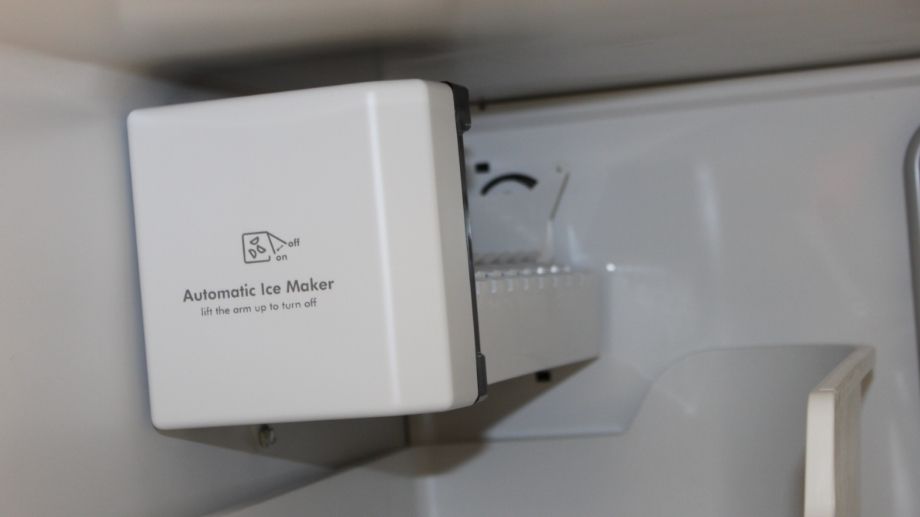
First, check whether or not your shut-off arm is in the right position. It could be in the position that tells the ice maker not to work. If it’s in the right position then check to see if the shut-off arm is working.
As you inspect the control module, check if the shut-off arm and its spring are working flawlessly. The shut-off arm is the lever outside the ice maker mold and raking mechanism. This lever should toggle smoothly, switching from on to off position and vice versa.
A deformed shut-off arm may prevent the ice maker from working. Also, this arm or lever in the off position may fail to break the circuit inside a defective control module. So, the unit will continue to make new ice even after the bucket is overloaded.
Thus, you will have a lot of ice and frost buildup inside the bucket and mold, in effect clogging the whole unit.
Replace a deformed or broken shut-off arm. Also, check the spring inside the control module that operates the shut-off lever, and replace it if necessary. However, both these parts may be structurally alright, and your problem could be the gear and motor inside the control module.
8. Get a New Control Module if the Internal Parts Are Broken
The control module’s motor and gear operate the raking mechanism and shut-off arm. Also, the thermostat and sensors in the control module regulate everything, such as the water inflow, ice making, and dispersing the new pieces from the mold to the bucket.
Remove the control module cover and inspect the moving parts, and replace the unit if it is broken. In some cases, minor adjustments such as reducing the water flow can prevent unusual frosting and the ice pieces from clumping together. Thus, you can avert a clogged dispenser unit.
Watch this video from ~5:40 to test a control module and adjust the water flow:
9. Reset the Ice Maker Before Repairs and Replacements
Last but not least, reset the ice maker before you consider any repair or replacement. You can defrost the freezer but go a step further. Shut down the appliance, unplug it, and give it half an hour for a hard reset.
Also, you may check the owner’s manual for model-specific instructions.
A hard reset may resolve temporary glitches, such as the shut-off lever’s default position, raking function, and thermostat, gear, or motor problems.
Conclusion
When your ice maker is clogged, there are several things you can do to fix it before contacting a repair professional. You’ll need to make that there isn’t a lot of ice stuck in the chute, or if the raking arm isn’t stuck. However, should nothing be wrong that you can see, you may need to contact a professional or replace your entire freezer.
Here are the easy fixes when you have ice stuck in ice maker:
- Remove any obstruction from the dispenser chute.
- Replace a worn-out dispenser flapper or the unit.
- Replace a malfunctioning dispenser flapper solenoid.
- Defrost the ice maker if the unit is frozen.
- Check the ice maker mold for damaged coating and replace.
- Inspect the raking mechanism and fix the failing component.
- Replace the shut-off arm or its spring if either is broken.
- Get a new control module if the internal parts are broken.
- Reset the ice maker before repairs and replacements.