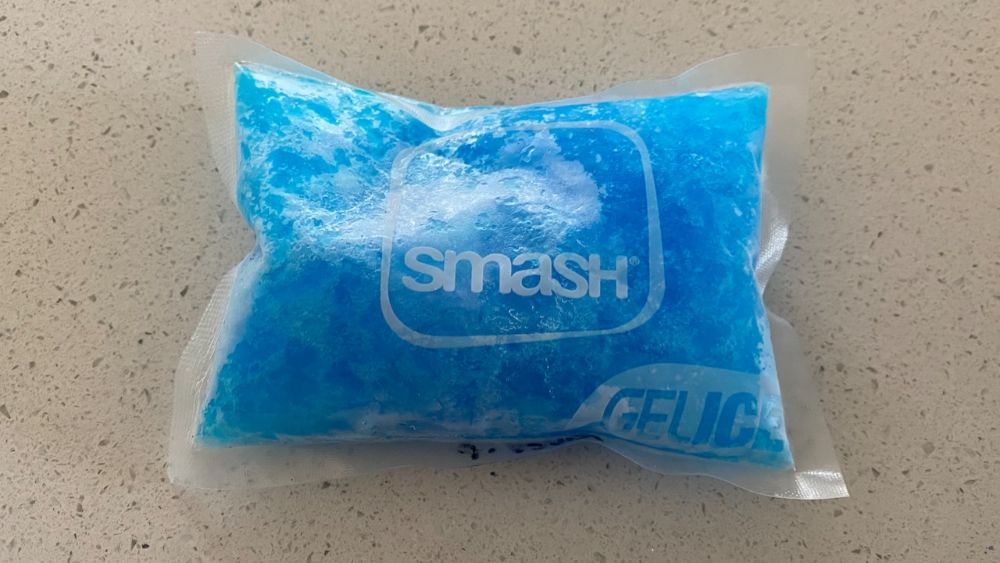
Hot and cold gel packs are so versatile and can be used in different ways, from keeping your lunch cold or to be used on injuries or sore muscles. But these gel packs are only effective if you know how to use them properly. In this article, I will explain how to do that.
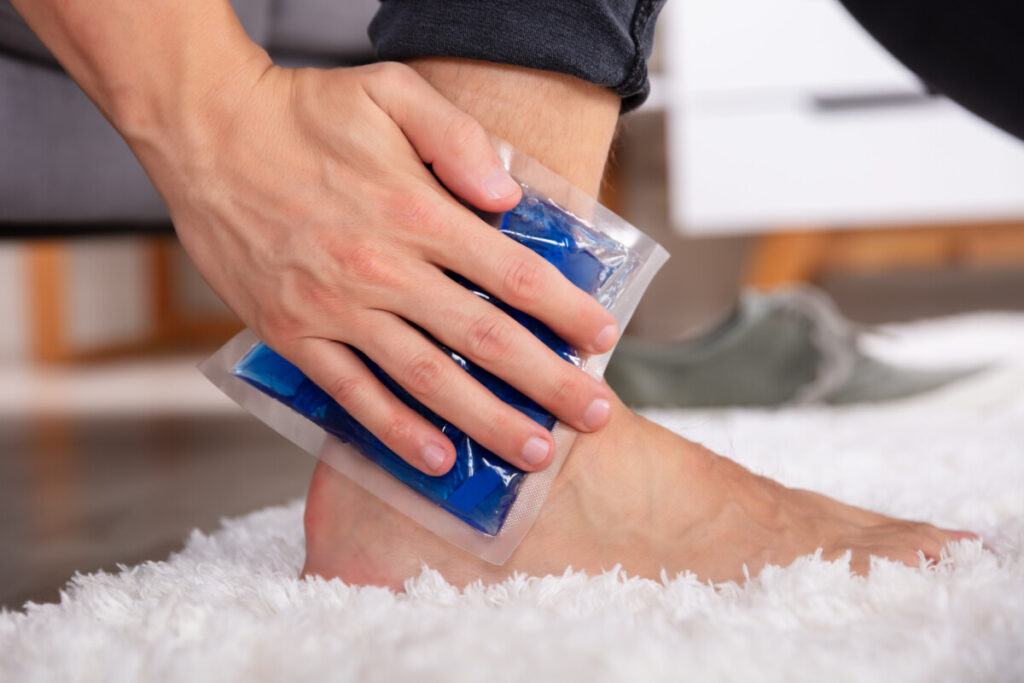
Use cold gel packs on injuries by wrapping them in a towel or cloth before applying to the injured area. They should be held there for a maximum of 20 minutes at a time. Hot gel packs are used for muscular pain and stiffness and should also be wrapping in a towel or cloth before being applied to the sore area.
When used properly hot and cold gel packs are a great tool for reducing swelling, muscle soreness and improving recovery times from injuries.
How To Use Cold Gel Packs
Cold gel packs are the most commonly used ones and they are simple and easy to use.
Not only are cold packs great for use in your lunch bags and coolers, but they’re also amazing when it comes to pain relief and treating injuries.
Step 1: Freeze The Gel Pack
Place your unfrozen gel pack into your freezer. The best temperature for freezing gel packs should be 0℉ (-18℃). This is the standard temperature of a home freezer.
It can take about 6-8 hours for the gel pack to reach this temperature (depending on it’s size). When using your gel pack for cold food you should ideall leave the geyl in the freezer for at least 24 hours so that it is frozen solid. This is perfect if you’re using the gel pack for keeping food cold.
If you are using the gel pack to ice an injury, waiting 24 hours for the gel to freeze is pretty pointless and 4-8 hours will usually do the trick. Gel ice packs don’t really expire so you can leave a gel ice pack in the freezer for months or even years at a time so it’s ready whenever you need it.
Gel ice packs can start freezing from a minimum of two hours, and while they might not be rock solid, they will still do the job.
You can test if the gel pack is frozen enough to use by gently placing it on the inside of your wrist. If it’s not cold, place it back in the freezer.
If the gel pack is too cold against your inner wrist, you can leave it out to thaw for a couple of minutes before using it.
Step 2: Wrap The Gel Pack
Once your gel pack is ready to be used, I recommend wrapping it in a light towel or cloth.
This is a great way of protecting your skin from the extreme cold, as well as providing some form of insulation to help the gel ice pack last longer. If you’re using the pack for your cooler, you can skip this step!
Some gel packs come with sleeves or pockets of material for the gel pack to be placed into. This makes applying the gel packs to injuries much easier.
Step 3: Apply The Gel Pack
Your wrapped gel pack can now be applied anywhere on your body.
Cold gel packs can be used for the following ailments:
- Injuries that occurred within 48 hours
- Bruises
- Joint sprains
- Fractures
- Pulled muscles
- Inflammation
- Post-workout therapy
Just remember to remove the gel pack from the area after 20 minutes and in intervals of 3-4 times per day to get the best results.
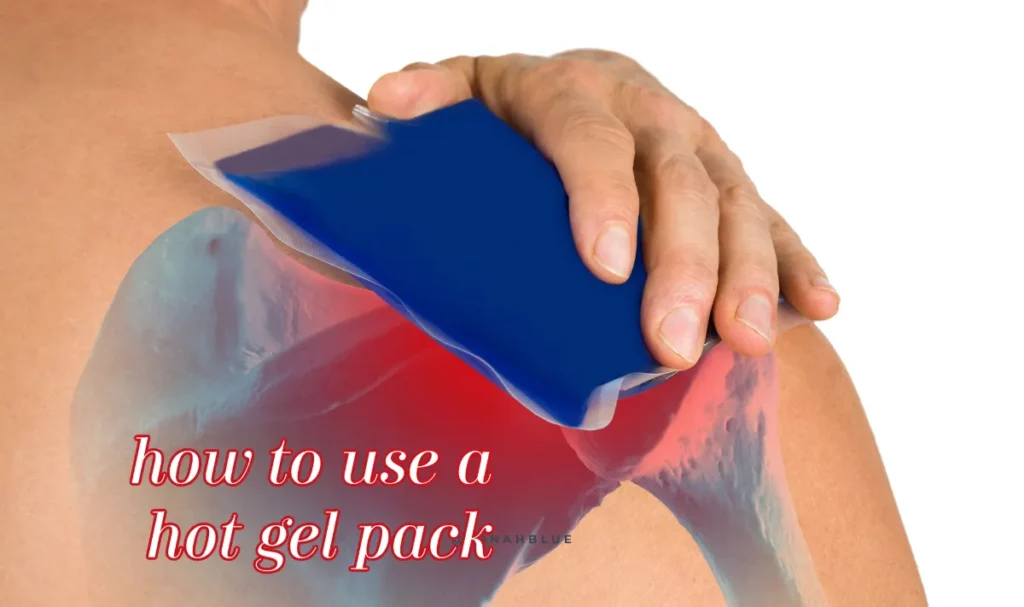
How To Use Hot Gel Packs
Many people would be surprised that gel packs can be heated. They aren’t just used frozen.
Heating gel packs can be a great way to relieve muscle tension and help relax sore muscles.
Step 1: Heat The Gel Pack
To heat the gel pack, you need to place the pack into a microwave for 30 seconds at 600w or close to that. If the gel pack is still not hot enough, put it back in for 10 seconds at a time until you’re happy with the temperature.
Getting the temperature right might take a few tries because everyone’s microwaves are different.
Also a microwave can create “hot spots” in your gel pack where some areas are super hot while others are still cold. Once the microwave has finished heating the gel pack leave it to stand for 1 minute or even massage it around a bit to allow the heat to move evenly through the gel pack.
If you don’t have a microwave, don’t worry, as you can boil water and place the gel pack into the already-boiled water for about 5-10 minutes. Then leave to cool a bit before applying it to your skin.
The plastic should be thick enough and strong enough that it won’t melt in boiling water.
Step 2: Wrap The Gel pack
Once the gel pack is heated to your desired temperature, you can remove it from the microwave or water, be sure to use oven mitts or a towel as it will be hot.
Before you place the hold gel pack on your body, you must wrap it in a towel or the sleeve that comes with the pack.
You will burn your skin if you do not do this.
Step 3: Apply The Gel Pack To Your Body
Only once you have wrapped the gel pack can you place it on the area that is injured.
Hot gel packs can be used for the following ailments:
- Chronic conditions like arthritis, Fibromyalgia
- Menstrual pain
- Joint stiffness
- Old injuries
You should not leave the heated gel pack on for more than 20 minutes, as this can cause tissue damage over time.
Combine your hot gel pack with some solo massage or get a friend or partner to massage the sore area for even better results.
What Gel Packs Are Made Of
The reason why gel packs are so great at being frozen or heated is because of the gel. But what happens when you accidentally burst one? Is the gel toxic?
Gel packs are typically made up of the following:
- Water
- Hydroxyethyl Cellulose
- Propylene Glycol
- Sodium Polyacrylate (SAP)
- Silica Gel
These ingredients are non-toxic. Just don’t ingest them. If you want to learn more about gel packs, my article on what exactly is in gel packs will be helpful.
Make Your Own Gel Packs And Others
If you’ve injured yourself but don’t have gel packs at home, worry not because I have a simple hack to make your own one of hand sanitizer, something which most households have thanks to Covid.
Simply fill a plastic sandwich bag ¼ with hand sanitizer and fill the rest of the bag with water. Add a drop of blue food coloring if you like, and seal the bag. Use tape on the seal for extra protection.
Then place the pack into the freezer, and viola!
There are so many other ways to create your own ice packs at home. Check out some of my handy hacks.