Camping water containers are big and often difficult to clean because of their size and shape. Cleaning these water containers is essential to prevent mold and mildew growth and eliminate bacterial contamination of your drinking water.
There are several ways to sanitize your camping water containers.
With the unique dimensions and materials of some camping water containers, you may need to use a few of these methods to ensure your camping water containers are clean and continue to provide you with a safe drinking water supply.
The best methods to clean camping water containers include:
- Vinegar and baking soda: Add a cup of vinegar and two tablespoons of baking soda to a full water container, and soak the container with the solution overnight.
- Ice cubes and salt: Quarter-fill a water container with ice cubes and a cup of coarse salt, then shake hard and rinse.
- Bleach: Add two tablespoons of bleach to a full water container, and soak it overnight.
- Rice and water: Add a cup of dry rice to a half-full water container, shake vigorously, and rinse.
- Dishwashing liquid: Add a teaspoon of dishwashing liquid per water container with warm water and scrub.
I also have a few secret cleaning methods you may not have considered yet.
Since I have both a rigid and collapsible camping water container, I use several of these methods to clean my containers. The water container you have and how long it’s been since you last cleaned it determine which method is best for you.
The facilities you have, cleaning supplies, and ingenuity will also determine what cleaning method works best.
Below are the 8 best methods I use for cleaning my camping water containers:
1. Vinegar and Baking Soda Cleaning Method
The best way to clean your camping water container is using equal parts water and vinegar with a heaped teaspoon of baking soda mixed in.
This is my favorite method as it’s a cheap and natural solution that works well to kill mold and bacteria without damaging the plastic of my water containers.
Vinegar and baking soda are both natural mold killers and when combined their chemical reaction can help to break up scum and limestone buildup in your containers.
Pour in equal parts vinegar and water until your container is around 1/5-1/4 full. Then add a heaped tablespoon of baking soda or two.
Close the lid and shake the mixture vigorously. The combination of vinegar and baking soda will fizz, which is excellent for cleaning those hard-to-reach nooks of the containers.
Vinegar usually needs to soak for 20-30 minutes (or overnight) to effectively kill mold.
Shake the solution again the next day, leave for 5-10 minutes, drain, then add two more cups of water, and shake before draining.
Rinse well with a full container of water, drain, and dry before storing.
Fortunately, vinegar and baking soda aren’t ecologically harmful, so you can drain this straight into the ground.
2. Ice Cubes and Salt Cleaning Method
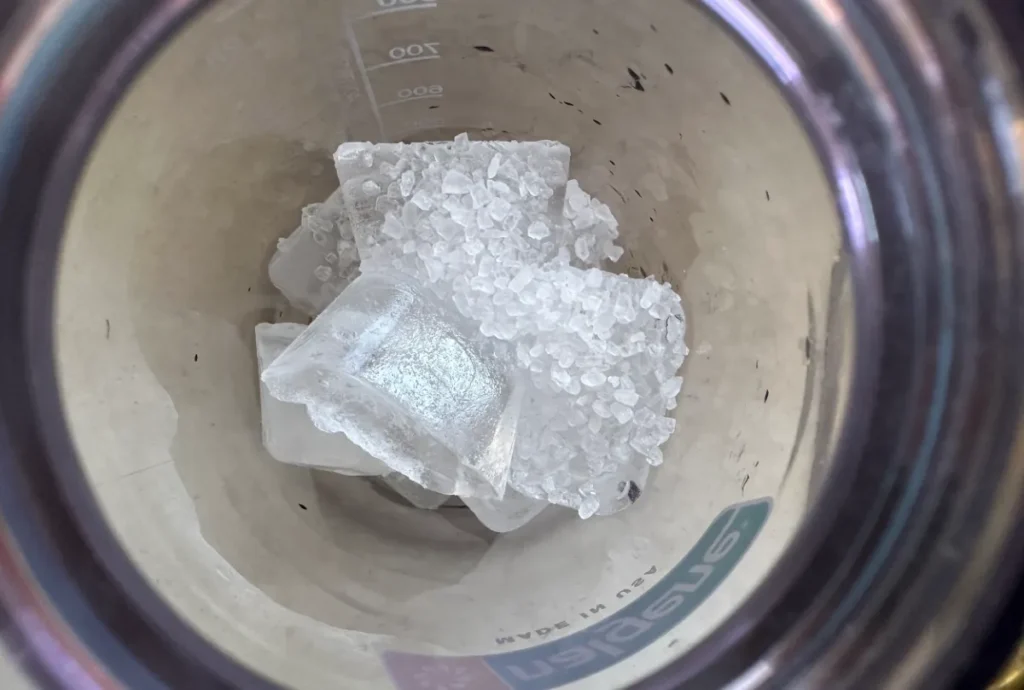
This is a method I use regularly to clear up cloudy water bottles and it works great for cleaning larger water containers too. It just takes a bit more elbow grease the larger the container and if the container is too large to shake it won’t work.
Add about 1-2 cups of ice cubes and a good handful of coarse salt to your camping water container. You can add water but I prefer not to as I find it gets too heavy to shake and the ice will begin to melt as you do this anyway.
Now, you will need some elbow grease to shake up the container quite vigorously for a few minutes.
This is a pretty solid workout and the bigger the container the harder this will be.
As you shake both the ice and the salt will rub up against the inside walls of the container giving it a really good scrub for you. It’ll scrub it a lot better than you can manage with a regular cloth.
After you’re done, drain the container and rinse at least twice with clean water.
Since most commercial salts contain iodine, it also sterilizes the camping water containers. Plus, a big positive is that it has zero impact on the environment, so you can drain the water almost anywhere.
Just be careful of plants because they don’t really like salt.
3. Bleach as Camping Water Container Cleaner
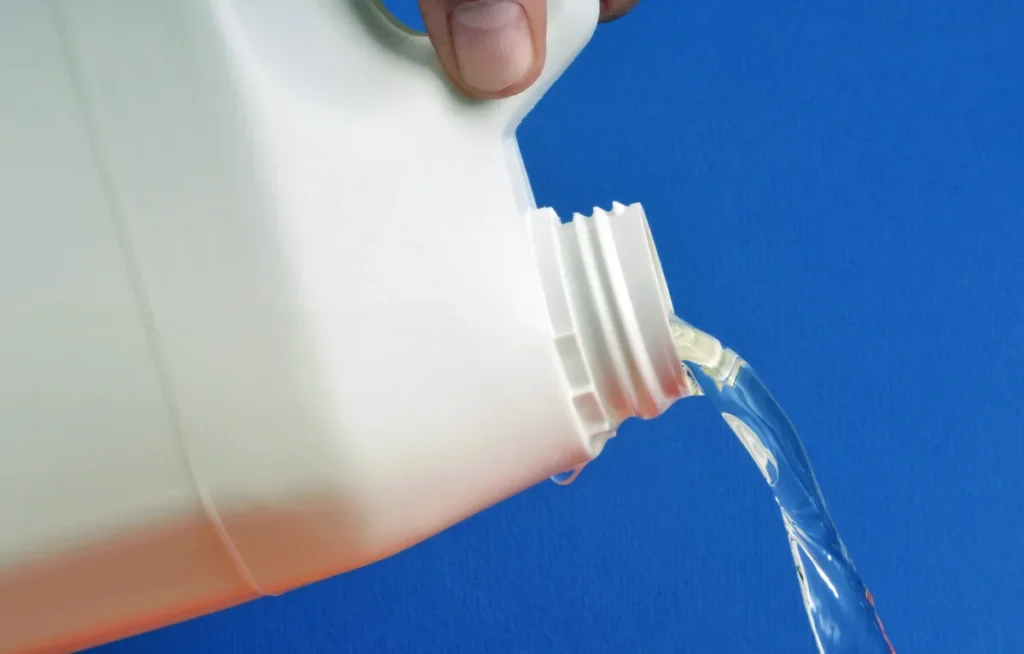
This is the most common method people use for cleaning their camping water containers. It works great but it’s not my favorite option due to the corrosive nature of bleach.
Bleach is a quick fix for sterilizing your camping water container, but in the long run, it’s not always the best option for a plastic camping water container. It’ll do in a pinch.
A big con of using bleach to clean and sterilize your water container is that it is rough on plastics. Over time, bleach will corrode most forms of plastic, which causes the harmful leaching of plastics into the drinking water.
If you are in a rush, bleach will work for cleaning your plastic or steel camping water containers for a day or two and prevent mold buildup.
How to Clean Your Camping Water Container With Bleach
1. Add 1 tablespoon of household bleach to 4 cups of water in the water container.
2. Allow to stand for about an hour.
3. Add another two cups of boiling water and a few drops of dishwashing liquid to the contents.
4. Shake vigorously for several minutes.
5. Drain the container, but take care when you dispose of the bleach-water contents as bleach can kill local wildlife and fish.
6. Rinse the container at least three times with clear, fresh water until there are no more soap bubbles inside.
Top Tip: I like to carry a kitchen scrubbing pad with me (the green mesh kind) when camping. Throw one (or two) into your container with the soap, letting it bounce around inside the container for a bit before you throw out the soapy mix. The sponge will help scrub corners that you can’t normally get a hand to. You can also use ice if you don’t have any scrubbing pads with you.
To get the sponges out of a narrow-mouthed container, simply attach a string to the sponge before dropping it in. Be sure to leave the other end of the string out the bottle mouth so you can pull the sponge out when done.
4. Dry Rice and Water Cleaning Method
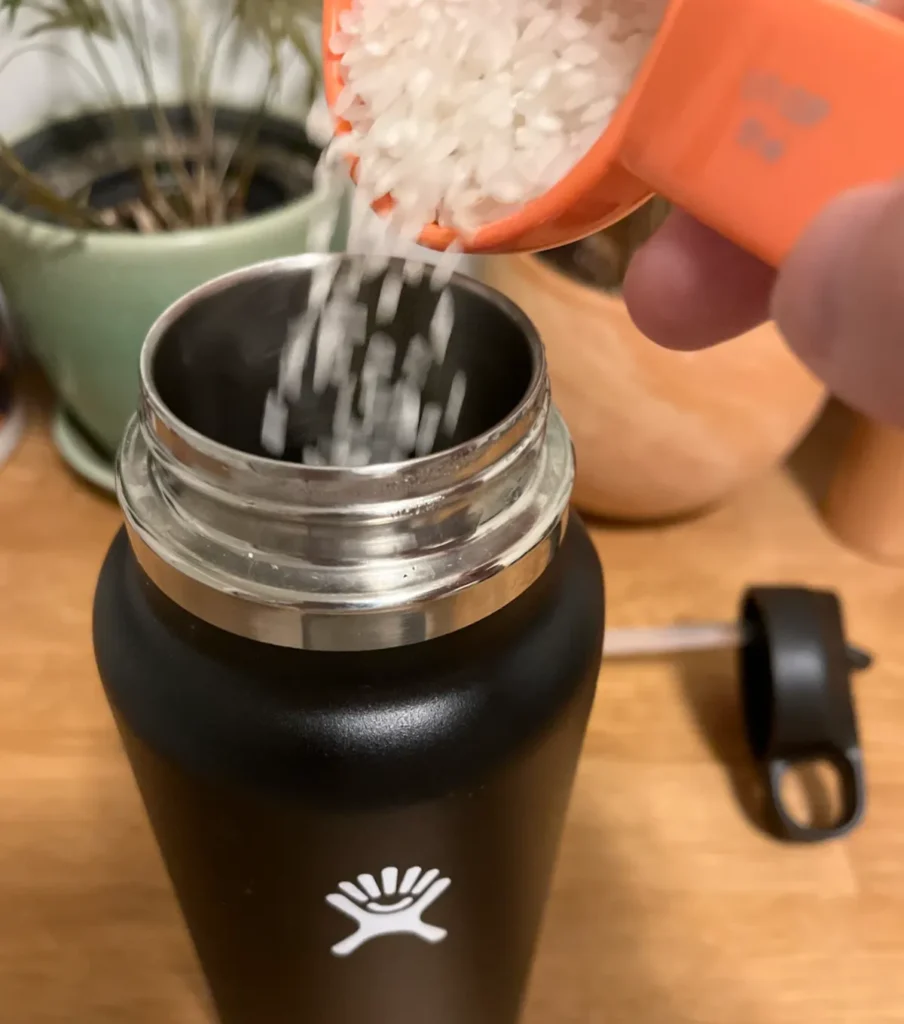
This method is commonly used to clean narrow mouth water bottles and also works great on camping water containers as well.
Simply add half a cup of unflavored dry rice and a cup of water to a 5 gallon (22.7 liter) container.
Double the amount of water and rice for each 5 gallons (22.7 liters) your container increases in size, so that’s a full cup of rice and two cups of water for a 10 gallon (45.5 liter) water container.
Next, shake vigorously for a couple of minutes, leave to stand for a moment, then shake again. Like the ice, the rice will be abrasive against the sides of your water container cleaning it well.
After shaking, add two more cups of water, drain the rice, and rinse thoroughly.
The rice is harmless enough to dispose of in your camping area but you can also strain it and dispose of it in the bin. With the scraping action of the rice, your camping water container should be clean and ready for use.
Great Tip: You can always add a spoon of table salt to the rice to help sanitize the container even more or combine this method with vinegar or bleach for an even deeper cleaning.
5. Water Pressure Cleaning Method
Just rinsing your camping water container at a tap isn’t going to cut it when cleaning the container. However, the high-pressure water sprayer at the nearest gas station with a car wash will work fine. I commonly use high pressure cleaners as a way to clean stains off my cooler and it works great for your water containers too.
Use a water pressure sprayer that offers 85-100 bars of pressure to thoroughly rinse the camping drinking water container. This amount of water pressure is sufficient to wash away any dirt, bacteria, and mold from inside the container.
Simply unscrew the fill cap of your water container, place the sprayer nozzle inside the container and spray for a couple of minutes before draining the water and then repeat once more. Drain, and either fill your container with drinking water or let it air dry for storage.
6. Dishwashing Liquid Cleaning Method
Some water containers have an inlet opening that’s large enough to fit your hand (and more likely if you have small hands), so you can add some warm water and a good tablespoon of antibacterial dishwashing liquid.
Now insert your hand, and with a clean scrubbing sponge, scrub the inside thoroughly and be sure to get into any corners or out of the way openings.
If your drinking container has a removable dispenser (outlet), unscrew this and clean it thoroughly with a scrubbing brush.
Below is a video tutorial using this exact method.
7. First-Aid Cleaning Method
Yes, you read it right. Your first-aid kit can help you clean your camping drinking container in a pinch.
If you are traveling in a really dry part of the world, you won’t always have access to loads of water or ice.
Fortunately, your first-aid kit should contain a sterilizing liquid known as iodine or povidone iodine. Or, if you don’t mind slightly minty-tasting water, you can even use an antibacterial mouthwash like Listerine.
Simply add a cup of clean water to the container, then add a good tablespoon of povidone or Listerine to the water.
Shake vigorously, then allow to stand overnight. Drain the mix on the ground the following morning and rinse.
8. Bottle Cleaning Tablets Cleaning Method
Drinking bottles have been a challenge to clean for a long time, but specialized bottle cleaning tablets are available. The fizz these tablets create when mixed with water cleans the bottle interior.
You can use the same approach with your camping water containers. You are just cleaning out a much larger “bottle” and will have to use more bottle cleaning tablets.
A product like Bottle Bright 3 Pack works well to remove any contaminants. Where you’d use one tablet in a standard-sized 17.6 ounces (500 milliliters) drinking bottle, you’d likely have to increase the number of tablets to 5-8 tablets for a 5-gallon drinking water container.
BONUS: Hydrogen Peroxide
Alternative Tip: Why not opt for a tried and tested cleaning solution? Hospitals have been cleaning and sanitizing equipment for decades with hydrogen peroxide, and it’s used to clean containers in the food industry too.
Simply add a cup of 3% hydrogen peroxide solution to your camping water container, shake vigorously, drain, rinse, and fill or air dry.
Post Cleaning Storage of Camping Water Containers
When you are back home from your camping trip, it’s essential to store your camping water containers only once these are completely dry.
If any moisture remains in the containers or their sealed lids, you are sure to develop a bad case of mold, no matter how much you cleaned the containers.
A neat trick I use is to store the container with the lid wrapped in paper toweling. The paper toweling will absorb any moisture that would have settled on the lid.
I like to store my containers in a cool dry place with the lids open so the insides can vent. Another good idea is to add some of those silica gel packet to them if you’re worried about any moisture inside.
Of course, before you head out on your next camping trip, you should do a sniff test. If there is any staleness to the interior of the water container, it’s not safe to use for your camping excursion.
Cleaning and flushing the containers before filling them is vital to ensure you have great-tasting bacteria-free drinking water.