Ice packs are super handy in coolers for long road trips and outdoor camping adventures. I own a bunch of them and use them all the time instead of ice or supplementary to my ice. They save me money in the long run but they can be pricey to buy.
Ice packs are really just water mixed with salt or some other chemical to lowering the freezing temperature and you can easily (and cheaply) make the same thing at home.
I recently made a few myself and they worked great.
To make homemade ice packs with salt dissolve salt in warm water at a ratio of 2 tablespoons of salt per 2 cups of water and then add to a water bottle, ziplock bag or even balloons and freeze.
Homemade ice packs with salt are easy to make, cost-effective, and better for the environment, as you can use whatever containers you have lying around – saving them from ending up in landfill.
Honestly, they work just as well as some of the best ice packs on the market and cost you a tiny fraction of the price.
Here’s how to make salt ice packs.
Why Add Salt?
Adding salt to an ice pack can help the ice pack stay colder for longer when compared to regular ice packs.
Understanding why this happens is a bit confusing but because salt lowers the melting point of water, it means that the ice pack will stay at a lower temperature for longer than regular water ice packs.
To learn more about the science behind salt and ice, check out my article on why salt makes ice colder.
If you just make freshwater ice packs they will warm up to 32ºF (0ºC) and stay that temperature for most of the time they are in your cooler.
It is only during the partially melted phase of an ice pack is a salt ice pack colder than a regular ice pack.
By adding salt to the water you ice packs will stay at around 16-28ºF (-2 to -9ºC) and this means they can be used to keep food frozen in your cooler for longer.
The more salt you add the colder they will stay so you can tweak the ratios I used to create the perfect temperature ice pack for yourself.
The Easy Way To Make Homemade Ice Packs With Salt
Making your own ice pack with salt is very easy when you follow my helpful instructions.
Step 1: Choose Your Container
The great thing about making ice packs is that there are so many different containers you can use. As long as they seal and freeze well, you can use them.
Different containers you can choose from:
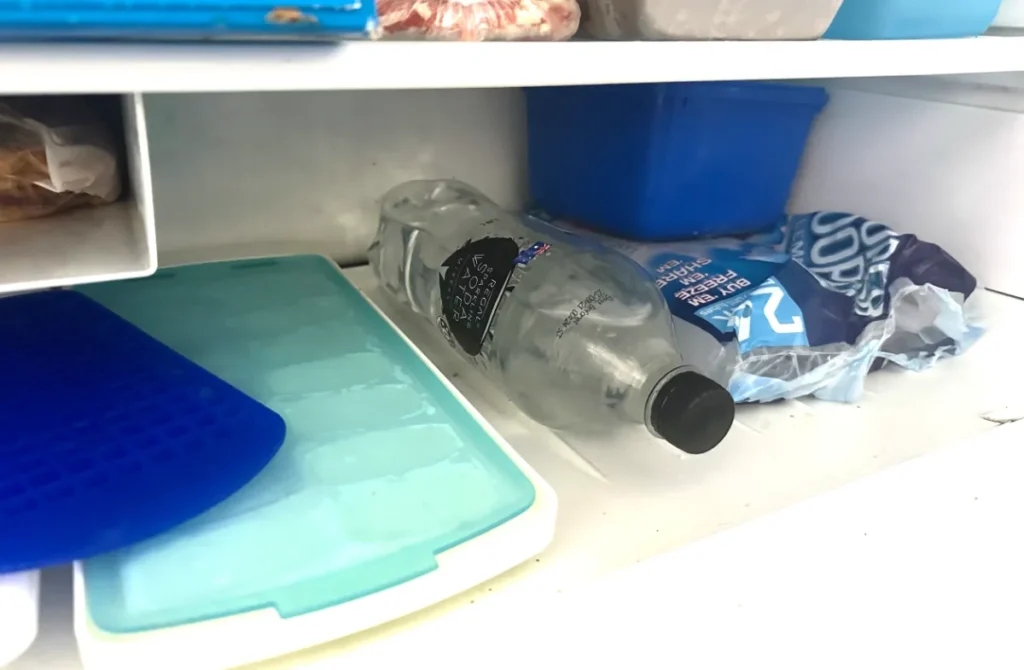
- Plastic water or soda bottles
- Ziploc bags
- Plastic lunch boxes
- Balloons
- Old yogurt containers
- Milk cartons
I tend to use old soda bottles as they are nice and big and I usually have a few hanging around my recycling bin.
I also drink plant-based milks that come in square cartons and these are PERFECT for making ice packs as you can really easily and neatly stack them in your cooler. They save space and last longer than the soda bottles.
Lunch boxes or tupperware containers are also a good choice as you are reusing the plastic, and both options freeze well. I tend to wash and reuse leftover takeout containers (rather than throwing them in the trash).
When I’m in a pinch then ziploc bags are a good option because they’re easy to seal, they’re something most people own, and they freeze well and I can wash them out and reuse them after I’m done using them for my ice packs.
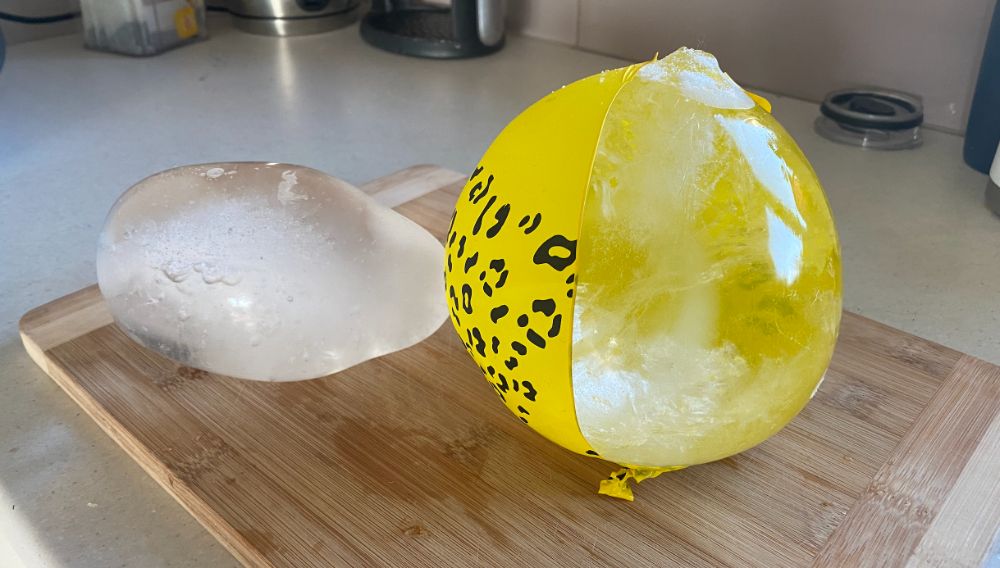
If you’re really in a pinch and you happen to have some balloons lying around, you can use them. They are a great way to make large blocks of ice, plus they look super fun in your cooler.
Step 2: Fill The Containers With Salt and Water
Once you have chosen what containers you are going to use, it is time to fill them with the salt water mixture.
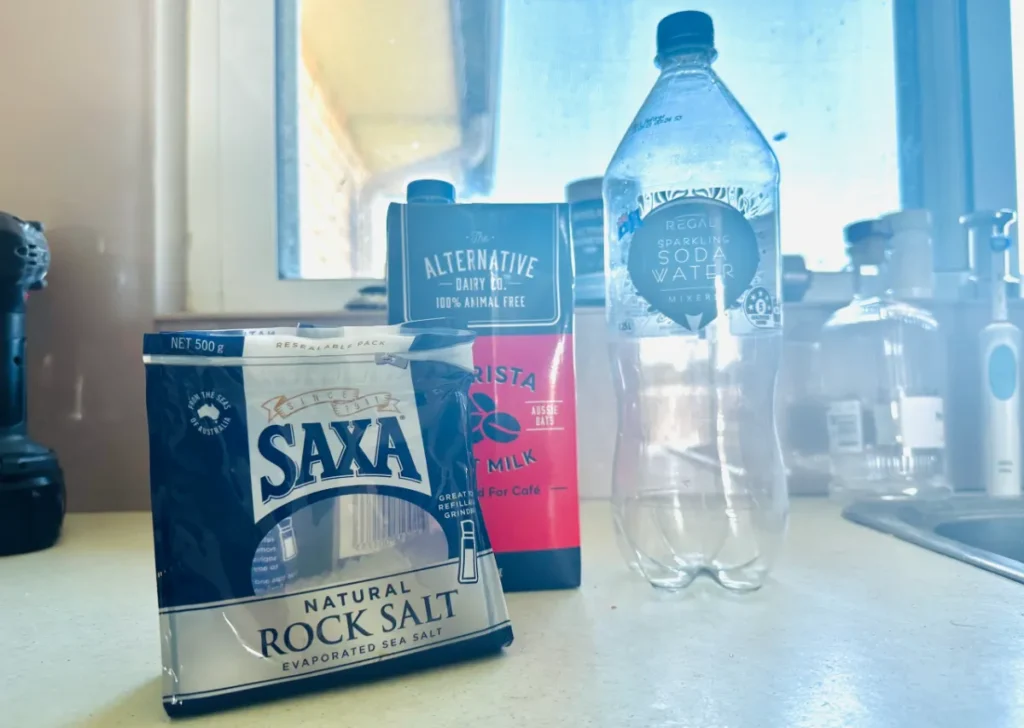
Use two tablespoons of salt to two cups of water. Any salt will be fine.
NOTE: You can adjust the salt ratio up or down. The more salt you use the lower the freezing temperature of your ice pack will be. Two tablespoons per 2 cups of water should get your ice pack to around 28ºF (-2ºC) whereas more salt will make it colder.
How to fill the containers:
- Add two cups of water to a bowl or measuring jar. I like to use one with a spout for easy pouring and I also use warm water to dissolve the salt faster.
- Add two tablespoons of salt (or more)
- Mix the solution until all of the salt has dissolved
- Pour the mixture into the container
Sometimes instead of pre-mixing the formula I’ll just add a fair bit of salt into the old soda bottle or milk carton and then fill it 3/4 or 4/5 full of water and shake it to dissolve the sale.
When filling your containers, be sure not to over-fill them too much, as this can cause issues sealing the ice packs, or the ice pack can even burst.
I tend to go for 3/4 full or make 4/5 full depending on the container.
If you are using a balloon, I recommend not making them too big to prevent them from bursting inside your freezer.
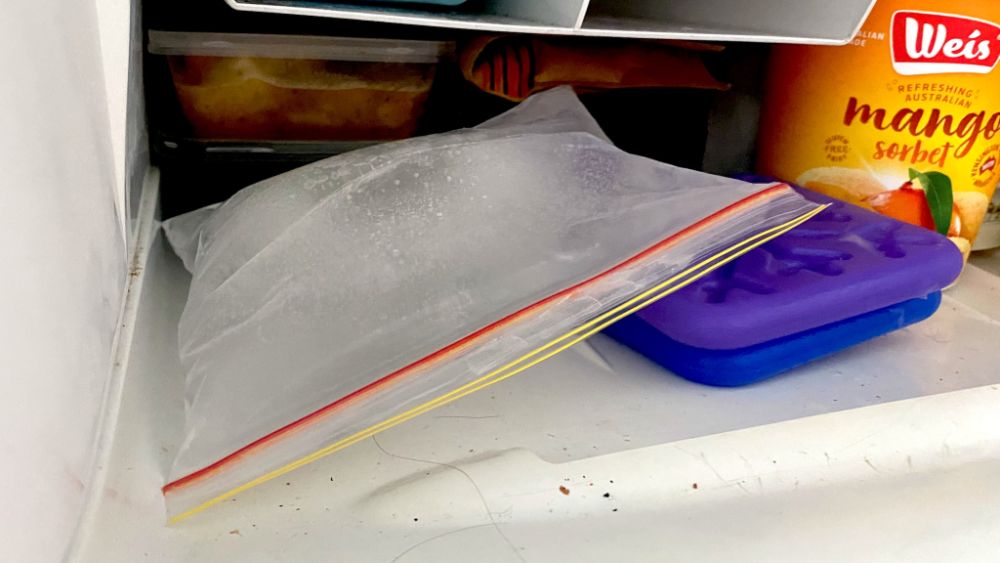
Use a sandwich or quart-size Ziploc bag as well. If you need a lot of ice, rather make two smaller Ziploc ice packs than one large one as the plastic can rip as it freezes.
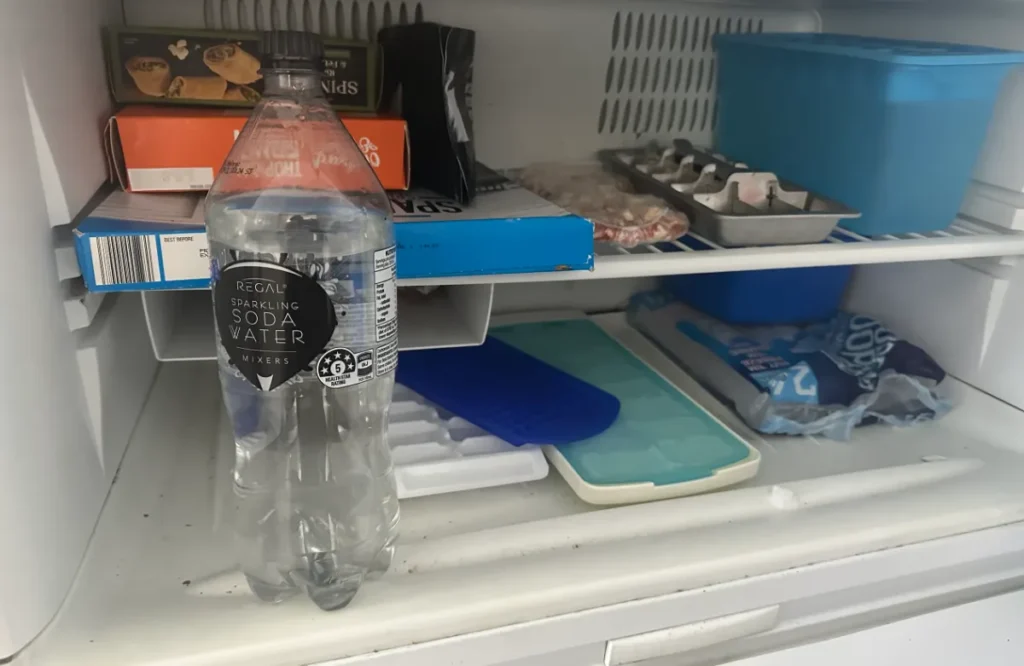
Step 3: Seal and Place in Freezer
Once you have filled your chosen container with the ice and salt mixture, you will need to seal the containers properly.
While Ziploc bags are designed to seal, you can be extra safe by using tape to seal off the opening.
If your water bottles or lunch boxes are prone to leaking, you can either use tape to seal them or just place them upright in your freezer. Just note that when the ice melts, it will start leaking again in your cooler or lunch bag.
Step 4: Wait For Them To Freeze
Like a watched kettle never boils, you need to be patient and wait for the ice packs to freeze.
Usually ice cubes take about 4 hours to freeze but because you’re making larger blocks of ice expect them to take about 6-8 hours to completely freeze over but up to 15-24 hours to get down to the cold temperature of your freezer.
Freezers are usually set to 0ºF (-18ºC) and you want your ice packs to be as cold as possible before using them. It can take up to a full day for them to get down to the temperature of your freezer so they earlier you make them the better.
Avoid opening the freezer door to check on them. This will only slow down the freezing process.
Easy ways to make your ice freeze faster:
- Place the ice packs near the back of the freezer by the cooling unit
- Avoid storing the ice packs on the freezer door shelf. This is the warmest spot in the freezer
- Place a fan inside your freezer and store the ice pack in front of the tray
If you want to see some other ways to speed the freezing process, read my article on the 14 best techniques to make ice freeze faster.
Other DIY Ice Pack Ideas
It’s not only salt ice packs that are super easy to make at home, but there are plenty of other DIY ways of making an ice pack.
Here are some of my favorite DIY ice packs.
Dish Soap Ice Pack
This is a great way of making your own gel ice pack at home.
All you need is the following:
- 1 – 2 cups of dish soap
- Ziploc bag
Pour the two cups of dish soap directly into the plastic bag, seal it and stick the bag in the freezer.
Rice Ice Pack
This one is certainly different, but it works.
You need the following:
- Ziploc plastic bag
- 2 – 3 cups of rice, brown or white
To make this ice pack, all you need to do is fill the plastic bag with the cups of rice, seal the bag, and place it in the freezer until frozen solid. It’s that easy!
Alcohol Ice Pack
Got isopropyl alcohol in your cupboard? You can easily make a DIY ice pack using vodka.
What you will need:
- 1 cup of isopropyl alcohol
- 2 cups of water
- Container
In your container, mix the isopropyl alcohol and water together. Once mixed, place in the freezer to completely freeze.
Use less alcohol if you want your ice pack to full set and not be as cold or use more alcohol if you want it to stay liquid.