A CamelBak’s tube is one of the most likely places for mold to grow because they dry slowly (or not at all) and are often not washed nearly as thoroughly as they should be – especially if you don’t have an extra long straw cleaner.
Making matters worse, when mold does grow in a CamelBak’s tube, it’s not as easy to spot or remove as when it’s in the reservoir or as easy to get rid of.
So what exactly should you do when you find mold in your CamelBak’s tube and how can you get rid of it so you can use the tube again?
To clean mold from your CamelBak’s tube, rinse away as much mold as possible under high pressure hot/warm running water. Then soak in vinegar for at least 30 minutes, scrub the interior of the tube with a paste made of baking soda and water, and then wash and air dry as normal.
If you find mold in your tube while it’s connected to the reservoir, the bladder should be treated for mold as well.
Mold can make you pretty sick if you ingest it. So if you do find mold in your CamelBak’s tube, DO NOT drink from it again until you’ve removed it.
The good news is, common household cleaners, like vinegar and baking soda, are very effective at killing mold. With the right ingredients and a little bit of elbow grease you’ll have your CamelBak tube mold free and ready for the trail.
Before You Begin
When you find mold in your CamelBak’s tube, it’s natural to want to focus your efforts on just cleaning the tube.
After all, that’s where you found the mold.
But keep in mind, if the hose was connected to the reservoir while the mold was growing, it’s more than likely that mold spores have found their way through the entire system. So the entire bladder should be treated for mold even if you can’t see any mold in the reservoir itself.
If you suspect that the mold grew while the tube was disconnected from the reservoir (which is common when the tube is stored before fully dry), it’s still a good idea to at least check the reservoir for signs or scents of mold.
It’s better to be safe than sorry and you don’t want to allow any mold leftover to regrow and cause you health issues.
Things You’ll Need
- Distilled white vinegar.
- Baking soda.
- A tube brush.
- Mild dish soap.
- A large bowl.
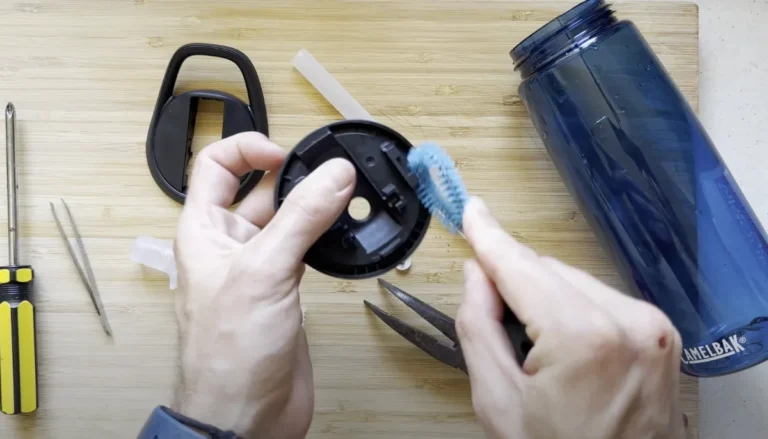
I highly suggest the CamelBak Crux Cleaning Kit as it comes with a large brush for the reservoir, an extra long tube brush which you’ll need to clean the inside of the tube, plus it has a drying kit to make hanging and drying your bladder easier.
Step 1: Rinse Away As Much Mold As Possible
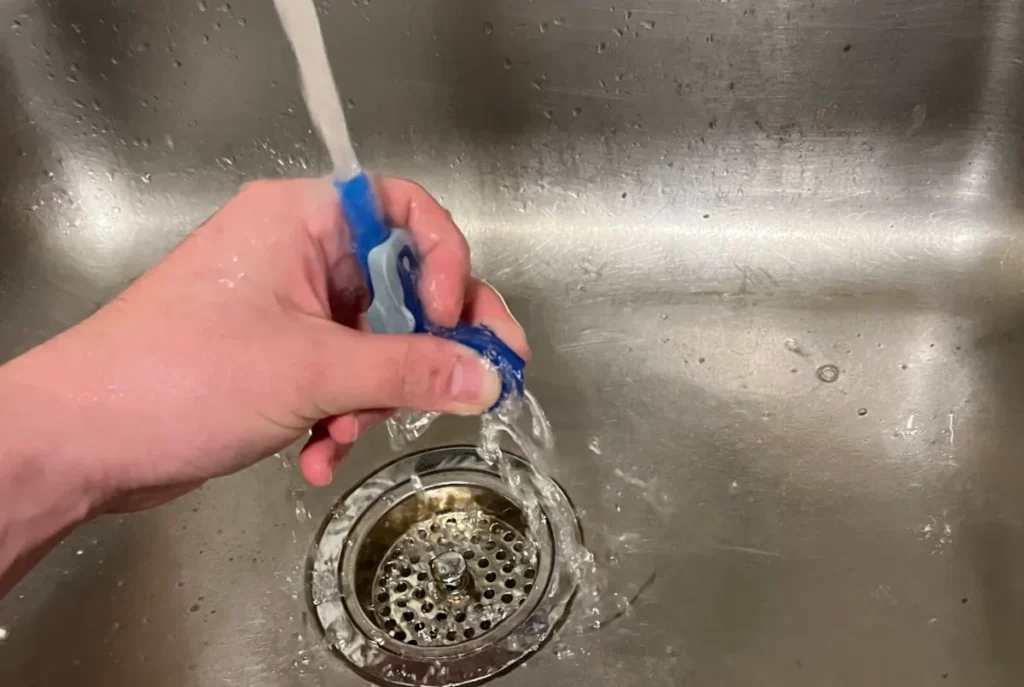
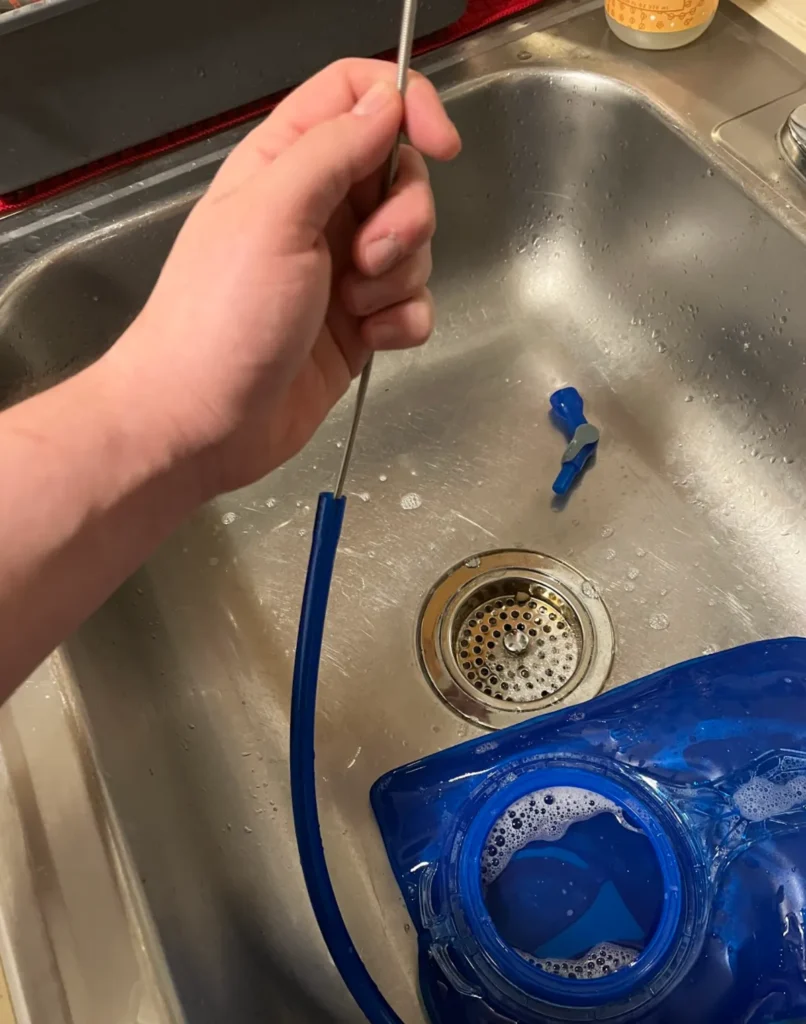
Rinse the tube and mouthpiece under hot running water, making sure water flows through both for at least 20 to 30 seconds.
You’ll need to open the mouthpiece’s waterlock and squeeze the bite valve a bit to allow water to pass through.
I like to use the highest water pressure possible for this rinse as the faster the water moves through the more likely it is to wash away loose debris and mold giving you a better starting point for your cleaning.
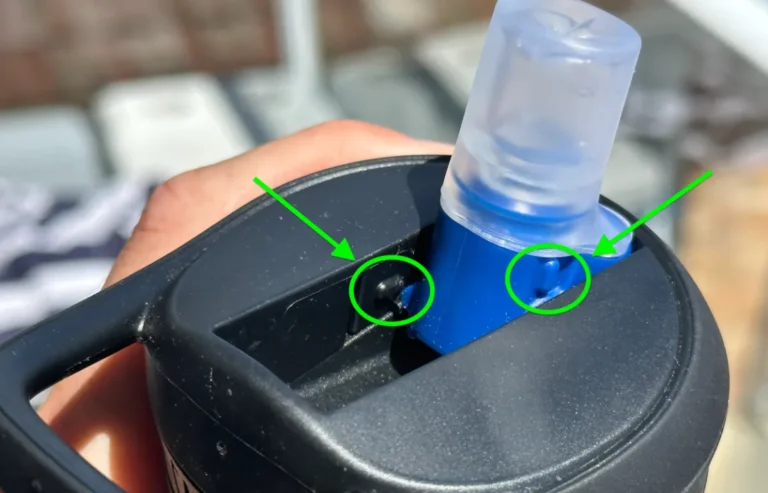
Disconnect the mouthpiece from the hose by pulling it loose.
Step 2: Soak With Vinegar
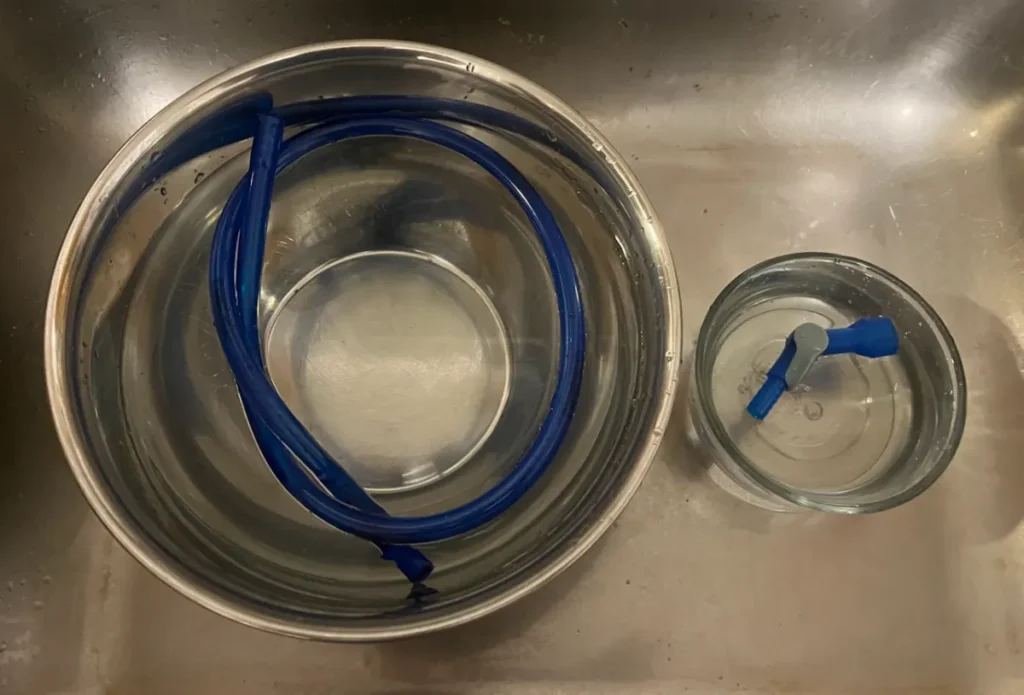
Tie the tube in a loose overhand knot and place in a large bowl.
Fill with a 50/50 mixture of hot water and distilled white vinegar (vinegar is a very effective antifungal agent that kills mold), tipping up one end of the hose to release trapped air and allow vinegar to contact the entire interior of the hose.
If the mold is really bad, you can use more vinegar and less water. It’ll do no harm.
If I’m really worried about mold often I’ll use 100% vinegar and leave it to soak overnight instead of the recommended 20-30 minutes….again I like to be better safe than sorry.
If the tube wants to float to the surface, place a heavy bowl or dish on top of it to keep it submerged throughout.
Place the mouthpiece in a small bowl of undiluted vinegar with the waterlock open. You can also put it in the same bowl as the tube to save on space.
Squeeze the bite valve a few times once the mouthpiece is submerged to allow vinegar to contact all internal surfaces. The mouthpiece has a lot of hidden space inside where mold can hide and we want to give the vinegar the best chance of reaching it all.
Soak both the tube and mouthpiece for at least 30 minutes, though the longer the better. I’ll often leave mine to soak overnight.
You don’t need to rinse before moving on. Any remaining vinegar will help with the next step.
Step 3: Scrub The Tube And Mouthpiece With Baking Soda
Like vinegar, baking soda is another cheap and effective antifungal agent. It’s also abrasive so it’ll help to scrape off any remaining mold scum or slime in the tube. It even reacts with vinegar making it more effective.
Make a paste out of baking soda and water — aiming for thin but not runny. You want it to be a bit abrasive and rough.
If you make it too thick, you’ll have a hard time spreading it through the inside of the tube. Too thin and it won’t be as effective.
Scrub the paste on the interior of the tube with a tube brush and the outside of the tube with a sponge or dishcloth, ensuring that all surfaces are well coated and thoroughly scrubbed.
You want to be pretty vigorous with the tube brush here. I like to coat mine in as much paste as will fit and go back and forth inside the tube many times. Sometimes slowly, and sometimes at speed to get all the mold off.
If you don’t have a tube brush, you can use a knotted length of paracord for the interior of the tube instead. Just be sure to do it — scrubbing isn’t optional when it comes to mold.
After scrubbing, let it sit for about 15 minutes before moving on. The baking soda will help to kill any extra mold before rinsing, plus it’ll react with the vinegar making it less likely your tube will taste funky after the cleaning process.
Step 4: Wash And Dry As Normal
Rinse off the baking soda under hot running water and do a quick spot check for mold.
When rinsing I like to use the (now clean) tube brush to get into the tube and clean out any remnants of baking soda of vinegar.
After rinsing, if you still see any (or smell any), you may want to repeat steps 2 and 3 to make sure you kill all the mold.
However, it is possible that the mold is completely gone but stains are left on your tube. Sometimes these are impossible to remove. You may be ok with them being there but for me personally this means it’s time to buy a new replacement tube.
You can get a CamelBak Replacement Tube at Amazon. But honestly, given the price of the tube you might even be better off buying an entirely new bladder.
If there are no further signs, continue by washing the tube as normal with hot water, a mild dish soap, and a tube brush.
Hang the tube with the mouthpiece off to air dry it.
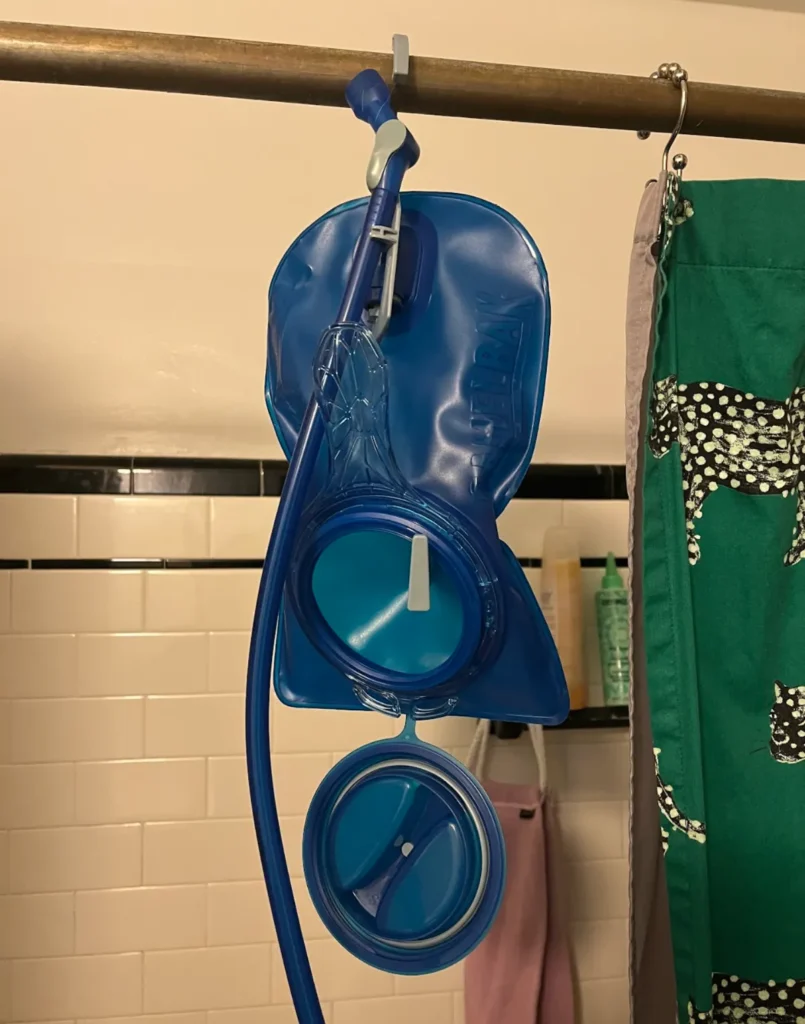
Make sure it’s completely dry before attaching the mouthpiece, reconnecting to the reservoir, or storing. If you don’t, it’s very likely to grow mold again.