Ice cream makers help simplify the process of making homemade ice cream today, but they don’t guarantee success. Effectively using an ice cream maker requires following a detailed process properly.
So how do you make ice cream with an ice cream maker?
Make homemade ice cream using an ice cream maker by first preparing a base, then chilling the bowl and base, and churning the ice cream fully. Finish the process by adding any mix-ins you want to use and then placing the ice cream in your freezer to fully set.
Creating homemade ice cream is a simple process when you understand the steps, but it’s easy to perform the steps improperly.
Read the steps below to learn all the little details that will help you successfully create ice cream with the right texture. Learn how to store your ice cream effectively too.
Preparation is Necessary to Make Ice Cream Quickly
Making homemade ice cream using an ice cream maker requires preparation to avoid waiting nearly a day for everything to cool down enough.
Homemade ice cream usually takes longer to make than you would think. The churning itself is only 15-25 minutes but the entire process from start to finish can take up to a full day or will need to be done over the course of 2 days.
The outer bowl of an ice cream maker (which is what freezes the ice cream) must be chilled in a freezer for at least 14 hours and often longer.
Your ice cream base ingredients usually need to be heated and then also be chilled for the process to work properly. The longer the ice cream sets the better your ice cream will turn out and the smoother it will be.
These steps take time, and either one can stop you from making homemade ice cream the day you want it.
Step 1 – Prepare Your Ice Cream Base
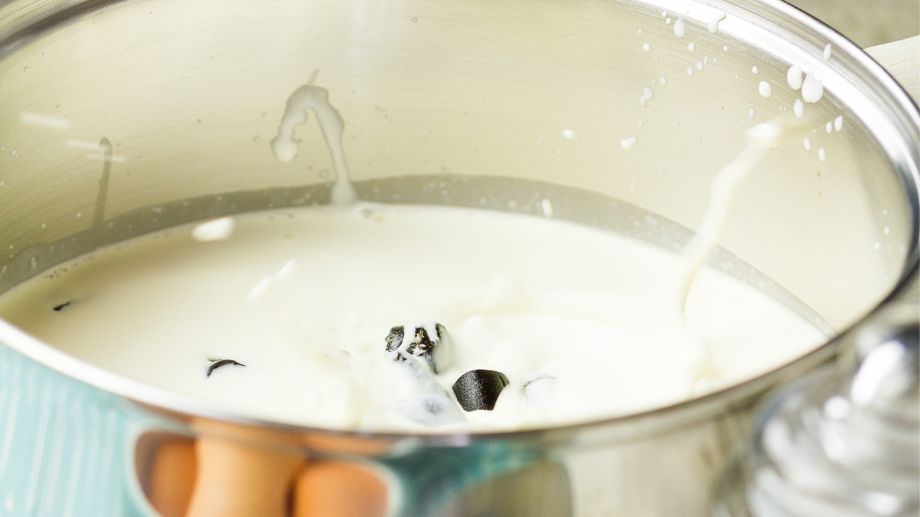
To create ice cream at home, you need to begin with an ice cream base. There are many base recipes available online, but most include cream, sugar, and milk.
Find a base recipe that offers the flavor you’re interested in and follow the steps closely to fully prepare your base. If you change the ingredients or substitute items (like high-fat for low-fat or plant based alternatives) then your ice cream might not freeze properly.
Some recipes require you to cook your ingredients to combine them properly. Others will ask you to whisk the ingredients together. Follow the base steps closely, and place your base in the refrigerator to allow it to chill fully as well as set.
If you follow a reputable ice cream maker recipe, you should end up with a base mixture that will work well in your ice cream machine.
Step 2 – Chill The The Base Mixture and Freeze The Outer Bowl
Set the prepared ice cream base in the refrigerator overnight, and place the ice cream maker bowl in a freezer bag before setting it in the freezer for at least 15 hours. Usually 24-48 hours is recommended.
Allowing your ice cream to set will also allow time for the fat drops in the ice cream to partially crystalize and the other proteins that surround the fat to be displaced. This leads to faster churning times and a smoother ice cream consistency once it's made.
It’s essential to allow your base to become cool and to fully freeze the outer bowl for your ice cream maker.
Most outer bowls have a liquid substance inside. Shake the bowl lightly and listen for any noise. If there isn’t any sloshing, the bowl is fully frozen and should be ready for use. However, it's best to leave a full 15-24 hours at the back of your freezer before trying to make ice cream.
One of the biggest mistakes people make when making homemade ice cream is not freezing the outer bowl enough. If it's not cold enough it won't freeze your ice cream properly and you'll be left with a sloppy mix.
Step 3 – Prepare Your Mix-Ins
If you plan to add mix-ins such as candies, cookies, nuts, or anything else, prepare them before you churn your ice cream so they’re ready to go.
Start by roughly chopping any larger mix-ins into small pieces. Now place them in a food processor or a blender and lightly pulse to create finer pieces that will mix into your finished ice cream.
Set the finished mix-ins to the side in a bowl, so they are ready for you to add to your dessert.
HELPFUL TIP: For best results prepare your mix ins and then place them in the fridge or freezer while your base sets. It's best for the mix ins to be cold otherwise they will melt your ice cream faster.
Step 4 – Fill the Bowl
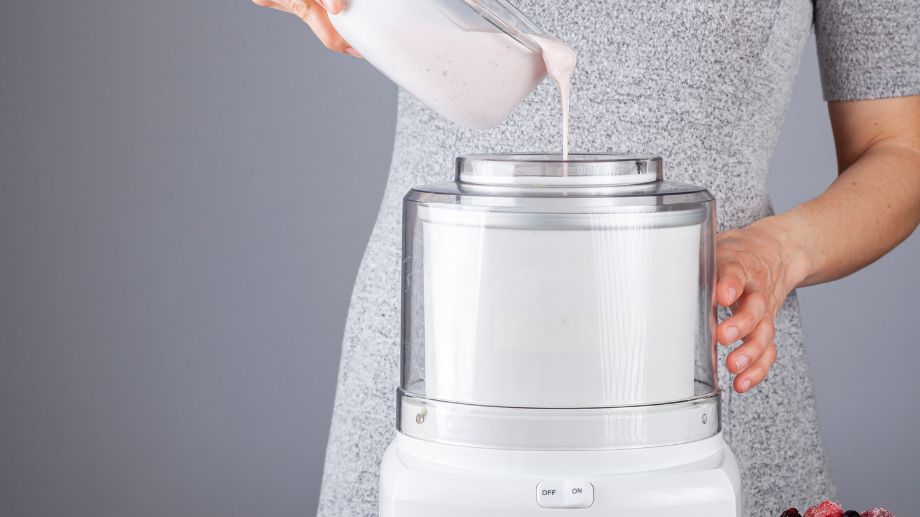
Once your ice cream base and the outer bowl are both fully chilled, you’re ready to whip up a fresh batch of homemade ice cream.
Place the frozen outer bowl into your ice cream maker, and pour in your chilled ice cream base to fill the bowl ¾ of the way or less.
NOTE: Don't overfill the machine even if you are tempted to and want more ice cream. This can lead to the entire mixture failing to freeze and the consistency of your ice cream being ruined.
Now set the dasher into the bowl and attach the lid to your ice cream maker. Now you’re ready to begin churning the mixture to create delicious homemade ice cream.
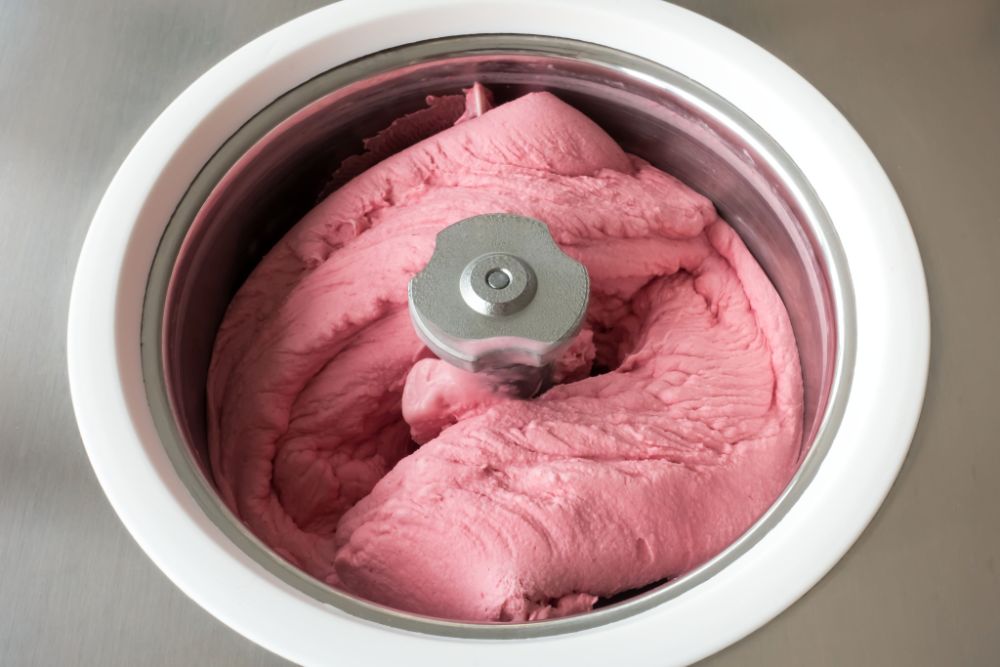
Step 5 – Churn the Ice Cream
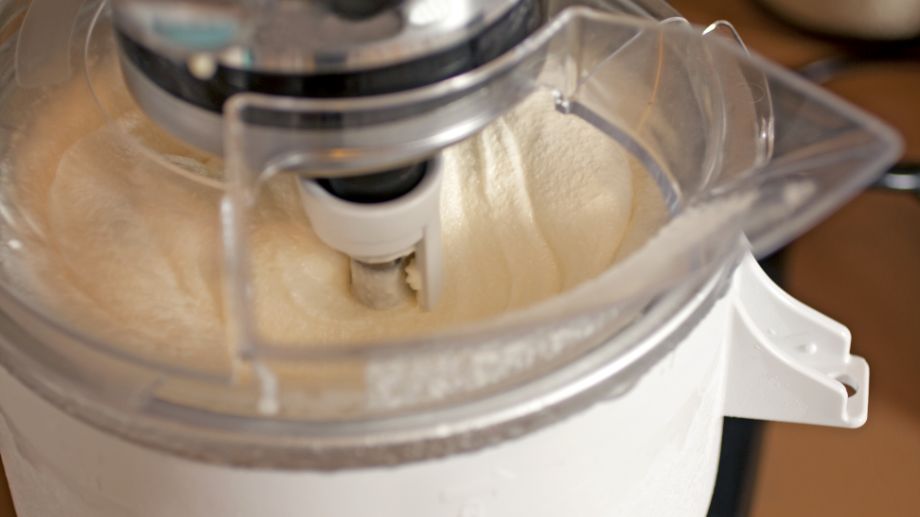
Start your ice cream maker and set the timer to 15 minutes. Listen to the machine as it starts. It should make a high-pitched whirring noise. Check the machine every 5 minutes for the noise to become slower and deeper.
As the mixture thickens, the ice cream maker will begin to struggle to churn it. When this happens, it will sound different, and you’re close to finishing churning your ice cream.
If you are struggling to achieve the ideal consistency of ice cream, follow this guide explaining how long it takes to properly churn homemade ice cream.
Once the ice cream has a soft serve consistency, it’s finished churning. You can scoop it from the bowl and enjoy it straight away but for the best results and consistency you should place your ice cream in the freezer to set.
Step 6 – Add in Your Mix-Ins
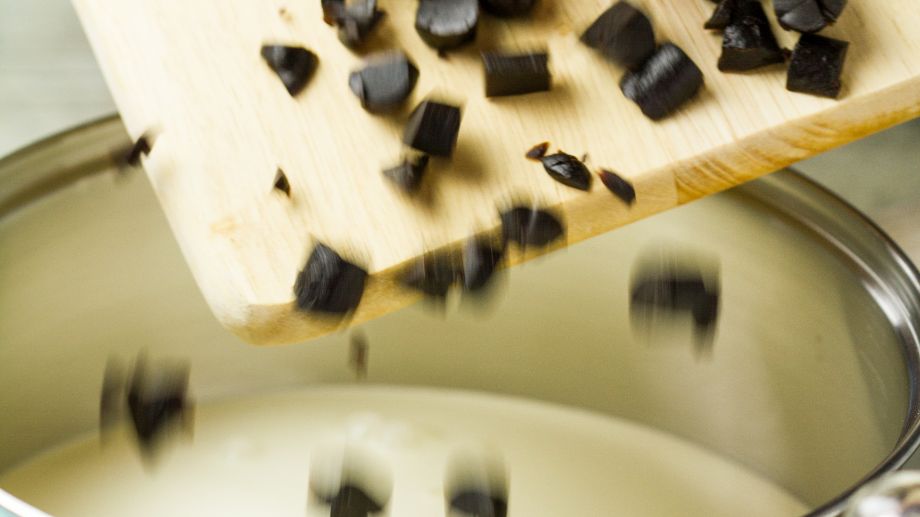
You should add any mix-ins you want in the last minute or two of churning just so they have time to be mixed through but not too early or they can ruin the churning process.
Use a butter knife to create a hole running through the middle of your ice cream down to the bottom of the bowl. Pour your mix-ins into the hollowed-out section.
Cover your bowl and turn the ice cream maker back on for two minutes to thoroughly mix in the remaining ingredients.
Step 7 – Place Your Ice Cream In The Freezer To Set
While it's very tempting to eat your ice cream straight away (and you can if you want) you'll usually find that the ice cream is quite warm and will melt very quickly.
In fact, freshly made homemade ice cream can be so close to it's melting point that once it touches your metal spoon it'll begin to melt.
Ideally you should place your homemade ice cream inside ice cream storage containers and place inside the freezer for a few hours for it to cool down and completely set.
The best ice cream storage containers are long and thin to make for easy scooping. These Sumo Ice Cream Containers (at Amazon) are great and affordable or for a more premium container check out the Balci Ice Cream Container (at Amazon).
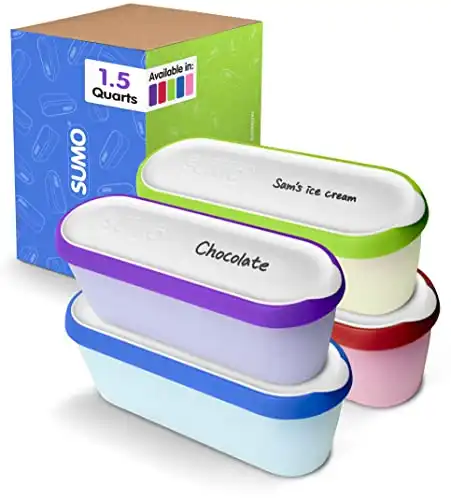
The conveniently stacking ice cream containers are great for homemade ice cream. Their long length makes ice cream easy to scoop and they are insulated with a lid that locks on tight.
These ice cream containers are dishwasher safe for easy cleaning and are backed by a lifetime guarantee.
Do not leave your homemade ice cream in the outer bowl. Once churning is done quickly transfer it from the outer bowl into your storage container.
If you don't the ice cream is highly-likely to stick to the walls of the bowl and be hard to get out.
NOTE: Homemade ice cream can be stored in the freezer for about 2 weeks before it will go bad. It does not last as long as store bought ice cream which contains preservatives to make it last longer. Learn more about the best way to store homemade ice cream.
Step 7 – Scoop and Enjoy
Remove the lid the lid of your ice cream storage container and dispense with a spoon or ice cream scoop and enjoy.
Add sprinkles or other add-ons to the top for a decadent treat.
Storing Your Homemade Ice Cream

Once you’ve gone through the steps to create homemade ice cream, it’s important to store any leftovers properly to keep them in good condition.
Select an airtight container that is the right size for your remaining ice cream. Tupperware is an obvious storage option, but you could also utilize old plastic ice cream containers if you save one.
Verify that your container is clean before using it to avoid altering the taste of your ice cream. Scoop it into your container and then cover it with plastic wrap before sealing it shut with the lid for better long-term storage.
You can also place your ice cream in a freezer bag and then place the bag in an airtight container as an alternative to using plastic wrap for added protection.
Taking the time to learn how to store homemade ice cream will help you avoid spoiling your frozen treat and help you keep delicious ice cream available when you want it.
Summary
Homemade ice cream is light and creamy and delicious when made properly. Practice churning ice cream regularly, and you should be able to create perfect ice cream over time.