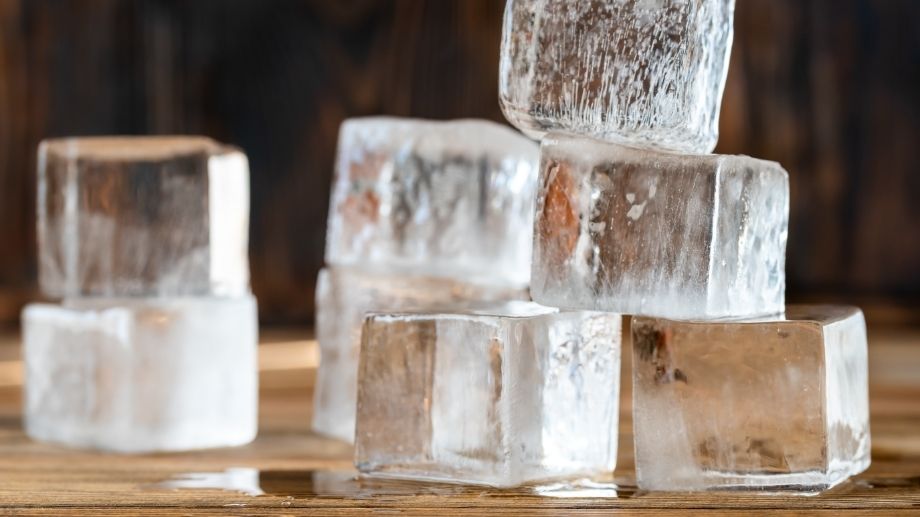
Making clear ice at home is becoming a popular way to take your drinks and cocktails to the next level. Clear ice looks great and it melts slower than regular ice meaning it won't dilute your drink as quickly.
Usually distilled water is used to make clear ice. This is because it contains fewer impurities that cause the ice to become cloudy. However, suppose you wish to make clear ice, and you only have tap water. In that case, how do you make clear ice using tap water?
To make clear ice with tap water fill a small cooler up with ice and place in the freezer for 18-24. Remove block of ice, scrape away the cloudy ice and you'll be left with very clear ice. For even better results distill your tap water using a pot and floating bowl.
This article will explain exactly how to make clear ice using tap water. We will start at the beginning, ensuring that the water is in the best possible condition to make clear ice.
Then, we will explain how to make clear ice using omni-directional freezing. We will also give you some tips regarding which trays and coolers to buy to make clear ice.
How To Prepare Tap Water To Make Clear Ice
Clear ice is usually made with distilled water. This is because regular tap water contains minerals and impurities that when frozen can be seen and make the ice more opaque and less clear.
Distilled water doesn't make clear ice – it's the correct freezing process that pushes out air bubbles to make the ice clear. However, the purer the water the better and clearer the ice will be.
While you can make fairly good clear ice with water straight from the tap for the best results you'll want to distill your water first.
To get distilled water you simply need to boil water and then catch the steam from the boiling water and collect it into a bowl:
- Fill up a large pot with tap water
- Place a stainless steel, glass or ceramic bowl floating in the water in the pot (do not use plastic)
- Place the lid upside down on the pot
- Turn the stove on and leave the water to get extremely hot to create steam
The steam will then condensate on the lid and drop down into the bowl floating in the middle. This water is distilled water.
You can add ice cubes to the outside of the lid of your bowl. The cold from ice cubes will help the steam to condensate more quickly speeding up the distilling process. Just make sure that when the ice cubes melt you do NOT mix it in with the distilled water.
When complete turn off the stove and leave everything to cool. Then pull out your bowl of distilled water and use this to make your clear ice.
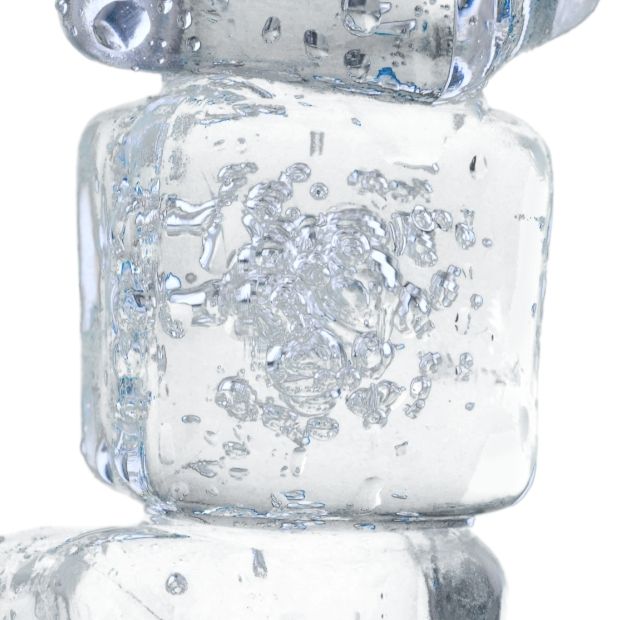
Making clear ice is not as easy as using distilled water and putting it in ice cubes though.
Although you have now removed the impurities from the water, you still need to take care of the air bubbles.
Trapped air bubbles is what makes the difference between clear ice and white cloudy ice.
Freezing water omni-directionally seems to be the most popular and effective method for making clear ice and it's what I've used to great effect.
How Do You Make Clear Ice With Tap Water?

Omni-directional freezing is commonly used to make clear ice at home. Omni-directional freezing means freezing water from one direction. This helps to push the air bubbles and impurities into one direction, ensuring the ice is clear.
To freeze water omnidirectionally and create clear ice takes but a couple of steps.
First, you will need to have an insulator. In this case, a cooler box with hard sides will do fine. There are also many clear ice trays available that are perfect for making clear ice. This one from Amazon is used and recommended by many bar tenders. The great thing about molds like this is they will eliminate the need to cut the ice after it has been frozen.
But if you don't have a mold then a small cooler will do just fine. I use the Coleman Flip Lid 5-Quart cooler as it's inexpensive and small enough to fit in my freezer.
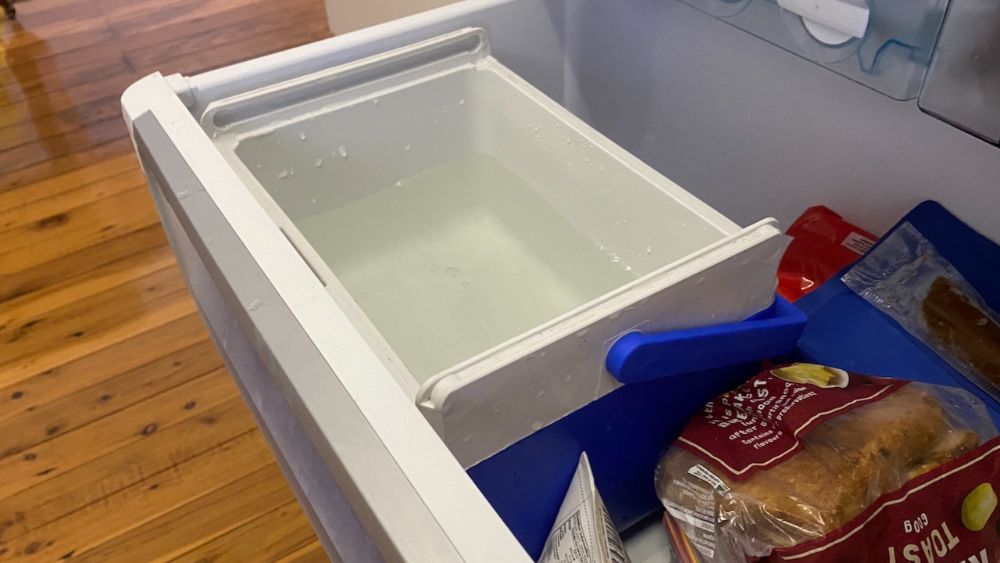
Be sure that the cooler box you use has a removable lid and that it can fit inside your freezer. Here is how you can make clear ice at home:
- Fill the cooler box with distilled water. Don’t fill it more than ¾ of the way, or you risk letting the cooler box swell. If you wish to make ice cubes or spheres, you can place the distilled water in your molds.
- Leave the lid off the cooler box and place it in the freezer. If you use a clear ice tray, you can put it directly into the freezer. Because the cooler box is insulated, the water will start freezing from the top. Simultaneously, the rest of the water is isolated from the cold.
- Set the freezer as low as possible (to make the temperature higher). Allowing the water to freeze slower will help the ice to be clearer because the air bubbles will have more time to escape from the water.
- Remove the cooler from the fridge before all the water has frozen. This way, you can take out the clear ice and discard the water that is left with the impurities. Also, allowing the ice to freeze all the way can cause an air bubble to escape from the bottom and travel through the ice, making it less clear.
- Leave the ice at room temperature to melt slightly. This should take between five and thirty minutes.
For more detailed instructions check out my beginners guide to getting clear ice everytime.
How To Remove Clear Ice From The Mold
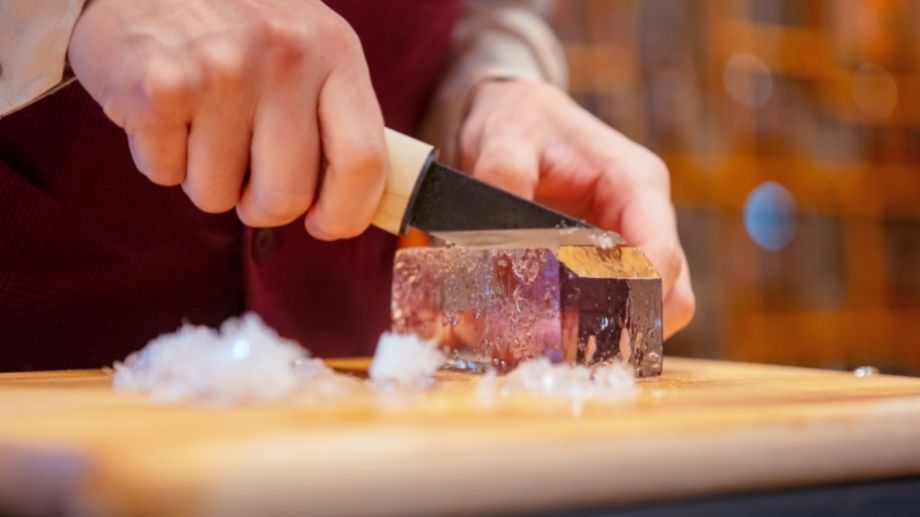
After leaving your ice to melt slightly, you can remove the ice from your cooler. It should slip out of the cooler easily. Now, you will have one big block of ice. You can break the clear ice into smaller pieces using a hammer if you want rustic-looking clear ice.
You can also score the ice with a serrated knife. Doing so will give you clear marks. Then, using an ice pick and hammer, you can carefully work on the scores to break the ice into smaller pieces. This will give you hand-cut but neat-looking clear ice.
However, if you wish to have perfectly shaped clear ice, you can also purchase a clear ice tray. These trays are available online and in many stores. They eliminate the need for a cooler box, and you don't have to break the ice into smaller parts when you are done with the freezing process.
Another benefit of using clear ice molds is that you don’t necessarily have to distill tap water before freezing it. Some of the clear ice trays can be used with regular tap water. You simply fill the trays with tap water and wait for the water to freeze. When you remove the ice from the trays, the ice should be clear and ready to use.
There are many great options for clear ice makers, such as the True Cubes clear ice tray. This ice tray can be purchased on amazon and has space for four ice cubes.
Conclusion
Making clear ice is a fun and rewarding hobby. You can use tap water to make clear ice. However, you need to distill the water before using it for clear ice. Once the water has been purified, you can freeze the ice omni-directionally slowly to get clear ice.
If you want to speed up the process, you can also use a clear ice tray. These trays don’t require you to distill tap water before freezing it. You also don’t need to break the ice when it is frozen, as the trays already mold the ice into a usable shape.

