Both hot and cold gel ice packs have useful purposes. Knowing how to use them gives you the ability to ease sore muscles, alleviate swelling caused by injuries, and to cool food. Gel ice packs only work well when used properly, though.
Hot gel ice packs can be applied to stiff and sore muscles, while cold packs can be applied to swelling and bruising. Take care to wrap the packs before placing them on the skin, and remove them after 20 minutes or less. Cold gel ice packs can be used to keep food cool and work best when used inside an insulated cooler for long-term cooling.
Understanding how to use a gel ice pack is helpful when you’re trying to ease muscle pain, reduce swelling or keep a cooler of drinks or meat chilled.
Using Cold Gel Ice Packs For Injuries
As a climber and overall very athletic person, I’m constantly getting minor injuries that leave me bruised, swollen, and battered.
By understanding how to use gel ice packs, I have a convenient way to treat those minor injuries to keep myself comfortable and to get back on the wall, back in the water or back on the trail as quickly as possible.
Freeze Completely
Before a pack can be used for your injury, it must be cold. Place your gel ice pack in your freezer to cool fully. It will usually take at least 4 hours for the ice pack to cool down to temperature but for larger ice packs they can actually take up to 24 hours to get down to their coldest temperature.
To help them freeze faster keep them near the back of the freezer near the cold air vent. This will expose them to more cold air and they will cool down faster.
If you're in a rush you can cover your ice pack in a wet paper towel or wet tea towel and this will lower the cooling time dramatically. It'll still take 1-2 hours to cool down but it'll cool down faster than it otherwise would.
It's usually a good idea to leave a few ice packs in the freezer at all times so you always have a cold pack ready. You never know when you'll need one so it's never a bad idea to have a few on standby (if you have the freezer space).
Wrap in a Cloth
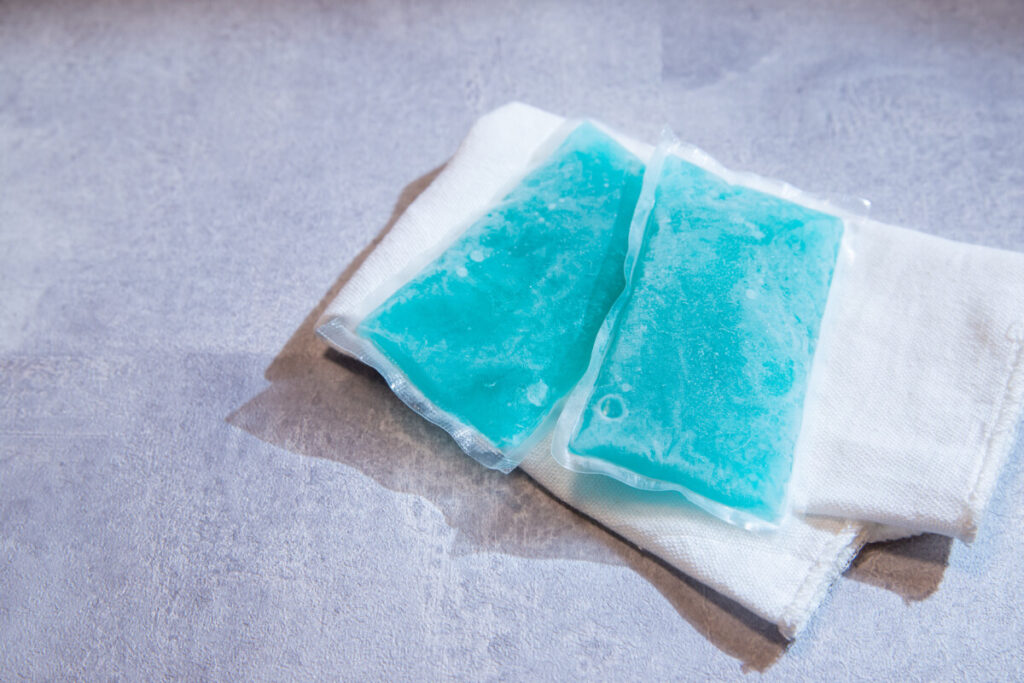
When cold packs come out of the freezer they will be 0ºF/-18ºC which can be uncomfortable when held directly to your skin for any extended period of time.
This is why it's best to wrap it in a washcloth or another covering before applying it to your skin. The cloth will provide some insulation, helping the ice pack to last longer, but it'll also make it so it doesn't burn your skin from cold.
Once the ice pack warms up a bit you can remove the cloth to get some extended use out of it before it needs to be refrozen.
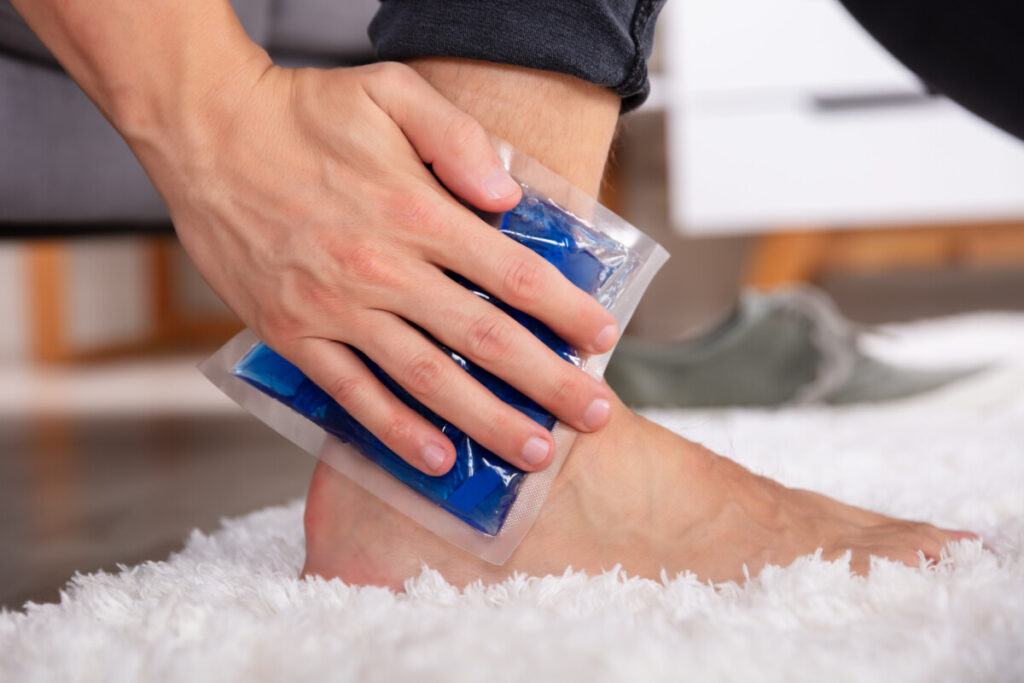
Apply to Injury Carefully
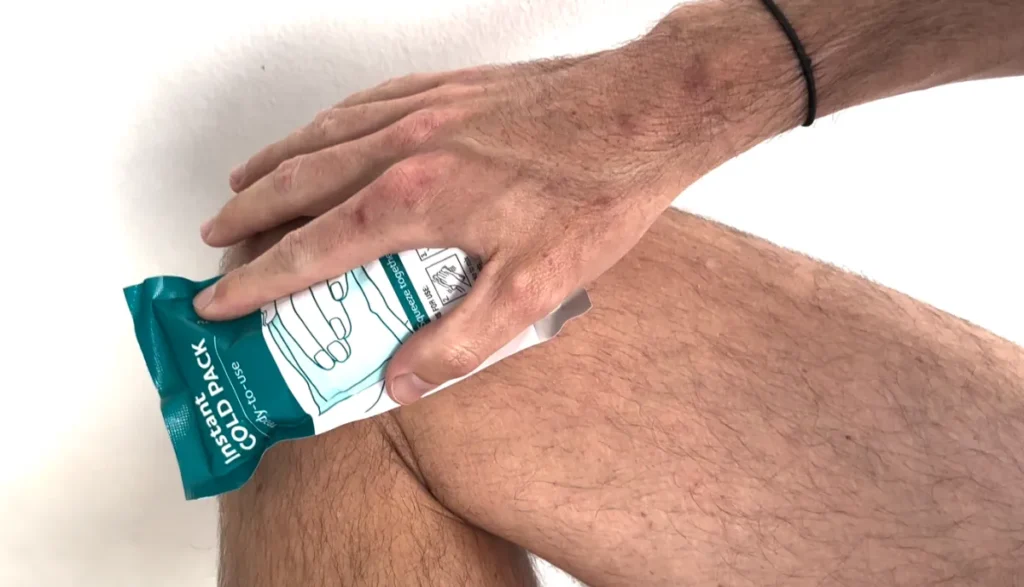
Press the wrapped ice pack on your skin to cool the swollen or bruised part of your body.
Remove the pack if your skin becomes numb or between 10 and 20 minutes of contact.
Avoid leaving the pack on for longer than 20 minutes because you could make your tissue too cold.
Using Gel Ice Packs For Food
Fully Freeze
Freeze your ice pack as much as possible to cool your food. Leave the pack in the freezer for 4-8 hours or ideally overnight to prepare it for use.
Place in Insulated Container
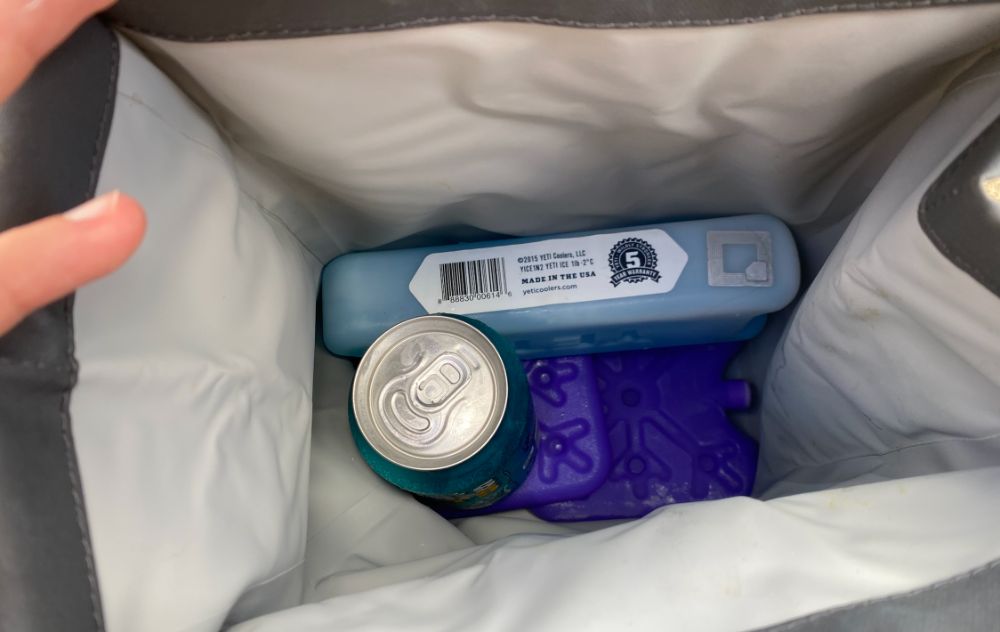
Place one or more gel ice packs in an insulated lunch bag, cooler or another insulated container you want to remain cold.
Try to keep the container closed as much as possible, and use many ice packs for larger containers for effective cooling. Gel ice packs last for hours, but not forever. Find out more about how long gel ice packs last when compared to ice here.
Reuse
When you’re finished cooling food for the day, you can wash your ice pack with soap and water and use it again.
Place the pack in the freezer to cool it for future use without the need to purchase ice.
Using Warm Gel Packs Properly
Warm packs are powerful tools for easing sore muscles and reducing stiffness. Preparing a warm gel pack takes less than 30 minutes for most people, and it’s a straightforward process.
Boil Water
Begin by boiling a pot of water that’s larger than the gel packs you want to warm. Bring the water to a full boil and remove the container from its heat source.
Submerge in Water
Once the water has been fully warmed, carefully place your gel pack into the water using a pair of tongs. Leave your gel pack in the water for about seven minutes, and it’s ready to go.
Remove, Dry and Wrap
Pull the gel pack from the hot water using your tongs and place it in a towel or washcloth to shield your skin from its hot temperatures.
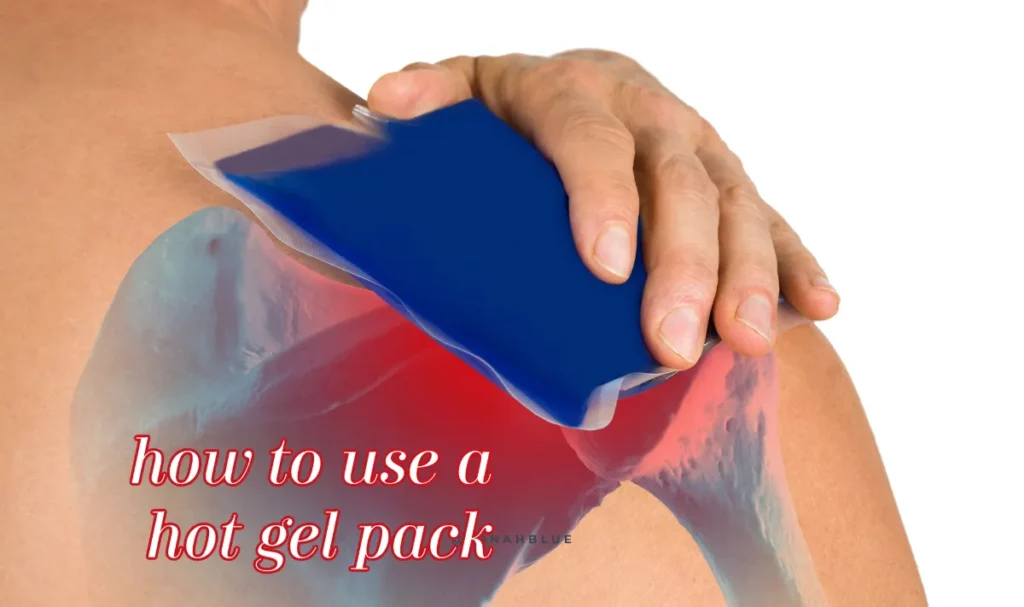
Apply to Injuries
Press the gel pack into your sore or stiff muscles. Leave the pack in position for up to 20 minutes, but always remove it if your skin feels uncomfortably hot.
Hot packs work well for stiff joints, arthritis, fibromyalgia, menstrual cramps, and old injuries that are aggravated again.
Are Gel Ice Packs Made from Harmful Substances?
Before you place a gel ice pack with your food, you probably want to know if the gel is harmful if one of the packs breaks open. You’ll be glad to know that most packs are full of non-toxic ingredients.
Gel ice packs are full of water, along with things like silica gel, propylene glycol, sodium polyacrylate and hydroxyethyl cellulose.
Most ice pack materials are harmless if touched, but you should avoid ingesting them. Find out more about what’s contained in a gel ice pack and if it’s truly safe here.
Creating Your Own Gel Ice Packs
If you don’t own any gel packs, you can create your own easily. With a handful of ingredients, you’ll be ready to create a functional ice pack in minutes.
Gather the Ingredients
Gather the following for each ice pack you want to make.
- Two 1-quart (1 liter) Freezer Bags that Zip Shut
- 2C (460 ml) Water
- One Cup (230 ml) of Rubbing Alcohol
Assemble the Ice Pack
With all the necessary ingredients gathered, it’s time to build your ice pack. Place one freezer bag inside the other, and pour the water and rubbing alcohol into the inner bag.
Seal the bag, so it’s 90% closed, and carefully press out any air inside the bag. Now do the same with the outer freezer bag, and you have a decent freezer pack to rely on.
Freeze this homemade gel pack for a few hours, and it will be ready to cool food, injuries, and more.
There are tons of ways to make gel ice packs. Have a glance at some of our other gel pack recipes and you’ll have a full collection in no time.
Summary
Gel ice packs are useful tools for injuries, the food you need to be cooled, and more. By understanding how to effectively cool or heat the packs and when and how to use them, you’ll always know how to get benefits from your gel ice packs.