By using ice packs in a cooler, you can extend the lifespan of the ice you’re using, or you can skip ice entirely and keep the items in your cooler dry.
When I travel in my van I regularly only use ice packs and avoid loose ice altogether or if my freezer it full I'll use some ice packs to supplement regular ice.
To help your ice packs keep your cooler cold for as long as possible, it’s important to pack it strategically. If you don’t use ice packs regularly, you’re likely wondering how to pack a cooler with ice packs?
To keep your cooler cold as long as possible with ice packs, place a layer of large ice packs on the bottom, followed by meat or your most temperature-sensitive items. Alternate between adding layers of food and drinks and layers of smaller ice packs or loose ice until you reach the top of the cooler. Finish by adding ice sheets over everything to keep the cooler cold as long as possible.
Ice packs are a powerful alternative or supplement for ice for cooling a cooler.
Keep reading to learn what sizes to get, how to access your cooler, and more information about properly layering the items in your cooler.
Alternatively, if you need some ice packs check out my list of the best ice packs for your coolers. There are a range of different sizes, prices and types of ice packs there so you should find something that suits your needs.
Choose the Right Size of Cooler For Your Current Needs
To keep things cold as long as possible you’ll want a high quality cooler (see the best coolers for ice retention), but you’ll also want the right size cooler.
Coolers that are too large and don’t have enough ice or ice packs to fill the space will melt everything faster than a smaller cooler that fits everything well and has little to no air space.
Try to get a cooler that’s large enough to dedicate twice the space for cooling items as you are food or drinks. So your cooler should be 2/3 full with ice packs/ice and 1/3 full with food and drink.
Sizing your cooler properly ensures your items will remain cool for as long as possible.
Consider what you’re going to store in your cooler, and choose a size that offers three times the space you need for multi-day cooling.
For short day trips, you can get away with using fewer ice packs and using a 1:1 ratio of ice packs and ice to food or drinks. But if you want everything to stay cold for 4+ days then a 2:1 ice:food ratio is ideal.
Step 1 – Determine the Best Size of Ice Packs
Select ice packs that will fit your cooler well.
The largest packs that are to go on the bottom should either be as wide and long as your cooler, or you should get several packs that will cover most of the bottom layer of your cooler.
Block ice lasts longer than small bits of ice and the same is true for ice packs. The large the ice pack the longer it will last and keep everything cold.
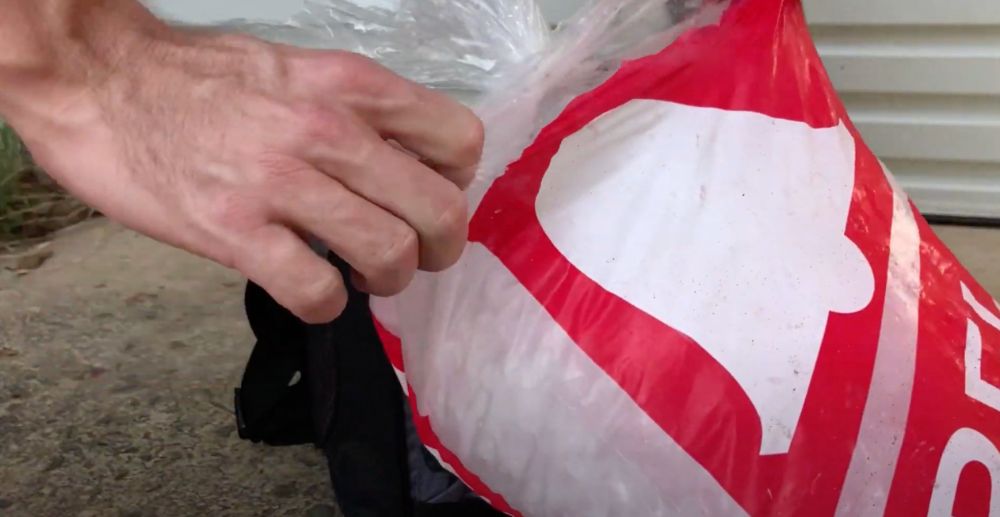
So opt for large ice packs at the bottom of your cooler or make your own DIY ice packs in large milk cartons or soda bottles for a cheap solution.
For the thinner ice packs, try to select packs that are as long as your cooler is wide. Get several packs for each layer you create so you can access the items below without removing the full layer of ice packs.
The ice packs to be used for layering should come close to extending the full width of your cooler and, when assembled, should take up close to the length of the cooler with minimal gaps.
Step 2 – Choose a High-Quality Ice Pack
Invest in durable ice packs rated to hold up to regular use and to get very cold.
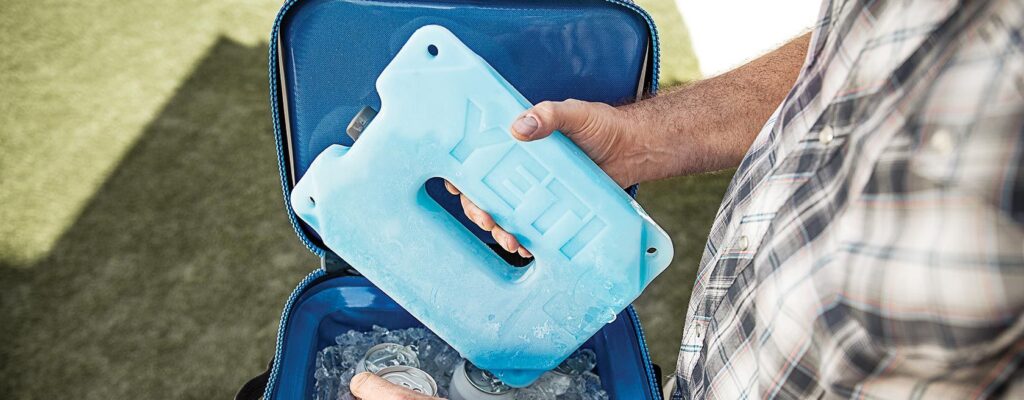
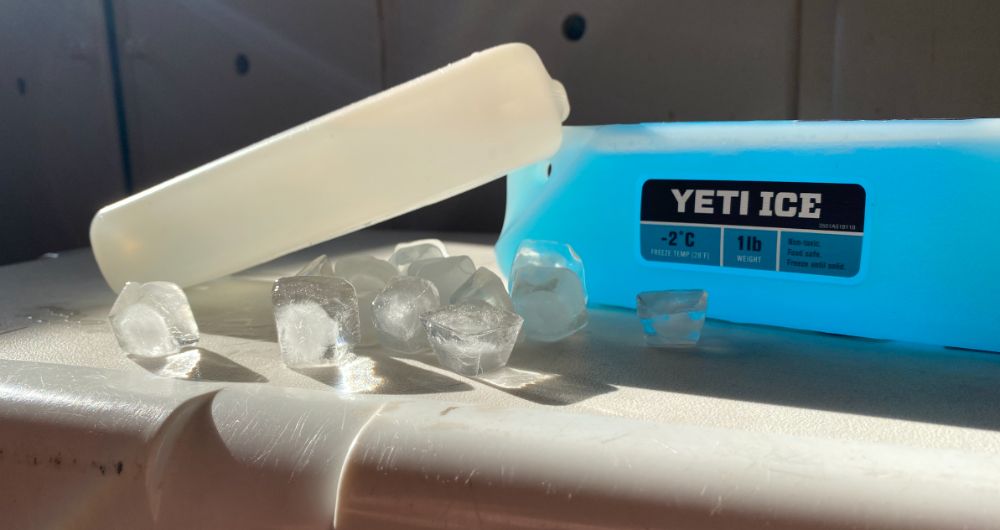
The Yeti Ice Brick (available at Yeti.com) packs are known for being durable and for remaining cold for an extended period. Learn more about these impressive packs in this full review.
Try to get a mix of large ice packs for bottom of the cooler, thinner ice packs for layering, and an ice sheet for the top of your cooler.
Honestly any ice pack will do the job. I just like the Yeti ones because they last an extremely long time (whereas others can break easier) and they are designed to perfectly fit in Yeti coolers.
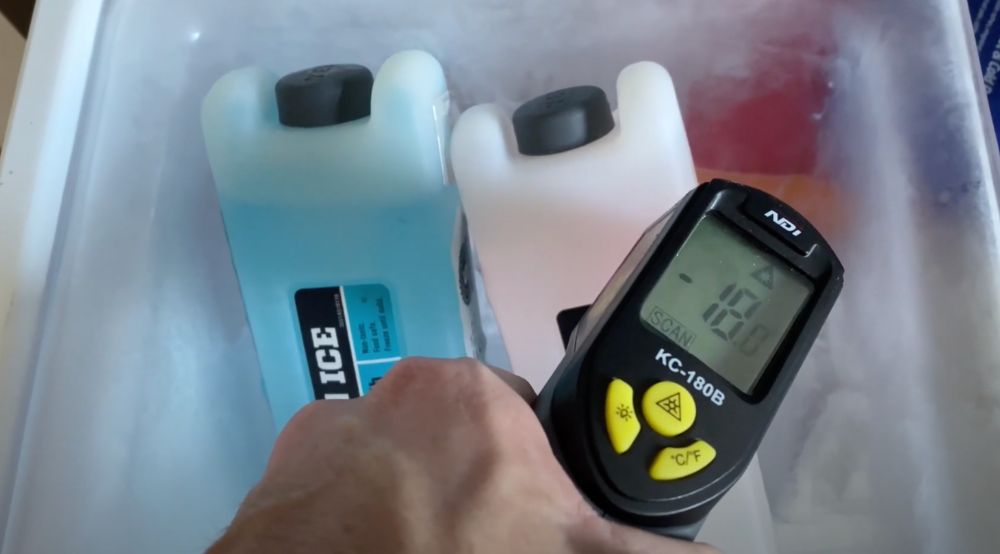
They are also designed to stay colder than regular ice at around 28ºF (-2ºC).
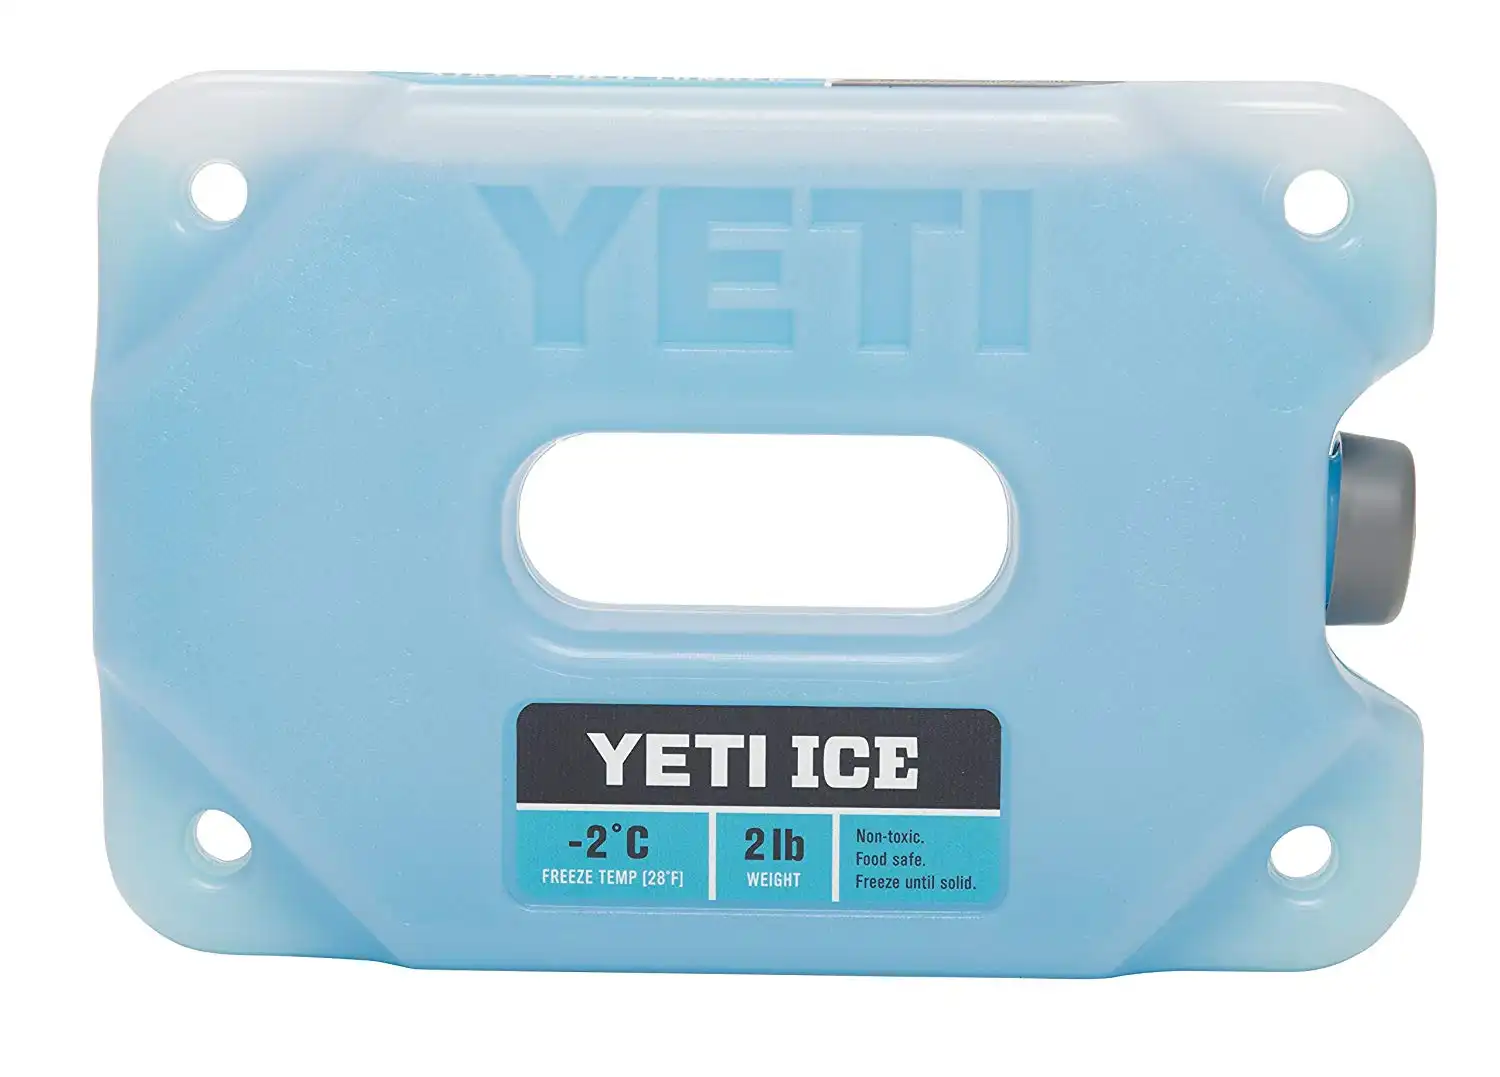
Yeti Ice Packs are extremely durable, fast freezing and are designed to fit perfectly in Yeti coolers.
They will stay colder than regular ice at -2ºC/28ºF helping items stay frozen for longer
Step 3 – Grab the Right Number of Packs for Your Cooler
Try and get enough ice packs to take approximately ⅔ of your cooler’s space when they’re all loaded inside.
This is the amount of space you want your packs to occupy to keep the items inside cold for as long as possible.
When I was traveling in the van I would do this by making my own DIY ice packs with salt inside milk cartons. This is because I couldn't afford the amount of ice packs I would need to fill the entire cooler.
If you don't have enough ice packs then fill up your cooler with regular ice and just use as many ice packs as you have. Put the ice packs closest to the items you need to keep frozen as ice packs generally stay colder than regular ice.
Step 4 – Freeze Your Packs as Cold as Possible
Place all your ice packs in the coldest freezer in your home at least one day before you intend to use them. This gives them enough time to get full down to the temperature of your freezer.
You’ll get the best cooling performance from your ice packs if you chill them down to 0ºF (-18ºC). To do this turn your freezer onto the lowest setting and keep the ice packs near the back of the freezer (not near the door).
Step 5 – Place Thick Ice Packs at the Bottom
Cold air falls down, which is why ice lasts longest at the bottom of your cooler. Start by creating an ice-pack layer along the bottom of your cooler using your thickest and largest packs. Try to cover as much of the bottom of your cooler as possible.
Rest any raw meat or other temperature-critical items on top of the large ice packs at the bottom of your cooler. This way meat and other items stay frozen for longer than any other items in your cooler.
Items closer to the top with thaw faster so you should put frozen items at the bottom with your thick ice packs and items that just need to stay cold near the top with your regular ice or smaller ice packs.
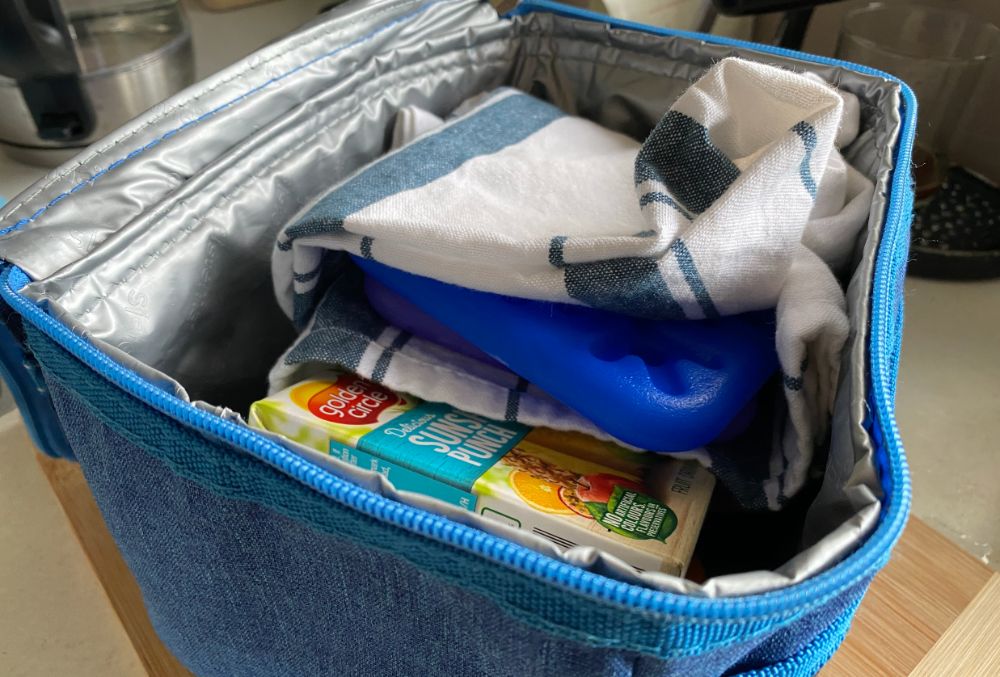
Step 6 – Layer in Small Ice Packs Between Items
Create a thin layer of ice packs over the meat and any other bottom items in your cooler. The Engel 20 ice pack (at Amazon) is designed to stay at 20ºF (-6.7ºC) so will keep lots of items frozen in your cooler. It can even be used to keep ice cream frozen in your cooler.
But having this layer of ice packs above any frozen goods will help keep them frozen and protect them from the warm outside air that comes in every time you open your cooler.
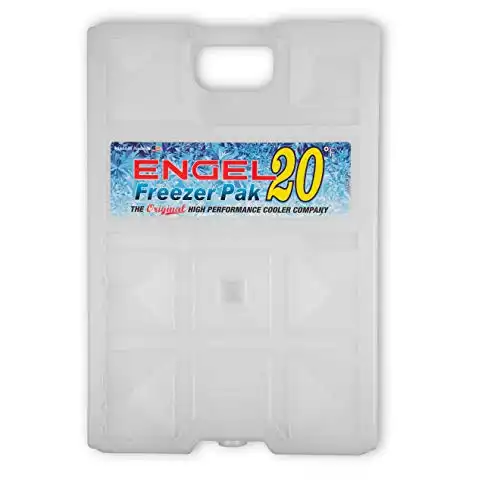
This ice pack is designed to stay much colder than regular ice.
At 20ºF (-6.7ºC) it can keep food and ice cream frozen in your cooler for longer.
Now top in drinks and other items you want icy cold that you’ll use more frequently than the frozen meat. This is also where you would put your regular ice if you're using that as well.
Continue creating layers of ice packs and drinks, fruits, and other items you want cooled until everything is loaded in.
Step 7 – Top with a Freezer Sheet
Finish packing your cooler by adding in a layer of frozen ice pack sheets. These act as an insulating curtain to keep the warm air out when opening and closing your cooler.
If you only lift one-half of the sheet when accessing the cooler, you’ll minimize the warm air that reaches your cooler substantially.
Below you can see a video showing how an ice sheet can help keep ice longer in your cooler:
Step 8 – Consider Supplementing with Crushed or Cubed Ice
When cooling items inside a cooler, open air is the enemy. You’ll struggle to fill every space between your items using ice packs.
This is why it’s a good idea to incorporate one or more bags of ice into your cooler as well to fill in gaps when you need your cooler to remain cold for as long as possible.
Pack the ice cubes or crushed ice in to fill any gaps inside your cooler between your layers of items. Even as the ice melts, the water it leaves behind will help keep air out of your cooler.
But interestingly – ice will last longer in your cooler if you drain it. So draining the water and adding new ice is usually always the best way to keep everything cold for longer.
For Short-Term Cooling, Place A Few Ice Packs On the Top
Ice packs last longest at the bottom of your cooler, but that’s really only a concern when you need to keep items cold for many days.
If you’re trying to cool a small cooler efficiently for a few hours or one day, you’ll keep more items cold with fewer ice packs if you place them at the top of the cooler.
Even a single ice pack will distribute its cold air downward throughout the other items when placed up top. A pack at the bottom might not cool the top items down effectively.
Consider Creating a Cooler Map
To avoid opening a large cooler for longer than necessary, consider creating a map of the items within that you can easily reference from the outside of the cooler.
The map should show which side items are on and in what layer the items are in.
A good cooler map is easy to read and will enable you to dig out the items you want from your cooler rapidly.
By mapping your cooler, you can keep your ice packs cold for longer while still getting access to the items you need within.
Summary
By packing your cooler with ice packs, you can avoid buying ice all the time and save some money. Understanding how to properly pack your cooler with ice packs helps the cooler stay cold for longer and protects any temperature-sensitive items you have within from spoiling.
Hopefully, you have a better understanding of how to load your cooler with ice packs, and you get good long-term cooling performance from now on.