Sometimes you want to make homemade ice cream without using your freezer (and the hours it takes to set in the freezer!)
The good news is it's totally possible. People have been enjoying ice cream since the mid 17th Century – long before freezers were invented!
This article breaks down three simple ways that you can create homemade ice cream without a freezer.
The most simple and effective method of making ice cream without a freezer is by using salt and ice. This creates an endothermic reaction that can freeze your ice cream in as little as 5-10 minutes. You place the ice cream mixture in an old ice cream tub or a ziplock bag and submerge in a large bucket or bag filled with 1 part salt to 3 parts ice.
Keep reading for more details on exactly how to make ice cream quickly and easily without a freezer plus an even faster way to make ice cream using dry ice. I'll even share my top tips on how to store your homemade ice cream for days without a freezer and stop it from melting.
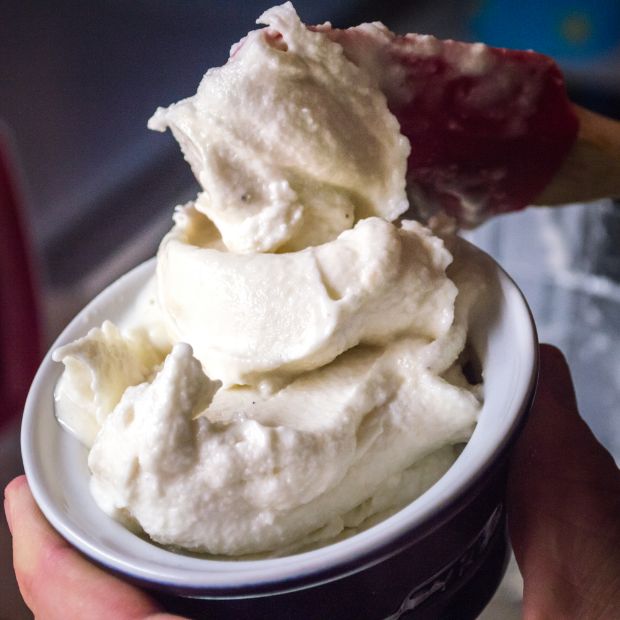
1. Ice Cream In A Bucket
This method is super simple and requires only four household items.
- Roughly crushed ice cubes
- Salt
- 1 big container
- 1 smaller container (needs to be metal)
A metal bowl and an old ice cream tub would work great!
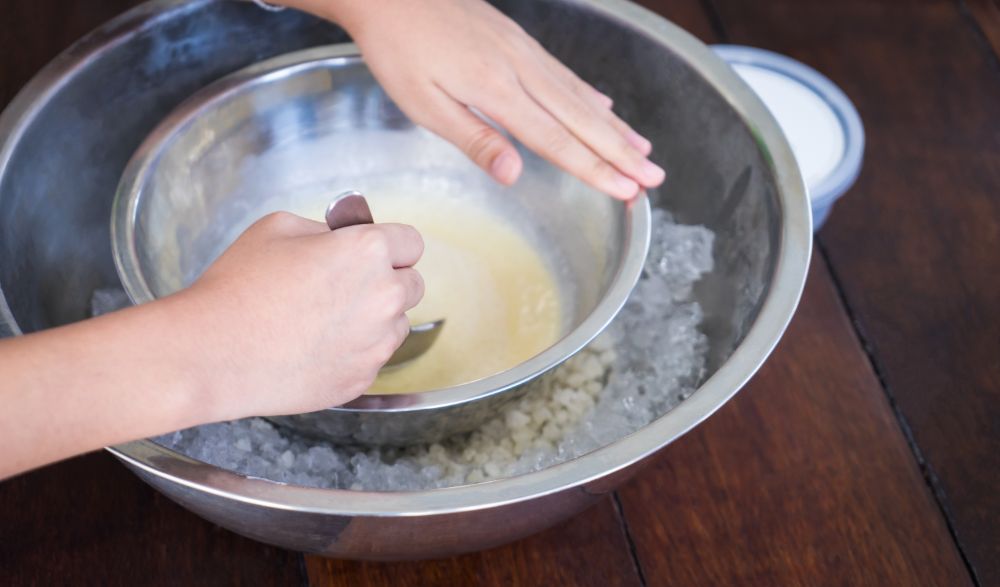
All you need to do is fill the big container with three parts ice to one part salt then pour the ice cream mixture into the smaller container and place this container on top of your salt/ice mixture.
Push the small container right down into the ice so that it is fully covered (but not so far down that the salt and ice gets into your ice cream mixture…YUK!)
You’ll need to turn or shake the smaller container or mix the ice cream base consistently to stop big ice crystals forming and to give your ice cream that fluffy light texture we all love so much.
If you ice cream isn't freezing properly using this method then you may need to add more salt to the outer bowl, or you may need to adjust your recipe.
How does this method work?
What exactly does the salt do to the ice when making ice cream using this method and is the salt needed or can you just use ice?
The truth is you absolutely need to the salt in order for this to work. If you don't then your ice cream isn't going to freeze. You can see this in the video below – without salt the ice cream base stayed liquid but with salt it became fully frozen:
The reason this work is that ice has to absorb heat energy in order to melt and change from a solid to a liquid – this is called an endothermic process. Because the salt forces the ice to melt it also makes the ice colder in the process – and it makes your ice cream cold (and frozen) in the process.
If you hold an ice cube you can feel your hand get cold as the ice absorbs heat from your hand.
This is exactly what happens to the heat from your ice cream mix!
When you add salt to the ice, it lowers the freezing point of the ice, so even more energy has to be absorbed.
The result? Frozen ice cream in approximately ten minutes!
If you want to freeze your ice cream faster then simply add more salt so you have a higher salt to ice ratio.
2. Ice Cream In A Bag
Similar to the method I mentioned above, we are going to use the endothermic reaction of salt and ice again to create our ice cream.
Only this time we are going to use two bags instead of two bowls. Whereas it might take 20-30+ minutes to make ice cream using the above method this method makes ice cream in just 5-10 minutes.
To use this method you want to ensure that you are using quality bags to prevent breakage and cross contamination.
In a small resealable plastic bag place your ice cream mixture. Squeeze out any excess air and seal.To be safe you could consider double bagging your ice cream mixture as you really don't want salty ice cream. Yuck!
Into a large resealable bag combine ice and salt in the same 3:1 ratio mentioned above. More salt = a faster freezing time.
Place the small bag inside the bigger bag, seal the bigger bag and now shake vigorously.
In 10 minutes the ice cream will have firmed up enough to eat.
One of the big mistakes people make when making homemade ice cream using this method is not using enough salt or not shaking vigorously enough or for long enough. This can be tiring but keep it up, the results will be worth it!
You might want to rinse off the little bag with cold water, especially the top part near the seal, before opening it up… just in case some salt leaks into your ice cream.
Now enjoy with your favorite toppings!
3. Dry Ice Ice Cream
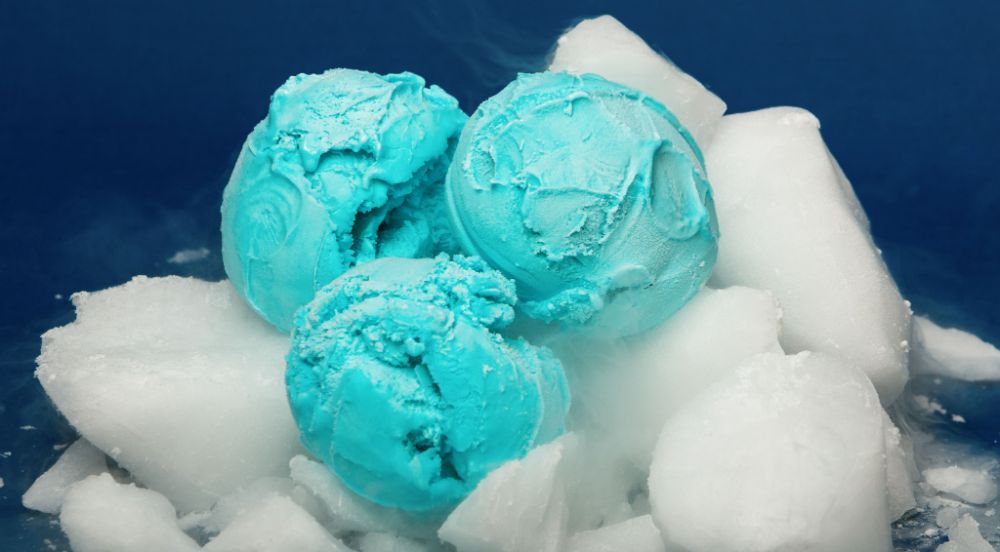
This method is a little different from the other two and it can make ice cream literally in SECONDS!
It uses dry ice which is frozen carbon dioxide and is far colder than regular ice.
Sitting at a chilly -109.3°F (-78.5°C) it is definitely cold enough to freeze your ice cream solid.
First, you need your dry ice to be crushed very finely. Place dry ice in a ziploc bag and smash the dry ice into a powder or tiny pieces.
Add the dry ice to your ice cream mixer one little bit at a time – all the while stirring the mixture. You don’t want to put too much in at a time, or it will freeze over into a huge sticky mess.
Expect to see a lot of vapor and maybe even some bubbles! As the carbon dioxide sublimates from solid to gas, little pockets of gas get trapped underneath the ice cream, and they escape to the surface in little bubbles…kind of like a soda?
This is called carbonation and makes the ice cream taste a little sweeter than usual.
After you've made your dry ice ice cream you'll want to wait for the vapor/smoke to dissipate before eating your ice cream. You'll also want to make ABSOLUTELY SURE there are no chunks of dry ice left in your ice cream.
SAFETY DISCLAIMER: You should never ingest dry ice. When people eat dry ice ice cream, they're just eating the ice cream ingredients, with all the dry ice changing into a gas before consumption! Dry ice is dangerous so you need to make sure you handle it carefully too and don't touch it with your bare hands.
Storing Ice Cream Without a Freezer

Okay so we have discussed how to make ice cream without a freezer but how do you store it?
Maybe you are planning a road trip or you're camping and need to know how to keep your ice cream frozen on the go or without access to a freezer.
Just putting it in a cooler will only keep ice cream frozen for a few hours but there are other ways to keep your ice cream completely frozen.
Dry Ice In a Cooler

Dry ice is a fantastic option to keep ice cream frozen in a cooler for days and produces some of the best results for freezing on the go.
It can keep ice cream frozen for 18-24 hours in a low end cooler and for 3-5 days in a high end cooler. That's pretty impressive!
However, if you don’t have a cooler you can always place the dry ice in a bucket or large bowl. It just won't stay frozen as long as the dry ice will sublimate faster if it isn't in a cooler.
In fact, dry ice is so cold that it can make your ice cream too hard and unable to be scooped.
You will need to take some precautions to ensure your ice cream is frozen at just the right temperature.
When handling dry ice make sure you use gloves or something protective to avoid getting frostbite in those fingers.
Cover the dry ice in newspaper or a towel or place a layer of cardboard over the top.These materials are insulators and will protect your ice cream from getting too frozen.
I recommend that you place dry ice on the bottom of the cooler (or bucket!) followed by a layer of cardboard or a towel. Read more about how to use dry ice in a cooler.
Then place your ice cream on top so it's close to the cool air of the dry ice and stays frozen. If you find your ice cream is TOO frozen then try wrapping your ice cream container in a towel as this will insulate it from the dry ice and stop it getting as cold.
Homemade ice cream goes bad faster than regular ice cream, but dry ice is another way to help ice cream last for longer.
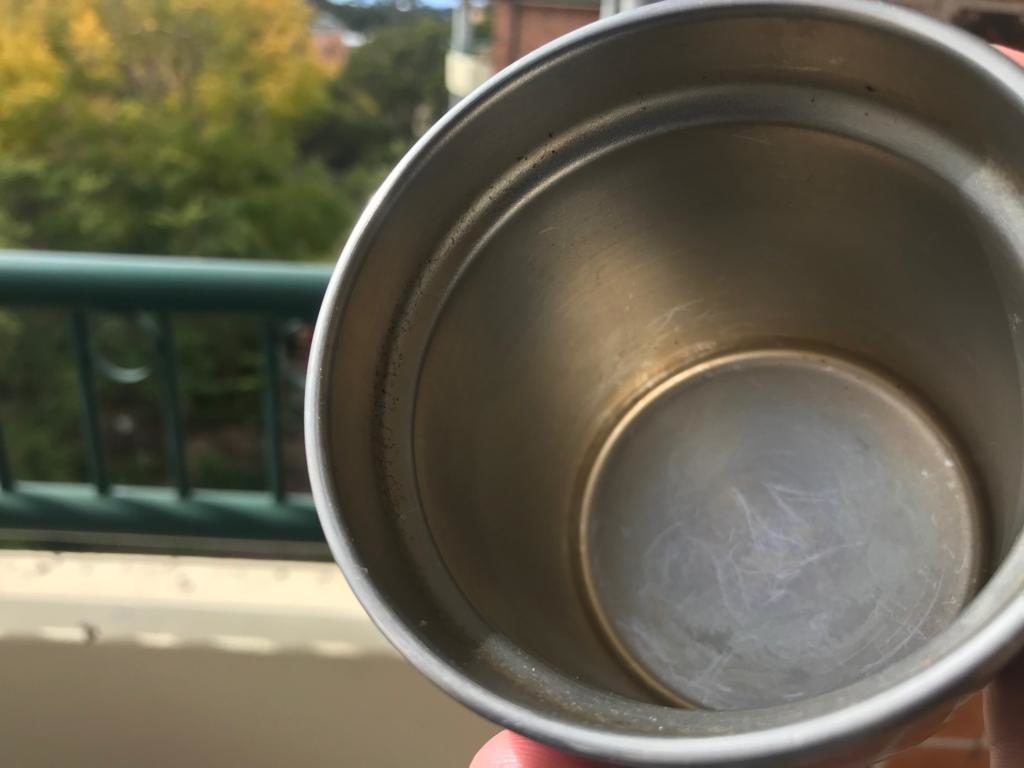
Vacuum Insulated Tumbler
Sometimes you don't have access to dry ice or it's impractical to use. Or maybe you have a smaller amount of ice cream to keep frozen and using dry ice is just complete overkill.
In this circumstance the best way to keep ice cream frozen without a freezer is to use a vacuum insulated tumbler or a camp crock/thermal cooker.
Vacuum insulated tumblers are great for storing ice cream and are probably the best way to stop it from melting, other than using dry ice or a freezer. Tumblers can keep ice cream frozen for hours!
This is because vacuum is the best insulator at keeping things frozen. To really enhance the duration that a tumbler will keep ice cream frozen consider placing that tumbler in the bottom of a cold cooler. You can even put salt on the ice in the cooler to keep things EXTRA cold.
Use Salt Ice Packs or Ice Packs Designed To Stay Colder Than Ice
Regular ice in a cooler will warm up to around 32ºF (0ºC) and will stay at this temperature until all the ice is gone.
Unfortunately, ice cream is designed to be kept at 0ºF (-18ºC) which is much colder than most coolers get. This means ice cream will quickly melt in your cooler.
However, you can create salt water ice packs which stay colder than regular ice and these can help keep ice cream frozen in your cooler for longer. Click here to learn why salt makes ice colder if you're interested in the science behind this.
To make salt ice packs simply fill up water bottles with water and add a large amount of salt and mix until dissolved and the freeze. The more salt you add the colder the ice pack will stay.
Salt ice packs can stay as cold as 15ºF (-9ºC) but more commonly they stay around 20-28ºF (-6 to -2ºC).
You can also buy ice packs that are designed to stay colder than regular ice and these can keep your ice cream frozen. You'll want to use these in a cooler and have them touching your ice cream. Click here to see the list of the best ice packs for coolers.
If you're looking for a good ice pack for keeping ice cream frozen I recommend the Engel 20 Ice Pack – this is designed to stay at 20ºF (-6.7ºC) and this should keep your ice cream frozen for a couple of days in a high-end cooler.
This ice pack is designed to stay much colder than regular ice.
At 20ºF (-6.7ºC) it can keep food and ice cream frozen in your cooler for longer.
Summary
It is totally possible to make homemade ice cream without a freezer.
The most simple method is using salted ice and either a bucket and an old ice cream tub or two ziplock bags (one large and one small).
This method uses the endothermic reaction of the ice and salt to freeze the ice cream without the need for a freezer.
Alternatively you could try ‘dry ice’ ice cream. This is another quick and easy method, simply crush up the dry ice and add it to your ice cream machine during the churning process to firm it up without the need to freeze.
Once you have created your ice cream it is easy to store ice cream without a freezer, I recommend using either a cooler filled with dry ice and covered with a layer of cardboard to protect from freezer burns. Or place your ice cream in a vacuum insulated tumbler in a bucket of salted ice.