When minor injuries occur, the first step that doctors will tell you to take is to ice the affected area. The cool temperatures that radiate from the ice calm inflammation, and it can alleviate pain.
Homemade rice ice packs are a cheap and handy option to use. They mold to the skin, made in all different sizes, are cheap and easy to make and can even be turned into heat packs if you need them to.
So how can you make a homemade rice ice pack?
Ingredients:
- White rice (any type)
- Fabric
- Sewing machine and thread (or needle and thread)
How To Make Your Own Rice Pack From Scratch
Step 1: Choose Your Fabric
For this project, you’ll need fabric, a way to sew, and rice. If you have a few pieces of scrap fabric that don’t have any other use, you can go ahead and use those.
It doesn't have to be fancy, almost any size and shape can do.
If you need to purchase fabric, you’ll have to consider how large you want your ice pack to be. If you tend to sprain your ankle, you’ll probably only need two small pieces of fabric measuring 4×4 inches.
However, if you’re in need of some serious pain relief for larger areas, you’ll need to go bigger. For those who suffer from back pain, you should pick out two pieces of fabric that measure 9×9 inches.
If you’re pregnant and suffer from underbelly pain, or you’re like most people and hold all of your tension in your neck, you may want to go a more long and thin rectangular route. This will allow you to wrap the ice pack around certain parts of the body.
QUICK TIP: If you're super lazy or suck at sewing (like I do) then you can simply use an old sock. Fill it with rice and tie it off at the end and you're done. Easy peasy.
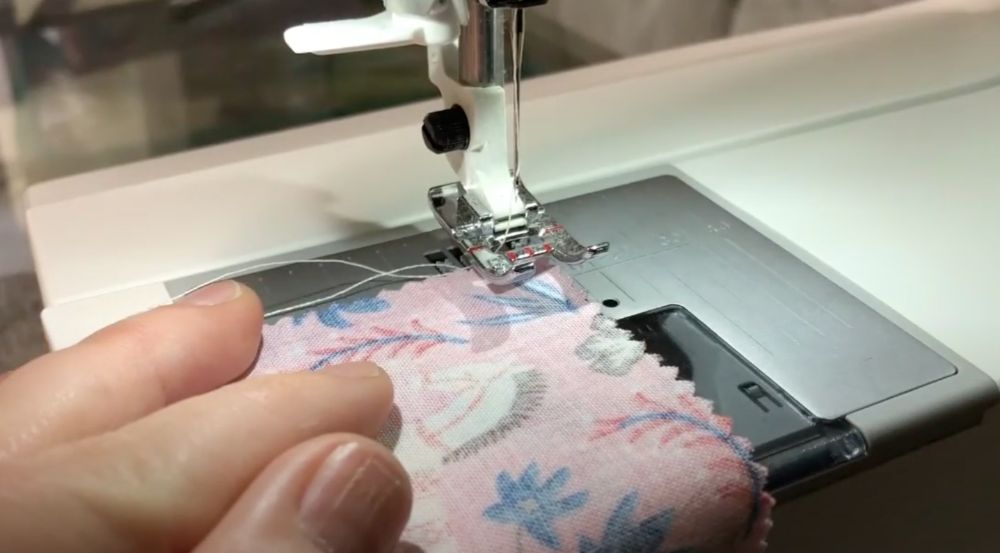
Step 2: Sew The Fabric Together
For sewing, it’s easiest and quickest to use a sewing machine. Sewing machines produce accurate stitches in a timely fashion.
You can sew this item by hand as well, it just might take you longer than expected.
You’ll begin by pinning the two pieces of fabric together with the print sides facing each other. So the non-print side of the fabric should be facing outwards.
You’re going to sew the borders of the two pieces of fabric together, leaving a one-inch gap at the top. It doesn’t really matter which stitch pattern you use to join the two pieces of fabric together.
If you’re using a sewing machine, you might find success with an interlocking stitch. For hand sewing, a two thread chain stitch will get the job done.
Step 3: Turn The Fabric Inside Out

Once your two pieces of fabric are successfully joined together, you’re going to reach inside the one-inch opening you left, grab the fabric, and turn it right-side-out.
Step 4: Pour The Rice In
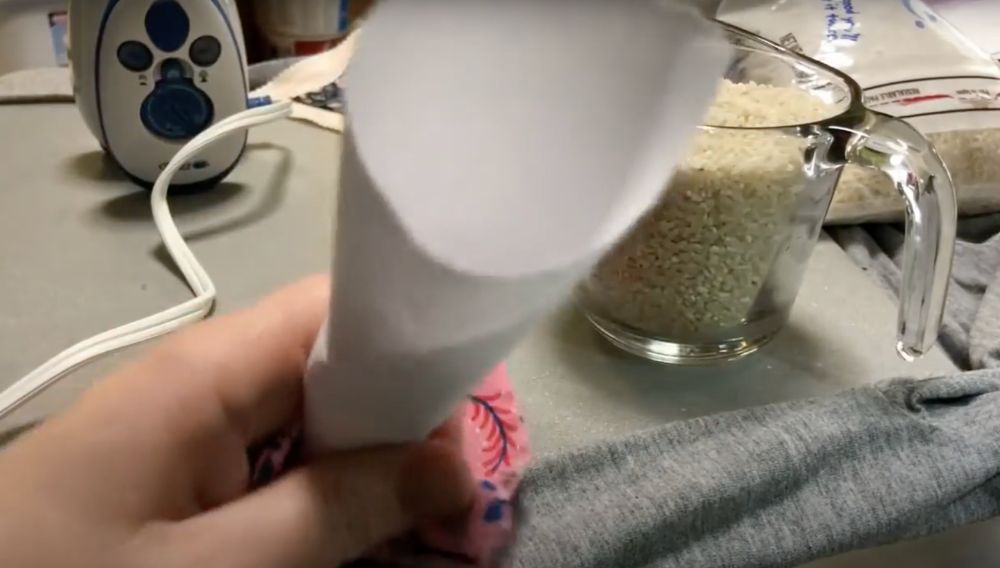
Now, you’re going to pour your rice in.
A funnel comes in handy during this part, or you could cut the top off of an empty water bottle to create a makeshift funnel or roll up a piece of paper to make a quick funnel.
You’re going to fill the pack up to about 70% fullness. You don’t want the pack to be stuffed to the gills.
If the rice ice pack is too full, it won’t meld to the body and create even cooling across your skin.
Step 5: Sew The Final Gap
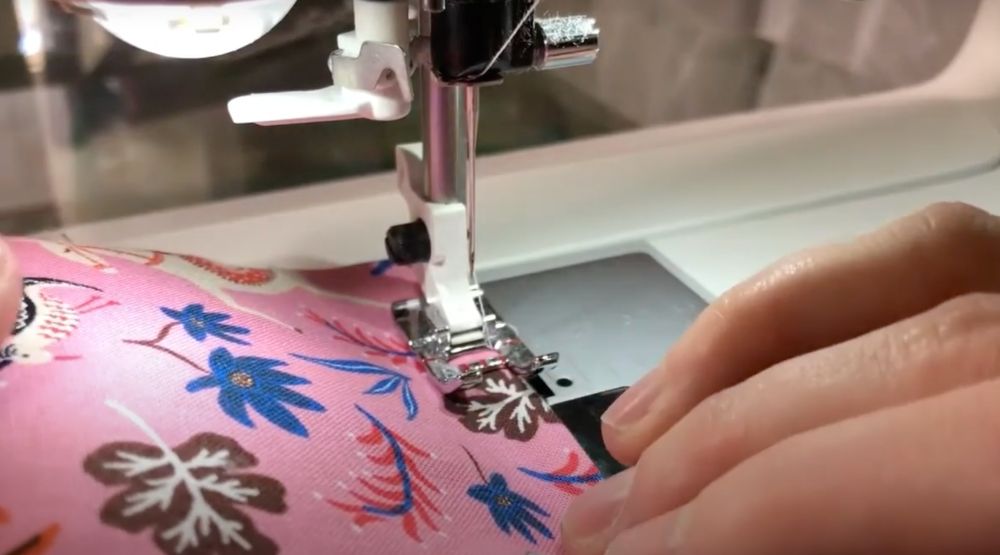
Once the rice pack is filled, you need to finish your sewing. You will close the one-inch gap that we had previously left open. You can do this using a sewing machine or by hand stitching.
Quick tip: Pin the rice pack into place to contain all of the rice while you sew.
Step 6: Place In Freezer
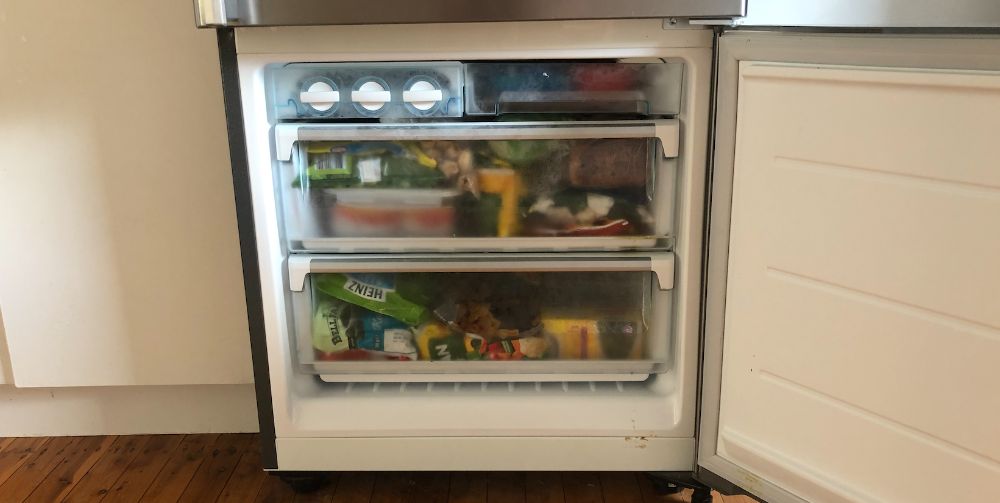
That's it! Your homemade rice ice pack is now complete and you can place it in the freezer and it'll be ready to use whenever you need it.
Video Instructions
Here are a few different video instructions on how to make a rice ice or heat pack:
Does the Type of Rice Matter?
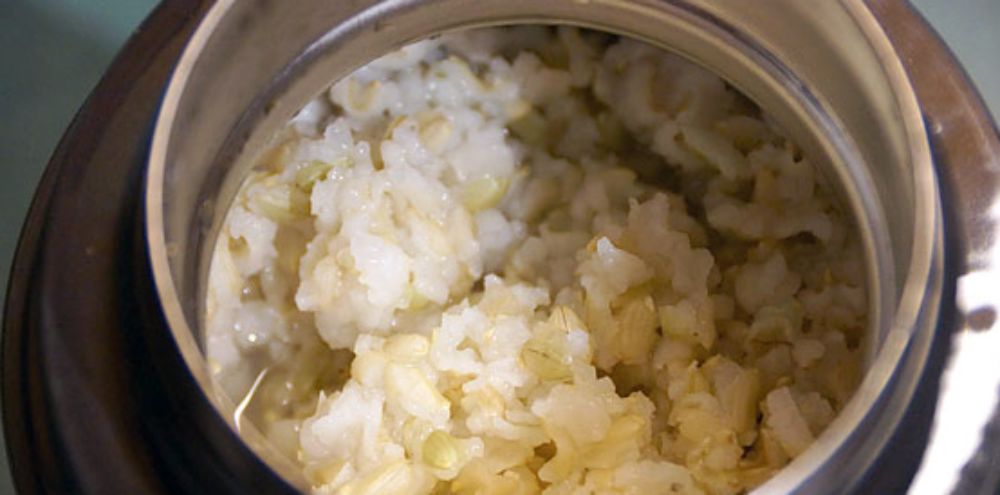
With these rice packs, it’s highly recommended to use white rice. White rice is the least expensive variety and it both heats and cools well.
You want the rice to be uncooked.
Long-grain white rice will have more surface area per grain than short-grain white rice, but you can genuinely use whatever you have lying around the house.
How Do I Use A Rice Ice Pack?
For best results, you should keep your rice pack in the freezer at all times. Then, it will be cooled down and ready for you whenever you need it.
It’s important to keep your rice pack dry. If your rice pack becomes damp, the rice will absorb the moisture and begin to break down. This can also lead to mold growth if it stays out of the freezer for too long.
Alternatives To Rice Ice Packs
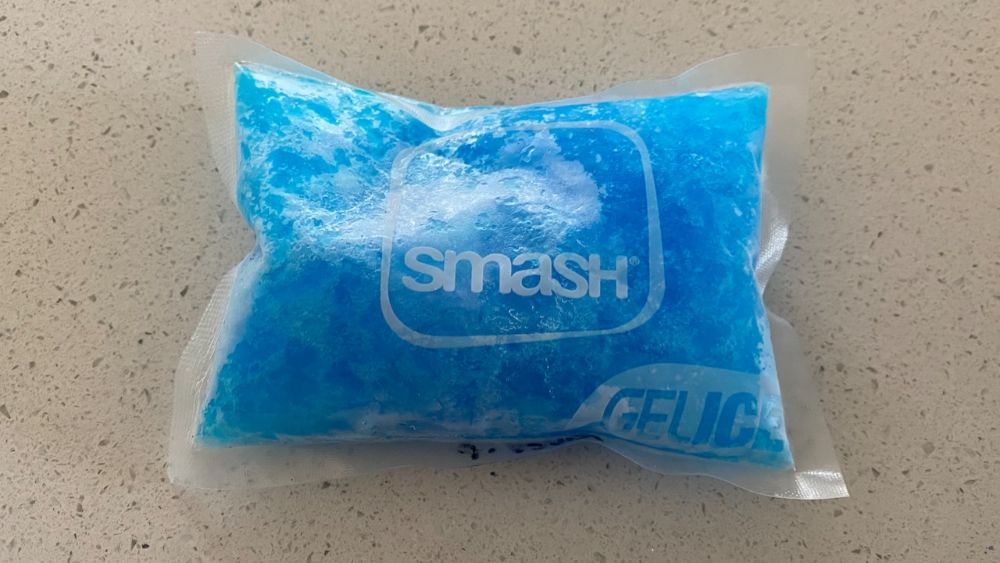
Gel ice packs are reusable, and they stay cold for much longer.
Commercial ice packs can be left in the freezer until you need them.
There are two downfalls of commercial ice packs, however.
The first strike against them is the price.
While it’s true that ice packs don’t cost a fortune, they do cost money. If you’re on a tight budget, wasting $10 on an ice pack isn't really worth it when you can just make your own at home for almost nothing.
I have created instructions on easy ways to make your own gel ice packs if you prefer them over rice ice packs.
The second con of commercial ice packs is that many contain harmful chemicals and they often don't mention what chemicals are used.
If you’re getting a lot of use out of your ice pack, it can become damaged over time. If the ice pack becomes damaged, it will begin to leak.
The contents of an ice pack are fine when they’re encased in plastic, but a leaking ice pack can result in irritation, and in severe cases, you can get a chemical burn. This is rare but it can happen. More info on whether ice packs are dangerous when they leak on you.
Children and dogs will put almost anything in their mouths. Do you feel comfortable letting them chew on something that you have no idea of what is inside of it?
Crafting your own ice packs out of nontoxic rice can take this worry off of your mind.