If your stove breaks, you're out of traditional fuel or you just need a DIY option to cook your dinner then luckily it's not too difficult to make a DIY gasoline stove for cooking.
It'll only take a couple of minutes to make and it can run on almost any flammable liquid you want to put in it – including alcohol, methylated spirits, white gas and even unleaded gas or diesel (which almost all campers have access too if they drove to their campsite).
To make an easy DIY gasoline stove for cooking, get an empty beer/soda can or food tin. Remove the top with a can opener and make 6 to 8 holes 1 inch from the bottom with a sharp knife or corkscrew. Repeat this at the top of the can and just below the top set of holes. Pour your fuel or gasoline into the can and light it.
Making a DIY gasoline stove involves a few steps and you’ll need a few basic items. It should only take about 10 minutes or so (or a couple of minutes if you've done it before) and then you can start cooking.
Let's Talk About Safety
As always with DIY stoves safety is a big issue and these types of stoves are inherently more dangerous than a store bought stove and safety precautions should be taken.
Any type of fuel other than alcohol is going to be more dangerous.
Unleaded gas and diesel are toxic, dirty (they'll soot up your pan massively), they can smell when they burn and you cannot safely put them out with water. They are higher risk to both your health and in terms of a fire hazard.
Alcohol fires can be put out with water more safely. So while this can run on gas I do advise you to use alcohol for this one if you have access to it. It's a good alternative to Coleman gas or white gas for liquid fuel stoves too.
Also these stoves are NOT the safest stove options out there. The can walls can potentially collapse so having an external stand and a way to safely put out the fire is a good idea. The heat output unfortunately isn't controllable and they can be difficult to extinguish on demand
Also these stoves can possibly “flashback” through the bottom holes which can make the surrounding area dangerous – as far as several feet out (which could lead to severe burns if you aren't extremely careful).
Keep the area clear of flammable materials and stay clear of the area while the stove is active.
Things You’ll Need
- Cleaned out soda or beer can or food tin (the wider and stronger the can the better)
- Can opener (or knife)
- Sharp knife, Swiss army knife or corkscrew
- Gasoline or another liquid fuel (ideally alcohol based)
- Lighter or matches
If you don’t already have a Swiss army knife, consider investing in one when you can as it’s a highly useful tool for camping. Victorinox Swiss Army Multi-Tool from Amazon is an excellent example and features a sharp knife, corkscrew, scissors and more.
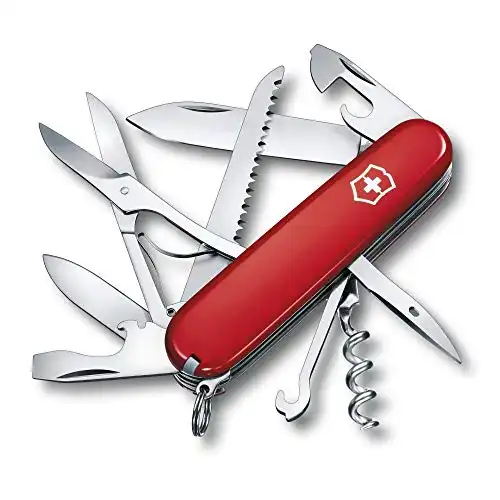
Made from durable construction from a company that has been making knives since 1897. Features 15 functions and backed by a lifetime guarantee this is a great multi-purpose swiss army knife.
A Swiss army knife can help you out in a bind, such as when you need to make a DIY stove.
1. Remove The Top of The Can With The Can Opener
Using a can opener is the best way of removing the top but you can also use a sharp knife or some cans of food you'll just be able to remove the top.
Poke a hole somewhere along the top inner rim and then carefully slice the lid off.
Be careful not to remove the can’s top aluminum rim as this keeps it intact and will prevent it from crumpling when you use it as a stove.
This can is also going to double as your stove holder which is why I suggest the widest can possible.
2. Create 6 to 8 Holes 1 Inch from The Bottom (Single Layer)
Make 6 to 8 equally-spaced holes 1 inch from the bottom of the can. If you don’t have a ruler or measuring tape with you, 1 inch is similar to the height from the tip of your thumb to the first knuckle.
These holes allow oxygen into the can to help the fuel burn. But you don't want the holes so low that you can't fit any fuel in your can.
If you don’t have a sharp knife, you can use any other sharp object like:
- Tent peg
- Screw
- Nail
- Scissors
- Car keys
The holes don’t need to be the exact same space apart but they should be roughly 1/4 of an inch in diameter and the same height from the bottom.
3. Make 6 to 8 Holes At The Top Of The Can (Double Layer)
Now make another 6 to 8 holes just below the aluminum rim and where the soda can slopes slightly.
These holes should also be about ¼ of an inch in diameter and here it's a good idea to double layer the holes.
Have 2 rows of holes and offset the holes so they aren't right on top of each other. This is where the flames are going to come out.
4. Create 6 to 8 Holes Just Below The Top Set
Make another row of holes about ½ an inch below the top set and where the straight part of the can begins.
When the stove is lit, these holes guide the flames outwards in a fan shape and function like a camping stove ring to make cooking efficient. They also prevent the DIY stove from losing too much heat.
5. Pour Gasoline Into The Can and Light It
If you don’t have access to gasoline (if you hiked to your camping site, for example), you can use another flammable liquid as a substitute, such as:
- Denatured alcohol
- Kerosene
- Methylated spirits
- Coleman fuel or white gas
Before lighting the stove, make sure it’s level and steady. This is important because if the stove falls over it can quickly cause a fire.
You can stabilize the can by placing it on a flat rock or piece of wood if the ground isn’t completely level. To ensure it doesn’t fall over, steady it with a few thick twigs or tent pegs.
Only fill it with gasoline up to the first row of holes and place your lit match or lighter over one of the holes.
Don’t lean in too close and keep your distance from the can so you don’t accidentally burn yourself. Also have some water handy so you can put out the stove when you’re finished cooking or the flames get out of control.
Avoid using your DIY stove in a tent or poorly-ventilated area. Aside from the fire hazard, the gasoline will produce dark fumes and a lot of smoke, which is unlike Coleman stoves, which produce very little smoke when you use gasoline.
6. Place Your Pot On The DIY Stove
Now you can place your pot on the stove. If you used a soda or beer can for your DIY stove, avoid putting an overly heavy or cast iron pot on the stove because it won’t support the weight.
If you don’t feel like using the DIY stove to cook an entire meal, boil water on it and cook instant noodles in a stainless steel flask, like a Nalgene bottle.