Are you one of those people who doesn't have enough ice cube trays to keep up with the hot weather? Or maybe you don't have enough space for a bucket load of ice cube trays or just need one in a pinch.
If you don't have an ice cube tray handy there are a few different DIY tricks that you can use to make ice cubes when you need them.
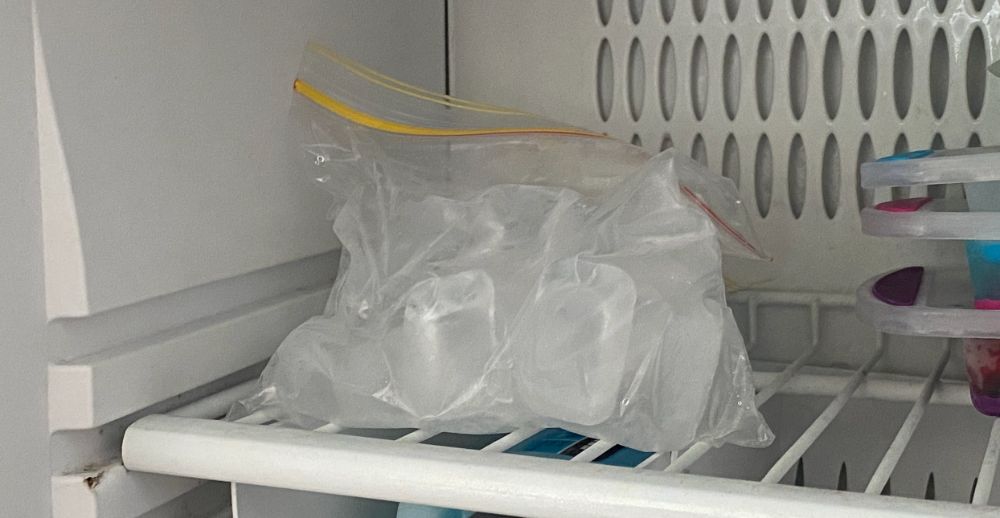
1. Ziplock Bags
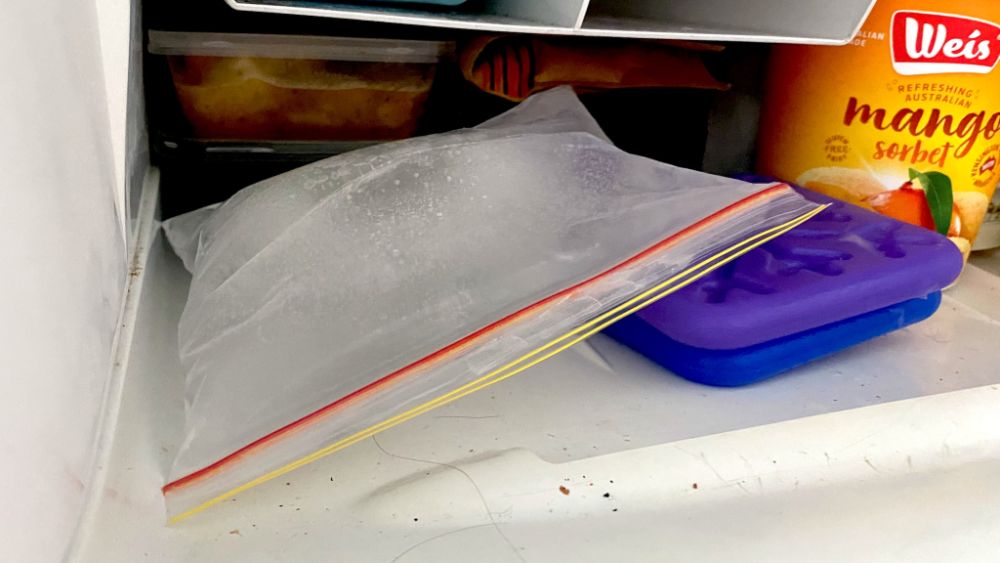
Ziplock bags are one of the easiest way to DIY an ice cube tray and make a good amount of ice all at once.
Most people use ziplock bags for storing food or packing lunch boxes. To use a ziplock bag for ice, you can do the following:
Fill the ziplock bag with water, close the bag, and place it in the freezer. Wait until the water is frozen and then smash the ice block into pieces or cut it with a knife.
There you have it: ice cubes ready for a drink or to keep food cold. If you want to make a lot of ice cubes quickly then use multiple ziplock bags.
You can also use the ziplock-ice bags as lunchbox coolers as an additional option. Another way to use a ziplock bag is to store ice in the freezer.
If you've already made ice rather than leaving it in the ice cube trays empty them into ziplock bags for storage. This will allow you to refill the ice cube trays so you can make more, but it'll also work to keep bad tastes and smell out of your existing ice cubes.
2. Tupperware Containers
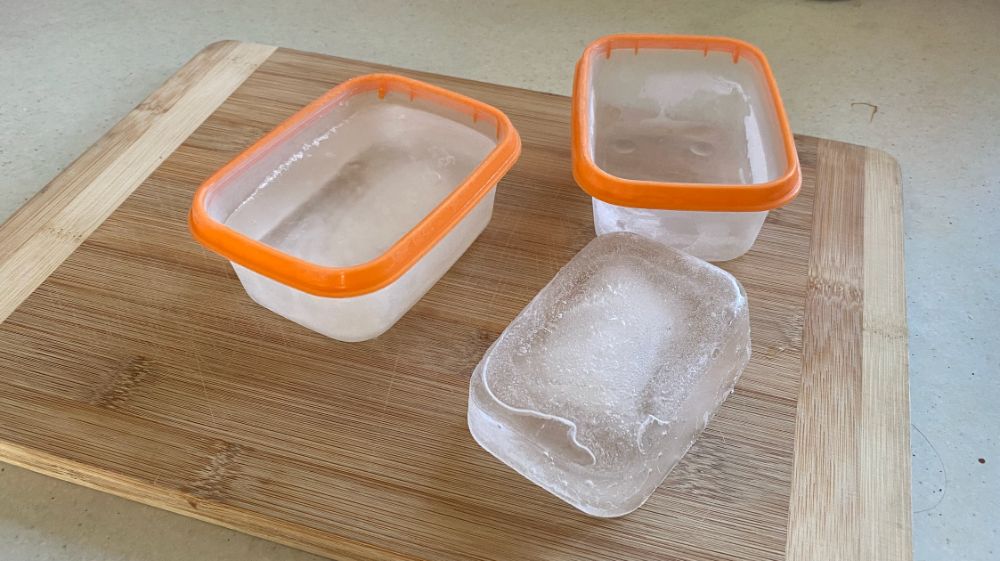
To freeze a lot of ice at once, you can opt for Tupperware containers instead of ziplock bags.
If you're anything like me chances are you have a bunch of ziplock containers lying around and maybe even some that are missing lids and sitting in the cupboard completely unused.
Here you can choose all the shapes and sizes that would fit in your freezer, fill them with water and wait for them to freeze.
The only concern is you get a big block of ice out of it. But for this you can smash up the ice by wrapping it in a tea towel and hitting it with a hammer or you can cut up the ice fairly easily with a knife.
3. Using Balloons As Ice Molds
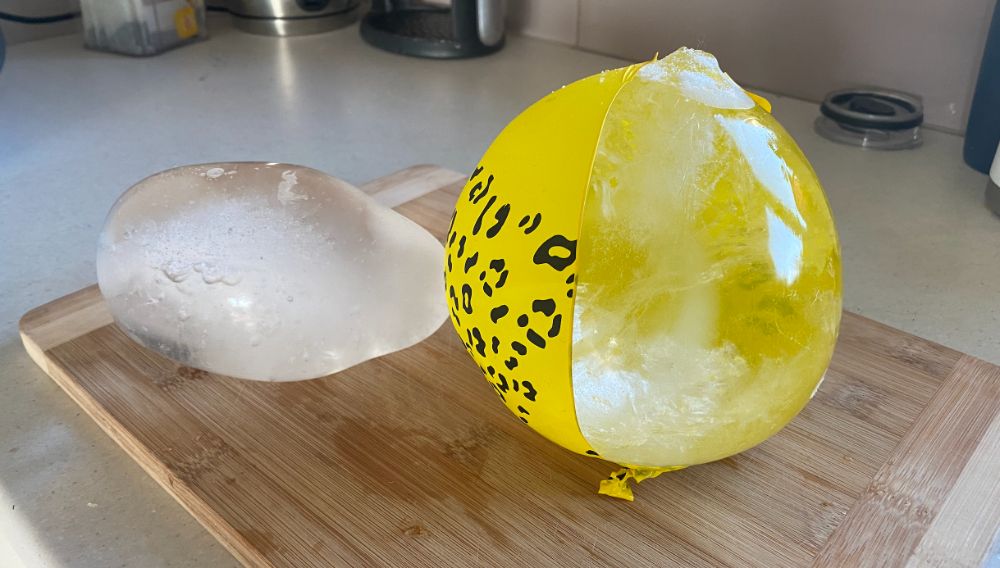
Using balloons to make ice seems unusual, but it can be quite a surprise. Think about serving your guests their drink with round ice cubes that you made DIY-style and not by buying the super expensive ice molds.
You can fill the balloon with as much water as you want (the size you would like your ice cube) and place it strategically in the freezer to hold its shape.
You can make large balloons for keeping food and drinks cold in your cooler or smaller balloon to make little sphere ice cubes that will fit in a cup. Water bomb balloons also work great for smaller ice cubes.
The only problem is that you would have to make dozens of balloon ice cubes to get the effect, or you could make them bigger by adding one big piece of ice to a glass. Another way is to freeze them in the balloon which way ever and smash them up to serve.
If you're using them to cool down food in a cooler then you don't need to break the balloon. The ice will melt and stay contained and then you can refreeze it multiple times and get more use out of it.
4. Baking Trays (Metal Or Silicone)
Your first thought might be that there is no way baking trays could work, but they can. In fact they are one of the best ways to make ice cubes without a tray.
Ensure your trays are clean and there is no residue from baking with them. Fill with water and place in the freezer.
With the metal baking trays, you will have to remove them from the freezer when frozen and put them aside to defrost a little before you remove them.
Another option is to run warm water over the bottom to let them slide out of the mold. This is a clever ice cube tray hack for getting out ice easier. There is actually so much you can do with ice cube trays – check out my 53 genius ice cube tray hacks to get more out of your ice cube trays.
The silicone trays are more manageable as the ice cubes can be “pressed out.” Another exciting thing about the silicone baking trays is that they are available in different shapes and sizes, giving you an opportunity to up your ice game.
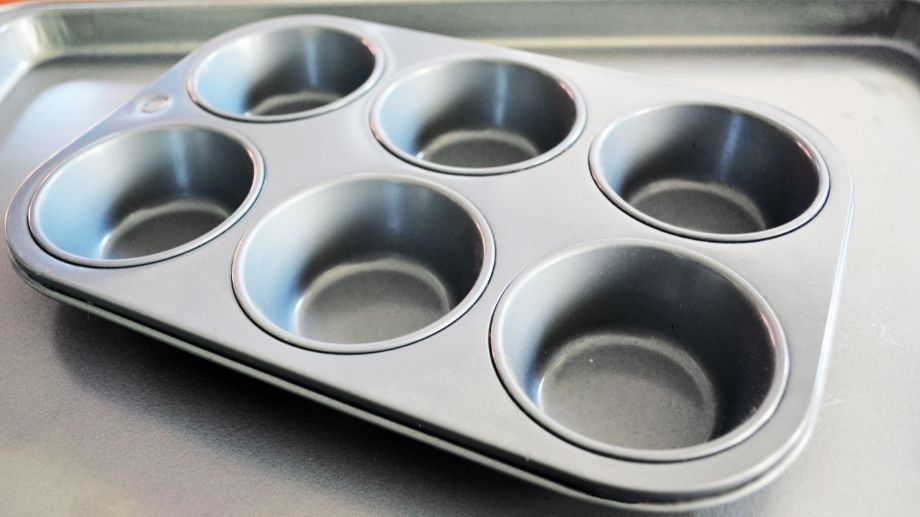
5. Aluminum Cupcake Patties As DIY Ice Trays (or Silicone)
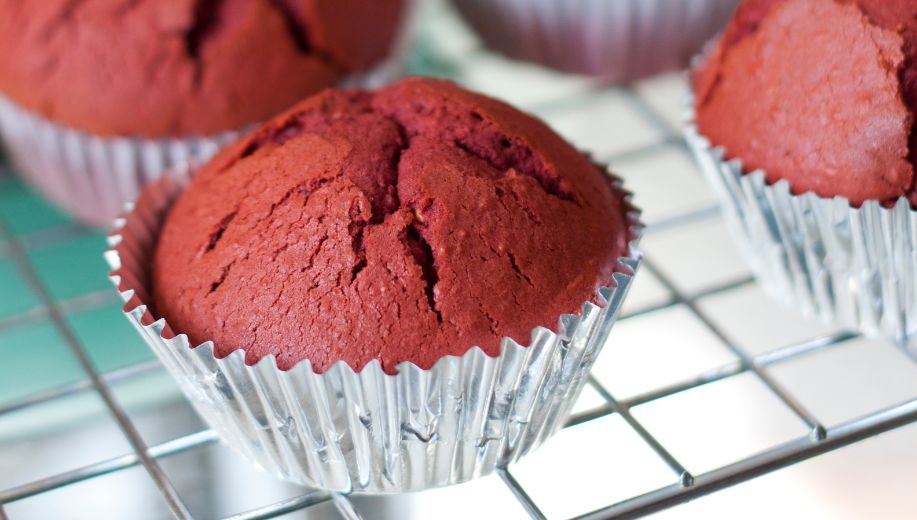
A brilliant way to make a lot of ice at once and faster too would be to use aluminum cupcake patties. You can see it as a top-secret way to make ice quickly.
Place the aluminum patties onto a tray. Fill them with water and place the tray in the freezer. Depending on the temperature of the water you added, the ice will be ready sometimes as quickly as in 20-30 minutes.
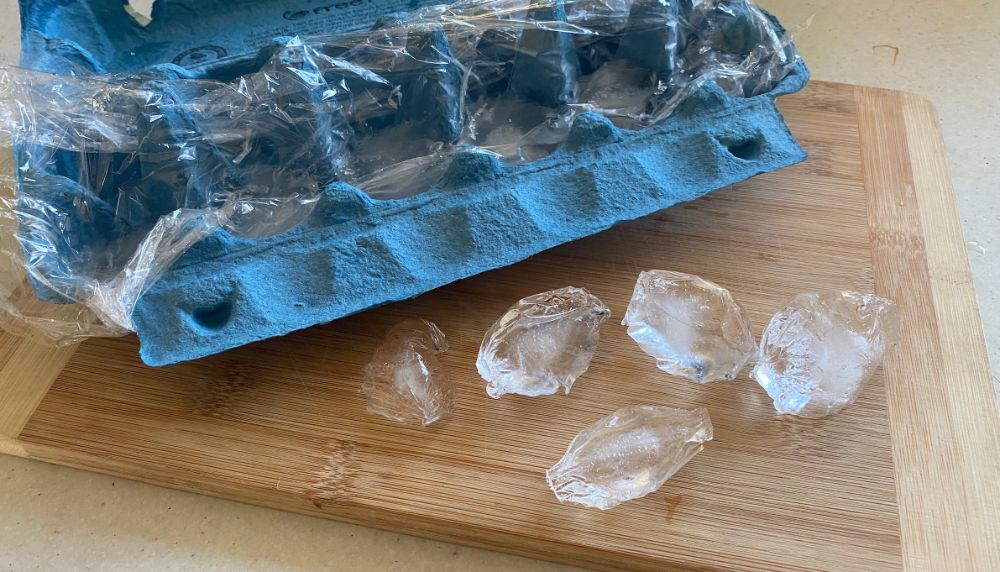
6. Use An Egg Carton With Aluminum Foil on Plastic
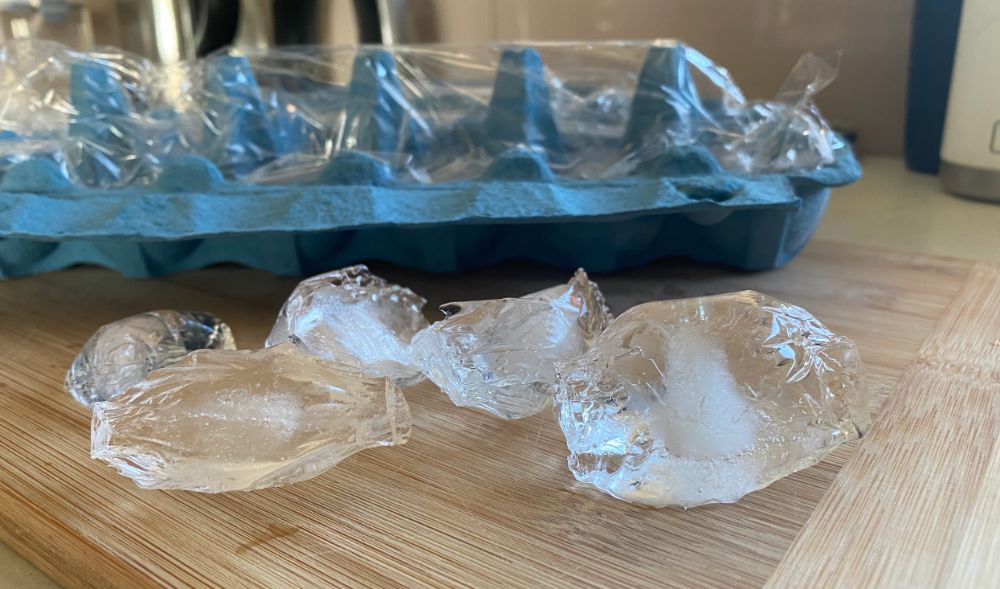
This is one of the more difficult ways to create a DIY ice cube tray.
Aluminum foil can tear easily and the water will leak out of any hole. Plastic film wrap tends to work better but even then it can take some trial and error to get it right.
Still if you're in a pinch almost everyone has egg cartons in their house and it can be a good way to create little ice cubes.
If you have one of those plastic reusable egg carton trays that would work even better as you don't need the aluminum foil or plastic cling wrap.
Cut off the top lid of the egg carton so you only have the bottom part with the “egg-holders” left. Line the bottom with aluminum foil or plastic cling wrap to make it waterproof. Slowly add the water and carefully place it in the freezer.
7. Using Plastic Cups
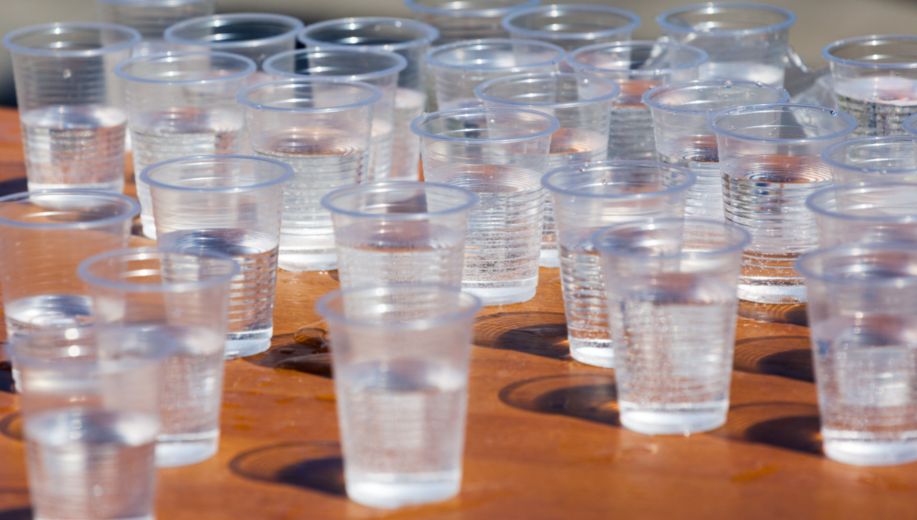
You can use plastic cups to make ice, and more of these can fit into the freezer so you can load it up. Fill the cups with as much water as you’d like, and place them in the freezer.
Then once ready tip them upside down and push the ice cubes out which you can now use or you can even leave the ice in there.
If they are hard to get out try running them under hot water for a bit to loosen up the ice, or if you are not keen to save the glasses, cut them open and remove the ice.
8. Yogurt Pots
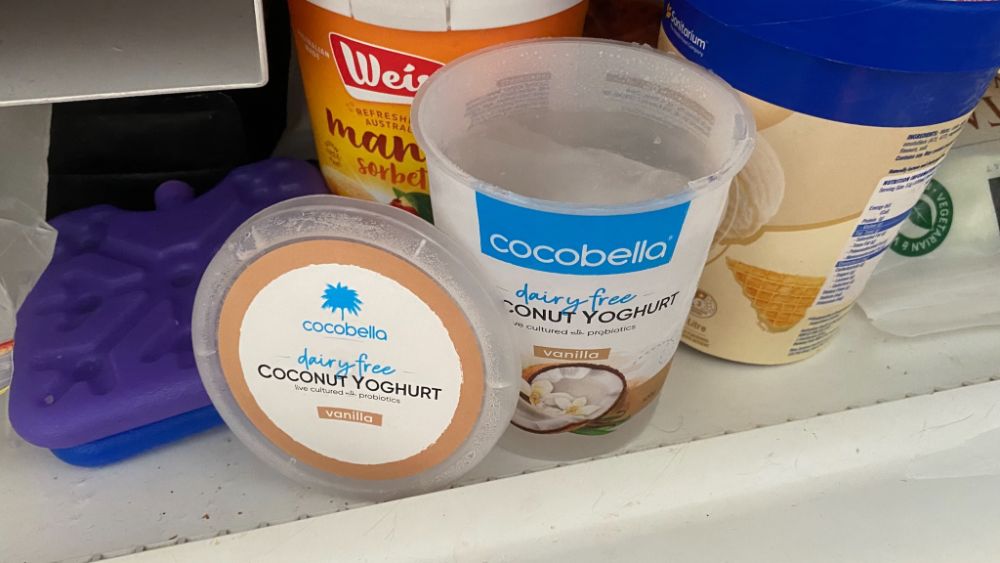
Yogurt pots are a great way to make ice. You can use the small kiddies or snack-sized yogurt pots for ready-to-go ice cubes or the bigger ones and then smash them into ice parts.
Yogurt pots are lovely and usually flexible; the ice comes loose easily. Make sure you clean them properly before using them for ice otherwise your ice will taste like yogurt.
9. Make Blocks Of Ice With A Small Cooler Or Bucket
An exciting way to make a clear block of ice is to use a small cooler that can fit into your freezer. Fill the cooler with water and place it in the freezer.
The water will freeze into a clear block at the top which you can smash into smaller pieces and make many ice blocks at once.
If you don't have a cooler then you can use a bucket. Either the plastic kind you use for the washing or kids' toys. Or use a cheap bucket lying around (just make sure it is clean.)
Don't fill the bucket up all the way because this method might cause the container's edges to push out and crack because of the pressure from the big block of ice. This is less likely to happen if the bucket is only partially filled
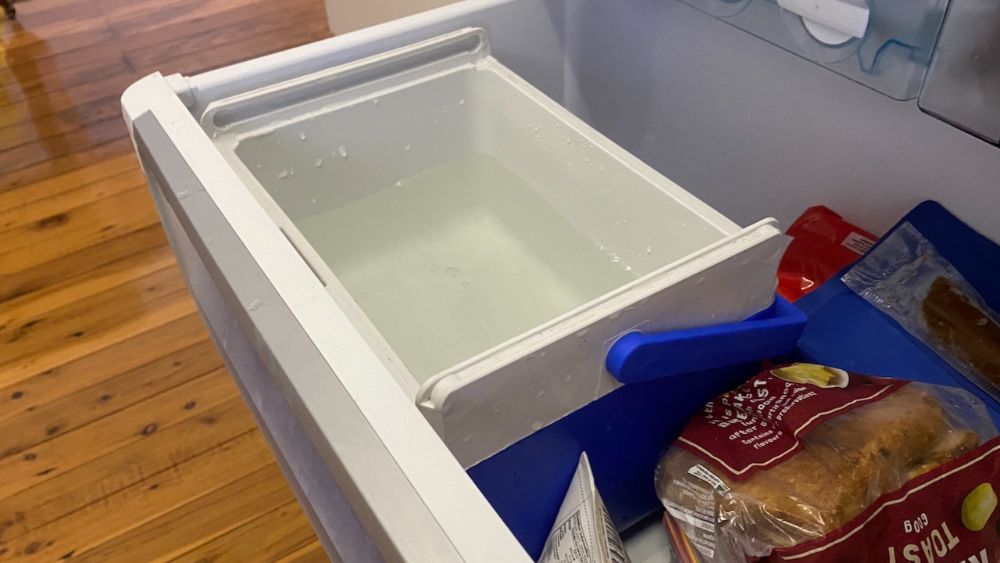
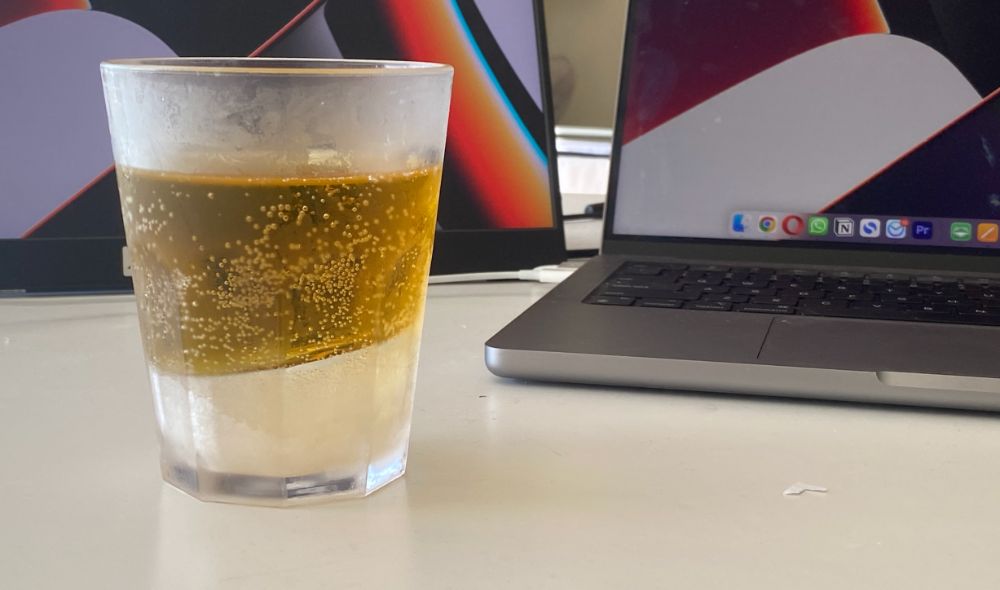
10. Freeze A Partially Filled Cup To Have Ice Ready
If you are looking for a quick DIY method to make ice and minimize the time to break it up to put into drinks, this is a perfect plan for an all-in-one.
Use the cups you would drink out of, fill them with water, only a ¼ of the way, and freeze them.
This way, the bottom is frozen and will keep your drink cooler for longer. If you use it this way, you might want to add mint leaves or lemon to the water before freezing, adding a zesty element to your drink.
11. Use Shot Glasses To Make Ice Cubes
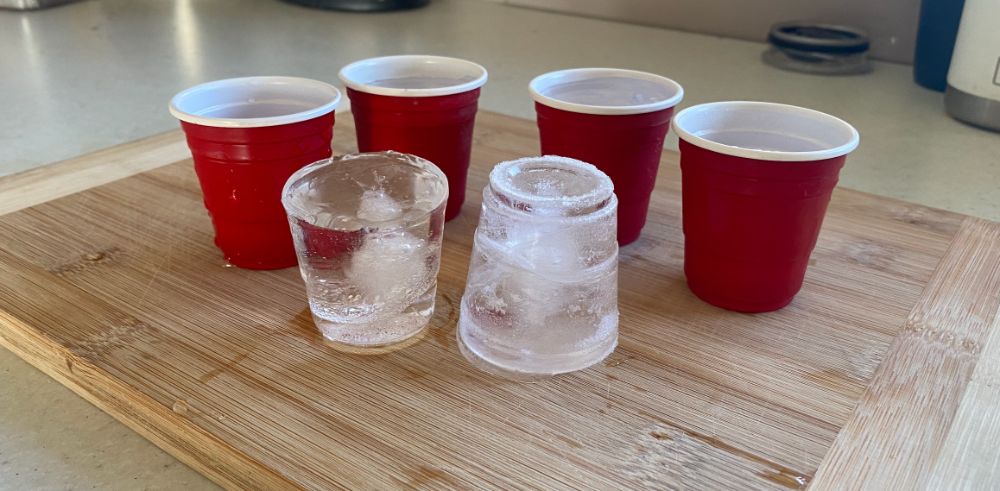
Using shot glasses to make ice cubes is a great way to get pretty-looking cubes. Make sure your shot glasses are at room temperature, add water, keep them uncovered, and place them in the freezer.
Release the ice by running tap water over the bottom to let it slide out.
A better idea is to use plastic shot glasses.
The plastic ones will save you money (as they are available in bulk for less), and you don't have to worry about glass that might shatter.
12. Aluminum Microwave Trays
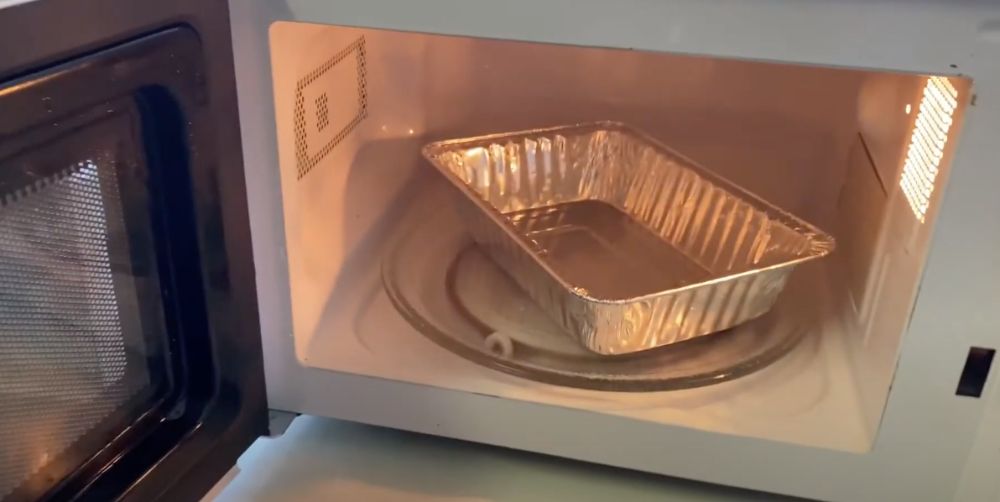
While you usually use these trays to store leftovers or serve up food at a BBQ in a pinch they can also be used as a DIY ice cube tray.
Fill up a thin layer (about the thickness of a regular ice cube) and then place in the freezer and leave to freeze.
It'll come out as a block of ice but you can easily cut that up with a knife (that's why you don't fill it up too much). You'll now have lots of ice cubes ready to serve.
And if you didn't know you can actually microwave aluminum trays and they won't spark or set your microwave on fire. I did it myself and you can see it in the video below.