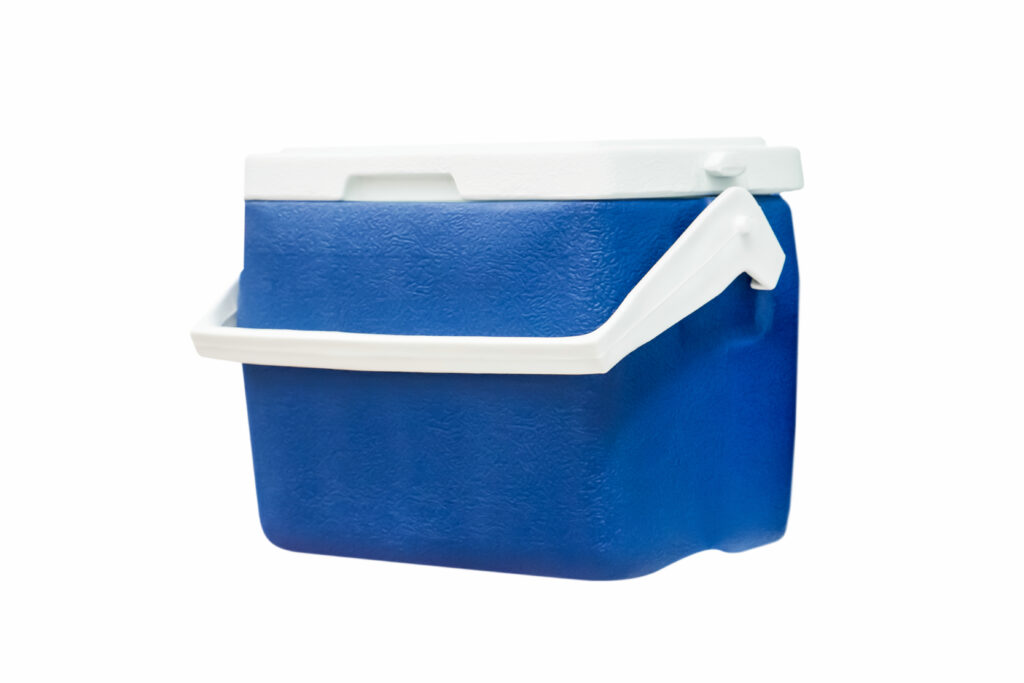
No one likes bringing a cooler full of ice and drinks to a picnic, only for the sodas to be swimming in water a few hours later. Luckily there are a few hacks you can do to prevent the ice in your cooler from melting. Gathered below are some frequently used methods.
1. Pre-Chill Your Cooler
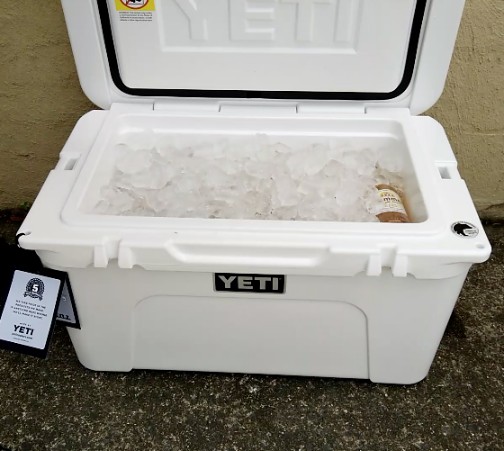
A lot of people don't know this but coolers themselves can absorb a lot of heat when not used, especially the big thick expensive coolers like Yeti.
If you place ice in a warm cooler the ice will melt quickly as the heat trapped in the foam insulation seeps into your ice. So it's really important you pre-chill your cooler.
I've done a full guide on how to pre-chill a cooler where you can get step-by-step guide but one of the simplest and easiest ways is to simply keep it in a cool room for a day before you use it.
Try to keep the cooler in the cold room for at least 24 hours before you put the drinks, ice, and food in. This allows time for the heat to escape and the insulation in your cooler to match the room temperature.
When you put the cooler in a cold room, the material cools down, including the insulation. This means that the ice doesn't have to cool down the container as much as it would if the cooler was kept in a warm room, and therefore, the ice will melt slower.
The garage is a great room to put your cooler in before you use it, as most garages are colder than the rest of the household. If you have a heated garage, turn off the heat and place your cooler somewhere that is easily accessible.
2. Keep Cooler in Shade During Use
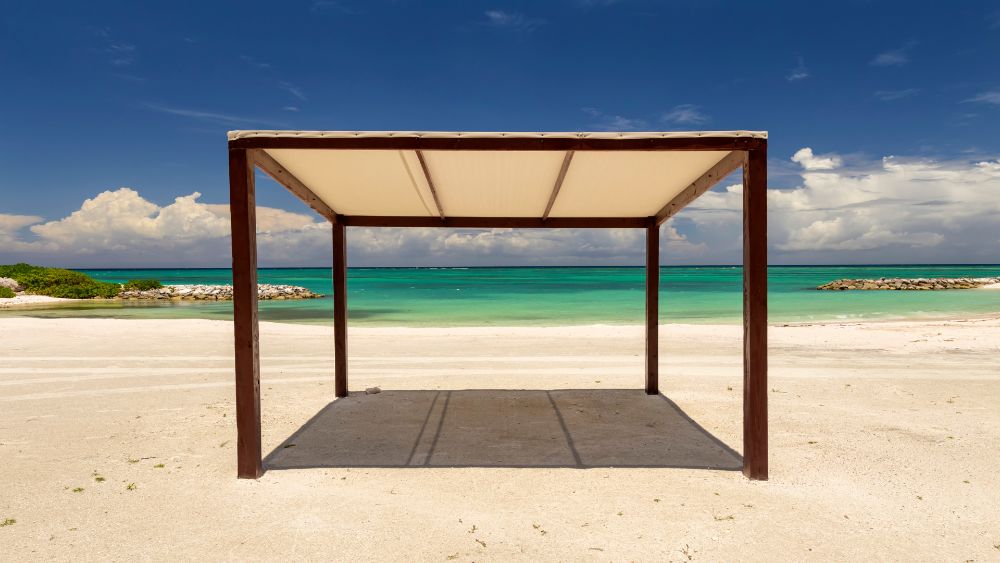
Another hack for helping the ice in your cooler last longer is to keep the cooler in the shade and out of the sun while you are using it. If you leave your cooler in the sun, it will heat up, and the ice will melt faster than expected. If you keep your cooler in the shade, the ice won't have to compete with the heat of the sun while it keeps your food and drinks cold.
If you are in the forest, it will be easy to keep your cooler in the shade, as trees provide plenty of shade. However, if you can't find a shady area to put your cooler in, put it underneath a tent or covering—just make sure it is out of direct sunlight.
Put your cooler in a nearby shady area rather than one that is far away. If your cooler looks abandoned, then someone might take it, or animals may also become interested in it, depending on how far away from your gathering you put it.
3. Keep Cooler Lid Closed
You should always keep the lid of your cooler closed as much as possible. When you take something out of it, take everything that you need from it. Ask others around you if they want something from the cooler, even if you don't want to bring the items to them.
When you open and close the lid of your cooler, cold air escapes. The ice needs that cold air to stay frozen, so if you only open the cooler lid a few times, the ice will stay frozen for longer than usual.
4. Line Cooler with Aluminum Foil
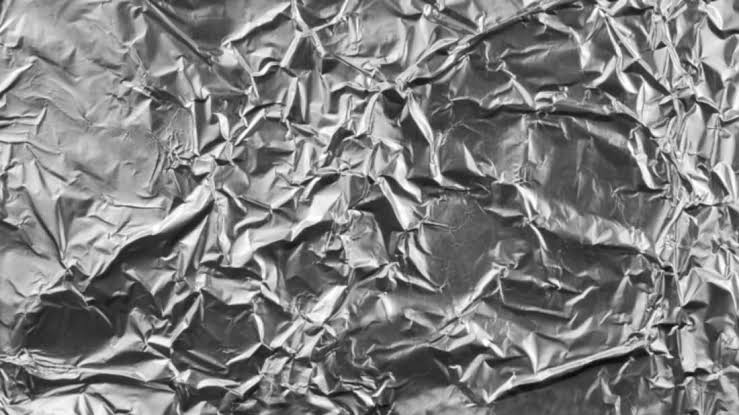
One of the best ways to keep the ice in your cooler frozen for a long time is to line your cooler with aluminum foil. This will help insulate your cooler even more so the ice stays cold and frozen for longer.
Line the bottom and edges of your cooler with aluminum foil, but don't cover the drain section of your cooler if it has one. The last thing you want to happen is for aluminum foil to get caught or cover the drain port of your cooler, as you will have to reach into the cold water and remove it.
The aluminum foil won't take up much room in your cooler, so you will still have plenty of room to put ice, food, and drinks inside.
Here's why aluminum foil acts as a good insulator and below you can see a video I did on whether or not aluminum foil keeps ice for longer.
5. Use Dry Ice
Another hack is to put a mixture of dry ice and normal ice in your cooler. Dry ice is much colder than normal ice, as it is about -109°F. It will keep both your ice and drinks cold for hours at a time, although it may freeze your drinks if they are placed too close.
If you put dry ice in your cooler, you may notice smoke escaping, even when the cooler lid is closed. This is necessary, and it is just what happens when dry ice melts—it turns to carbon dioxide. You may need to prop open the cooler lid so the gas doesn't become trapped.
Be cautious when handling dry ice, as it can cause frostbite nearly immediately. You will likely only be able to find it around Halloween, but some online retailers sell it year-round.
Dry ice can last up to 3 days in a cooler and it has the added benefit of keeping your regular ice frozen for longer.
6. Insulate the Cooler Lid
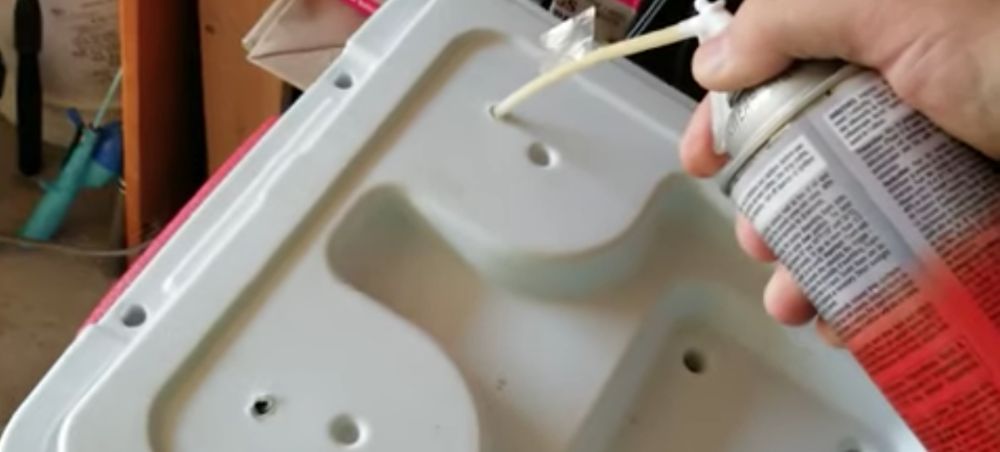
Most cooler lids are not insulated at all, in fact most cooler lids are completely hollow. Instead, they are made of a lightweight plastic and are completely hollow inside. Add insulation to the interior of the lid if you want to keep the ice in your cooler frozen for longer.
Click here to see a full guide on the different ways to insulate a cooler lid.
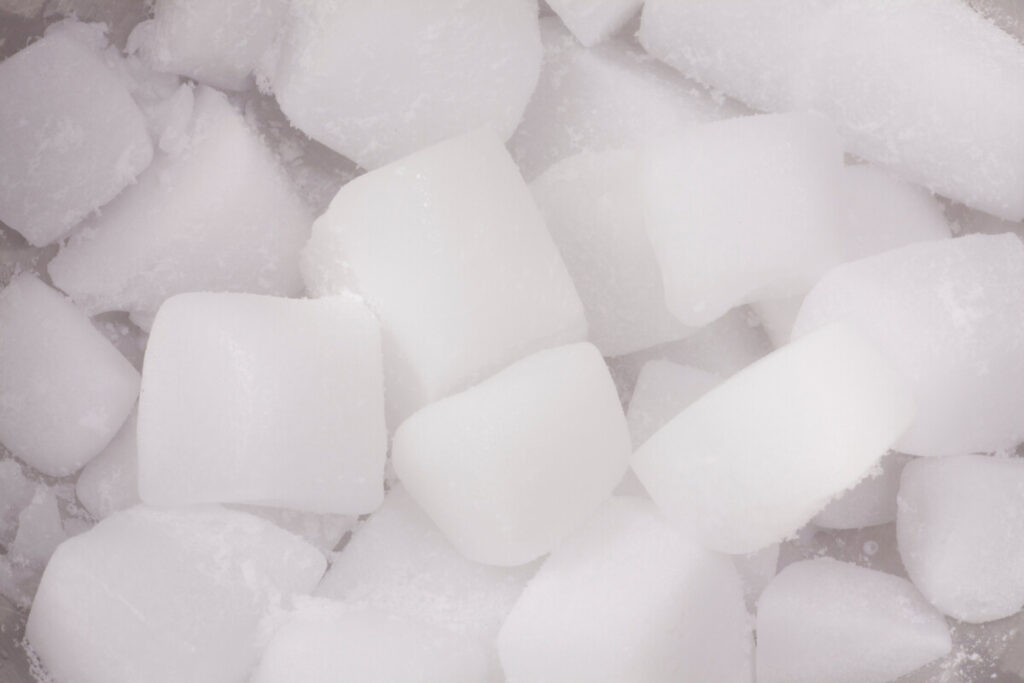
7. Use Large Blocks of Ice
Large blocks of ice melt slower than small chunks of ice, so if you want the ice to last a long time in your cooler, use large blocks instead of small chunks.
The only drawback to using large blocks of ice is that they tend to take up quite a bit of space and it is harder to put food and drinks in the cooler. Small ice will shift around, but large blocks will not, so if you have a lot of food to put in your cooler, it may not be possible to use this hack.
Here are 10 easy ways to make block ice for your cooler
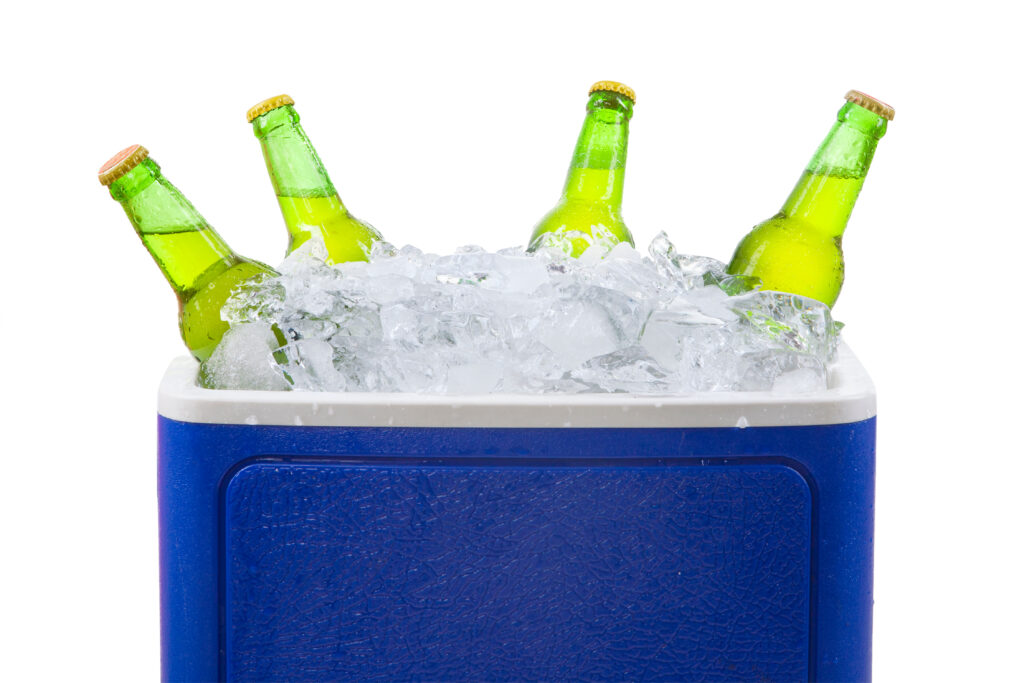
8. Fill to the Brim
Fill your cooler to the brim with ice if you want the ice to stay frozen for longer than usual. Eliminate all air pockets. Heat rises, and if there is no room for hot or warm air to be inside your cooler, the ice will stay frozen for longer than usual.
You can purchase large bags of ice for your cooler at your local grocery store or gas station. It costs between $1-$3 for a large bag of ice, so it won't be expensive to fill your cooler with ice.