CamelBak hydration packs work great right out of the box. But, as with most things in life, there could always be more.
Why turn down a cool trick or easy change that could make your favorite hydration pack just a little bit better?
After using my CamelBaks for years, I’ve picked up a few hacks along the way that make my CamelBak do more and work better for me.
Some of my favorite CamelBak bladder hacks are to:
- Keep it in the freezer to prevent mold and bacteria from growing, even when you store it wet.
- Pre-freeze a chunk of ice inside that’ll keep your water cold much longer.
- Insulate the delivery tube or the pack itself to prevent the water inside from heating up (or freezing) too quickly.
- Use lemon to remove the plasticky taste.
- Remove excess air in the reservoir to prevent sloshing and mouthfuls of air.
- Use a piece of paracord to clean the delivery tube without a tube cleaning brush.
- Attach a loop to any backpack to make it a ‘CamelBak pack’.
- Use your bladder as an emergency flotation device.
If I had learned most of these hacks sooner, I’d have gotten even more use out of my CamelBaks over the years.
Which is exactly why I’m sharing my 7 favorite CamelBak hydration pack hacks with you below.
1. Store Your Bladder In The Freezer
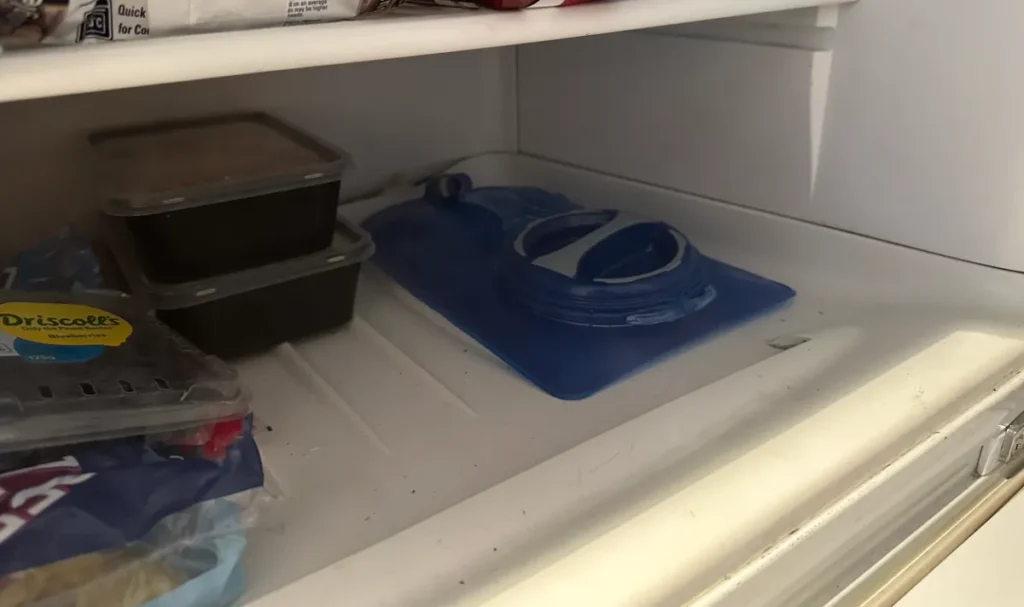
One of the worst parts about taking care of a CamelBak bladder is making sure it’s fully dry before putting it away.
If you don’t, mold and bacteria can grow inside and end up making you pretty sick.
Using a reservoir hanger or another type of reservoir dryer is helpful, but it still takes a lot more time and effort than I’d like — especially if I’m cleaning my bladder after every use like I should.
To avoid those headaches, you can store your bladder in the freezer without having to worry about drying it out first.
Bacteria and mold grow very slowly in freezing temperatures, so storing your bladder in the freezer, whether wet or dry, will keep it sanitary and mold-free until it’s next use.
2. Pre-Freeze A Block Of Ice In Your Bladder
Freezing a block of ice in your reservoir before using it will help keep the water in your CamelBak cold for much longer.
It works a lot better than ice cubes because the large block takes a lot longer to melt than individual cubes and is faster and easier to prepare.
All you need to do is fill your bladder about ½ to ⅔ full with drinking water and stick it in the freezer overnight.
To prevent the cap from freezing to your ice block, freeze the bladder cap-side up and be sure to leave some air in the bladder between the water and cap.
3. Insulate Your Delivery Tube
While CamelBak makes insulated reservoirs and adding insulation to your own CamelBak is pretty easy, you don’t actually need to insulate your entire bladder to gain most of the benefit.
You may have noticed that the first sip you take after your bladder has been sitting for a while is always much warmer than the rest of the water in your reservoir.
This is because a majority of the heat transfer into and out of your bladder happens through the delivery tube.
It has a large surface area and very little volume — meaning the water inside the tube heats up (or cools down) much faster than the water in the reservoir itself.
By only insulating the delivery tube, you can gain most of the benefit of an insulated bladder with less weight, less bulk, and a much lower cost.
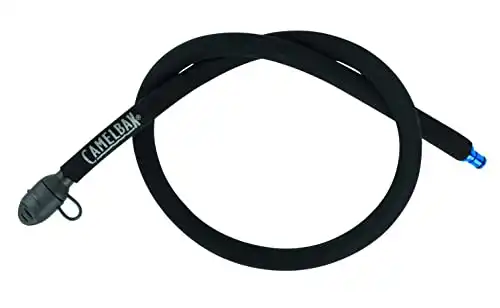
A thermal control kit works best, but if you want to save a few bucks you can always insulate the tube you already have.
Keep your water flowing freely even in the most harsh conditions. Features insulated tube plus a freeze-proof valve integrated cover to keep ice from forming in the bite valve.
I also highly recommend insulating the bladder itself using some sort of towel, blanket, cover or even the jacket or sleeping bag you're taking with you.
Insulating your bladder will keep the water cold for longer and make it more pleasant to drink from.
4. Use Lemon To Remove The Plasticky Taste
The first time I used a CamelBak I just filled it up and hit the road, ready to be refreshed and hydrated.
Unfortunately, I didn't realize that CamelBaks are very prone to making your water taste like plastic and in the hot sun this made my water taste absolutely terrible!
This plasticky taste isn't considered unsafe, it's just a biproduct of the type of plastic CamelBak bladders are made from, but still it's good to get rid of it so your water tastes better.
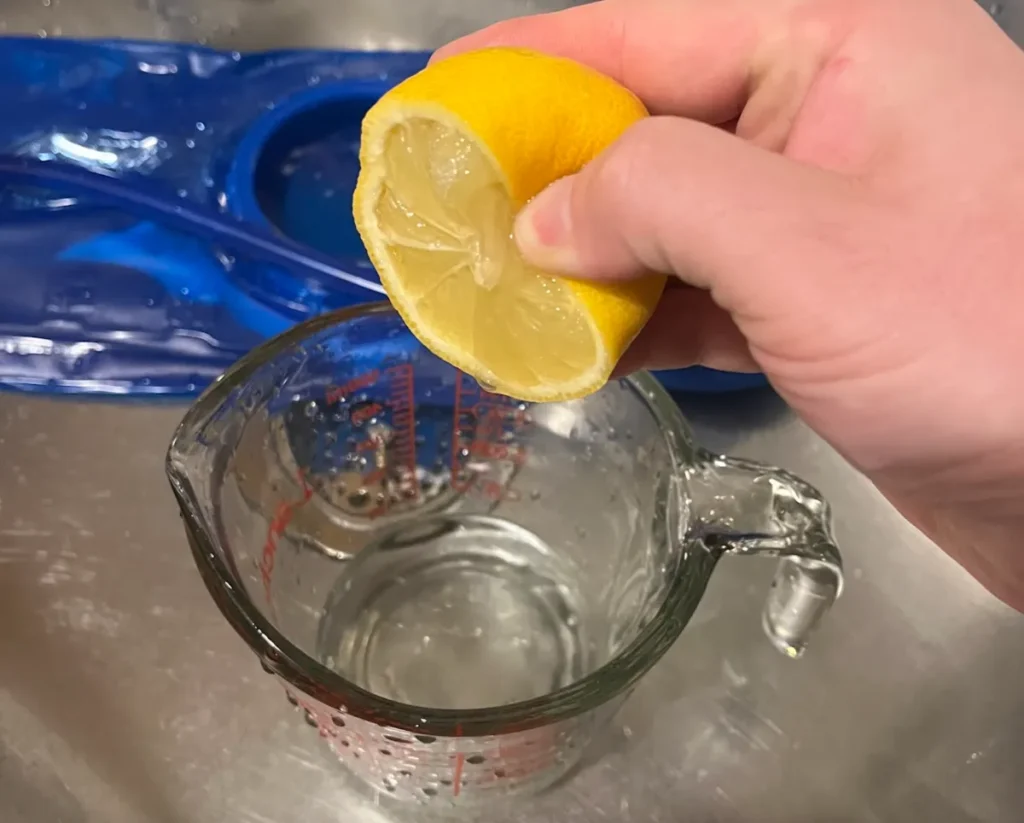
I've found the best way to get rid of the plastic taste in your CamelBak is with lemon juice.
It's cheap, natural and most importantly effective at removing the taste.
Simply squeeze out about 1/4 cup of lemon juice and pour in your bladder with hot water (not boiling water). Leave it to soak for at least half an hour (or even overnight) and then discard the water, rinse and you're good to go.
5. Remove Excess Air
If you’ve ever gotten annoyed that the water in your CamelBak sloshes around as you walk or ever gotten a big mouthful of air when you still have water left in your reservoir, you’re probably just leaving too much air in the bladder when you fill it.
To remove excess air from your bladder, you can squeeze most of it out as you seal the bladder or flip the bladder upside down and suck the excess air out through the tube.
6. Clean Your Delivery Tube Without A Tube Brush
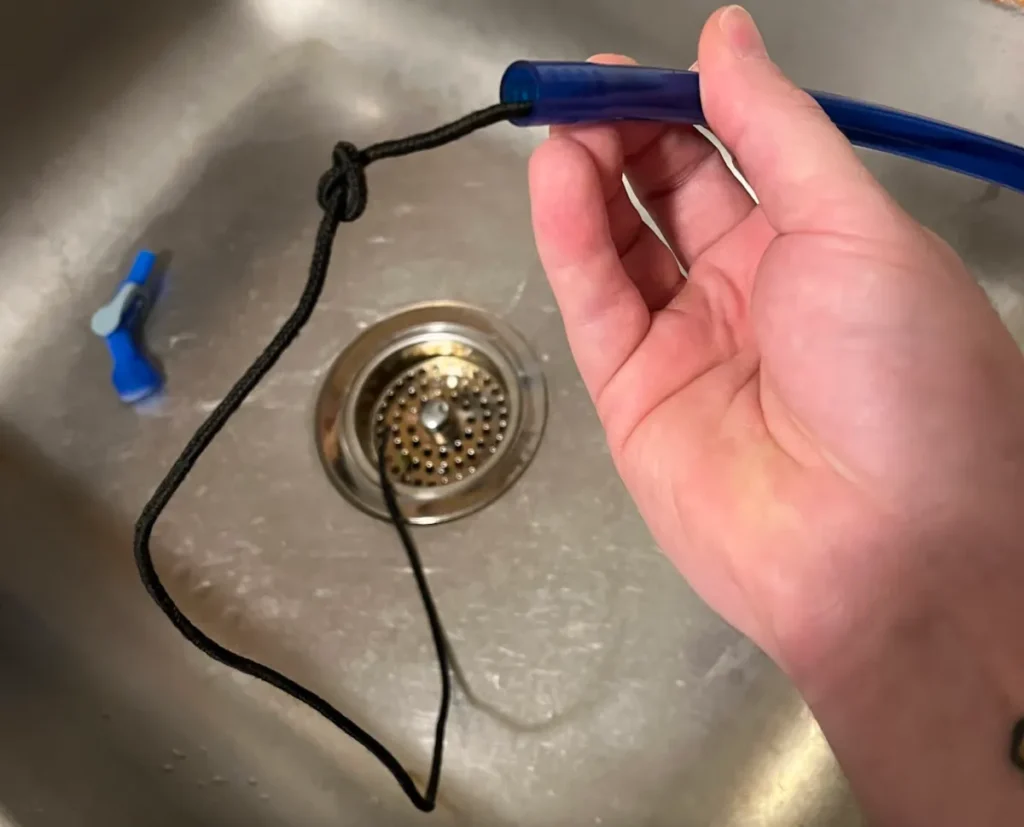
A tube cleaning brush makes cleaning your CamelBak’s delivery tube quick and painless but, if you don’t have one, you can use a clean shoe string, piece of nylon rope, or length of paracord instead.
To clean your delivery tube without a tube brush:
- Remove the tube from the reservoir.
- Rinse the tube under hot running water.
- Soak the tube in cleaning tablets or vinegar for about 20 minutes.
- Tie a knot (about the same width as the opening in the tube) in the middle of a length of paracord that’s at least twice the length of the tube plus one foot.
- Wet the paracord and add a squirt of dish soap to the knotted area.
- Thread the paracord through the tube and slide it through several times.
- Rinse away any remaining detergent under hot running water.
This works well enough, but it’s time consuming and can be a little frustrating.
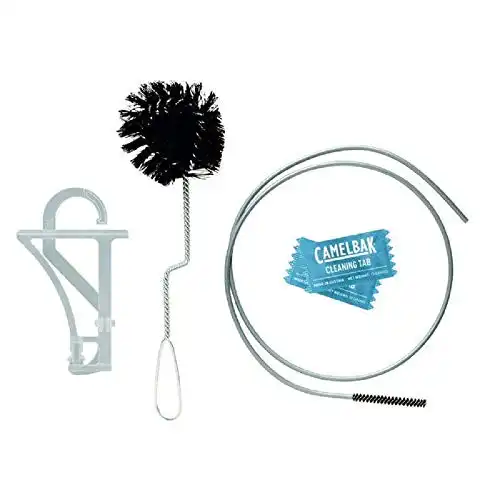
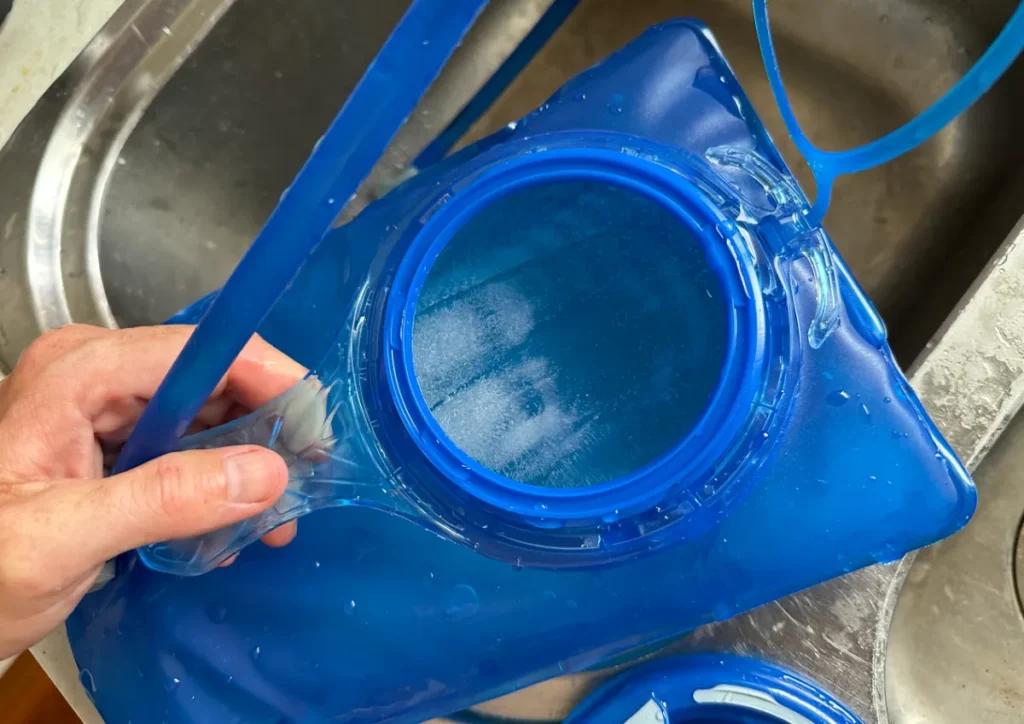
If you can, I’d strongly recommend picking up a CamelBak cleaning kit. It comes with a tube brush included, along with a reservoir brush, reservoir hanger, and a couple cleaning tablets.
Check out my in-depth CamelBak cleaning kit review to learn more.
Features a large brush for the reservoir and a extra long straw brush to clean the drinking tube plus CamelBak cleaning tabs which will help clean away any scum. After cleaning use the reservoir drying kit to easily hang your bladder and get it completely dry.
A must have for CamelBak bladder owners.
7. Use Your Reservoir With Any Backpack
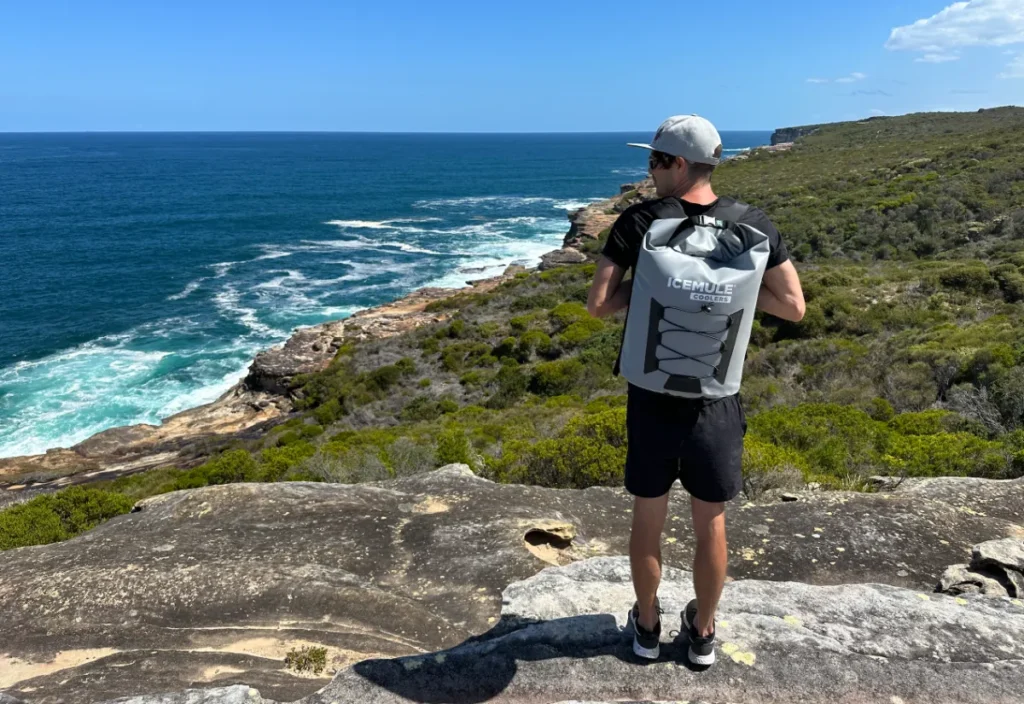
If you’ve ever tried using your CamelBak bladder in another backpack, you’ve probably gotten frustrated that it tends to slide around and bunch up at the bottom of your pack.
This is because normal backpacks don’t have the fabric loop that suspends your reservoir in the pack.
Luckily, installing a CamelBak bladder loop in any backpack is actually pretty easy. Just check out my in depth guide for installing a CamelBak bladder in any backpack.
8. Use It As A Makeshift Emergency Flotation Device
If you ever find yourself in a pinch, your CamelBak bladder actually makes a pretty decent emergency floatation device.
Just dump it out, fill it with air, seal it, and blow through the mouthpiece to inflate it the rest of the way. It works best when held against the chest while using a backstroke.
You should never rely on your bladder for this use, but it’s a good trick to keep in the back of your mind if you ever find yourself in a flooded gorge, needing to ford a river to get to safety, or stranded on the wrong side of a body of water.
Again, emergency use only.
9. Use Your CamelBak Bladder As A Pillow
We all know that camping pillows are usually pretty uncomfortable and using your jacket as pillow is ok but can get pretty lumpy.
In some situations using your CamelBak as a pillow can be one of your best options.
You can fill it up with air or water and then turn it upside down (so the lid doesn't stab you in the face) and rest your head on it.
You won't get the best night's sleep and it doesn't compared to a specialized hiking pillow. But it'll do the trick if you need to get some shut eye and you have no other pillow.
It can even be good for a pillow when you're lying in the sun at your rest spot reading a book.
10. Use Your CamelBak Bladder As A Hot Water Bottle
While you shouldn't put boiling water in a CamelBak you can fill them with hot water without issue and this can make them a really good hot water bottle for those cold nights.
To do this detach the drinking hose and fill up the CamelBak which hot water from your stove.
You'll want to cover it in a t-shirt of some type of material before tucking it into your sleeping bag as the thin plastic doesn't offer much in the way of insulation.
This can be a great way to stay warm on those chilly nights. You can also use a Nalgene as a hot water bottle (or almost any other water bottle for that matter)
11. Use It As A Makeshift Shower
I hate it when my CamelBak gets lukewarm when I'm on the trail. However, did you know you can actually use this to your advantage and create yourself a warm shower using your CamelBak?
To do this simply fill up your CamelBak with water and leave it out in the sun for a couple of hours for the water to warm up.
Then hang the CamelBak up in a tree or on the side of your RV and pull out the bite valve and use the drinking tube as a shower hose to clean yourself off.
12. Use It As A Clean Water Source For Your Group
If you're on the trail and plan to be drinking from the local water sources then you'll likely want to filter your water to make sure it's safe to drink from.
Sure you can boil water or filter it on a bottle by bottle basis but an easier method for larger groups is to use a CamelBak as
Lifestraw makes CamelBak bladder filters and they also have a Gravity Kit that allows you to convert your CamelBak in an easy to access water source for everyone.
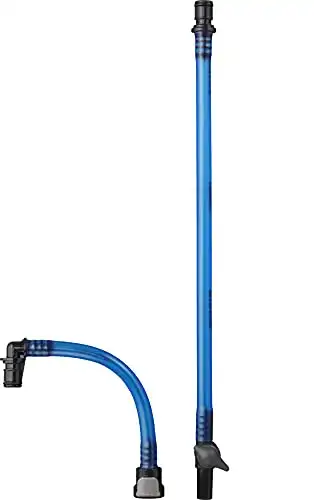
Converts the Crux 2L Reservoir Filtration Kit into a filtration gravity bag.
Simply fill up the bladder with water from your local water source, attach the gravity kit and then hang the bladder from a tree, rock wall or the side of your car or RV.
You can then easily pour the water into your water bottle or use it for cooking, cleaning and drinking and you can rest assured knowing the water is safe.

